
RC-paramotor build
This month I built an RC-paramotor designed by Tom Stanton. To me this was something completely unknown and new. I just saw Stantons instagram post and knew that’s something I want to build, at least partly just because I hadn’t built anything like it before.
Here’s Stantons original thingiverse post.
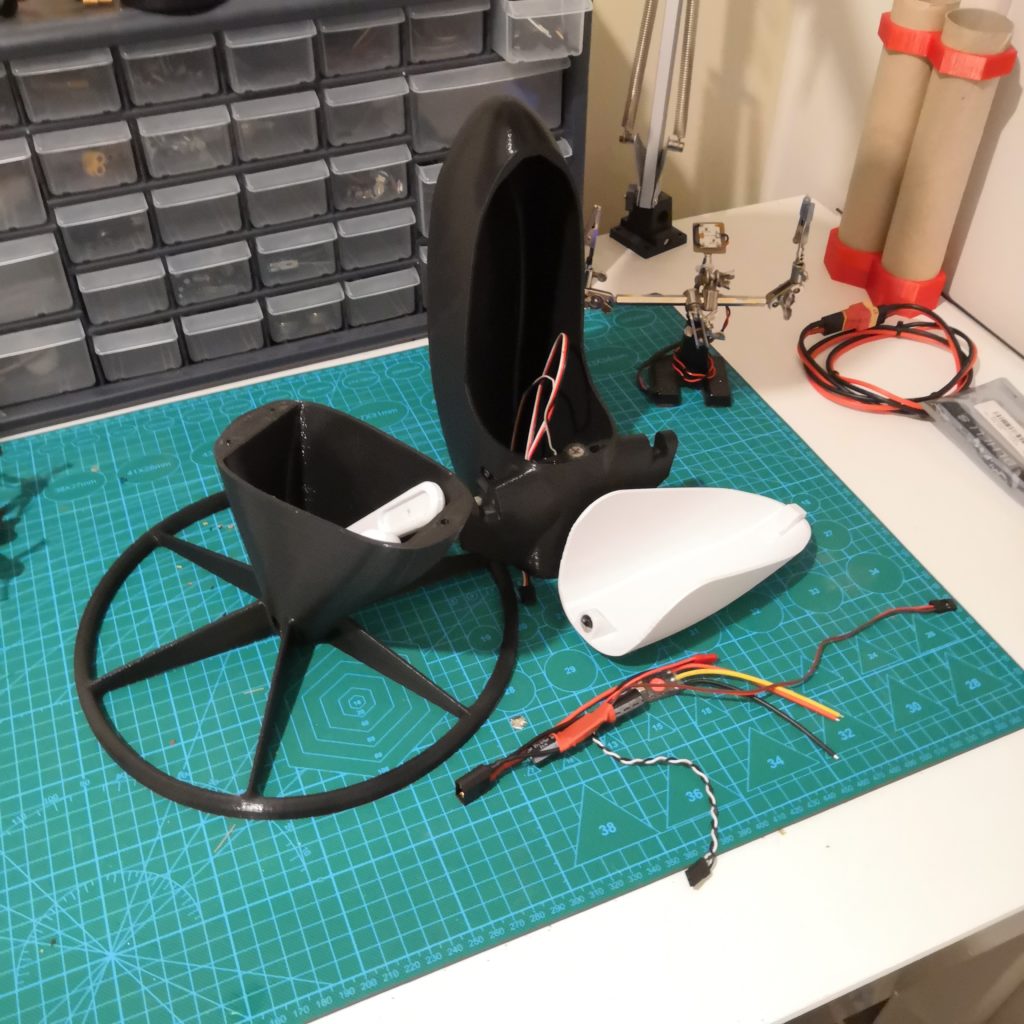
First thing was of course to find someone with big enough 3D-printer to print the main body pieces for me. Luckily I knew someone with printer that had printing volume of 400x400x400mm so that wasn’t too hard. They are some big pieces that won’t fit on many printers, for example Prusa printers are too small for this. There are thingiverse remixes of this that you can print on a smaller printer in multiple pieces but I really didn’t want to do that.
The build itself was actually pretty easy and straightforward, just put all the parts together and mix your radio accordingly. No need for any kind of flight controller or firmware magic. (I don’t think any flightcontroller or firmware would even understand what this is. Well maybe on a custom mix why not.) On my radio I used mixing profile meant for flying wings and other things that have only 2 servos. Had to flicker around a little with directions and servo movement limitations of course. After all practically this was very simple little thing to put together.
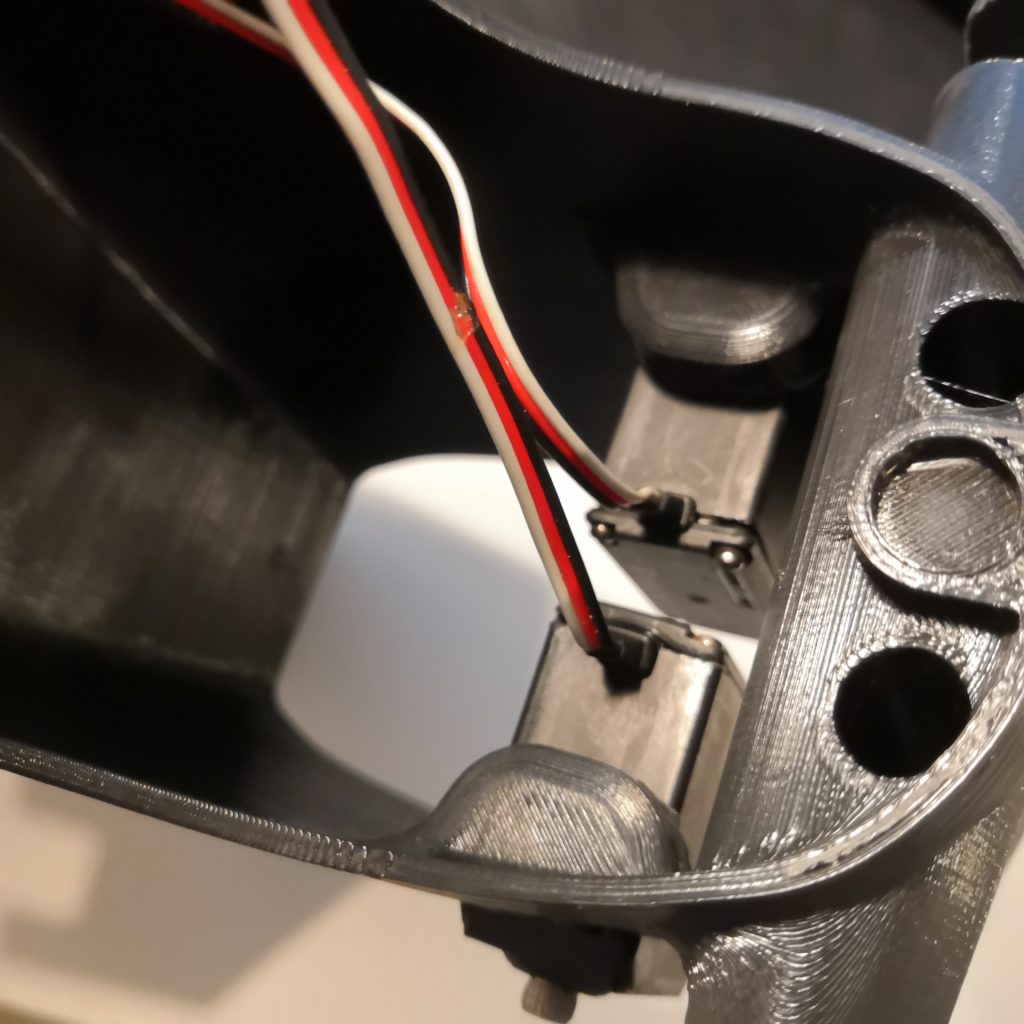
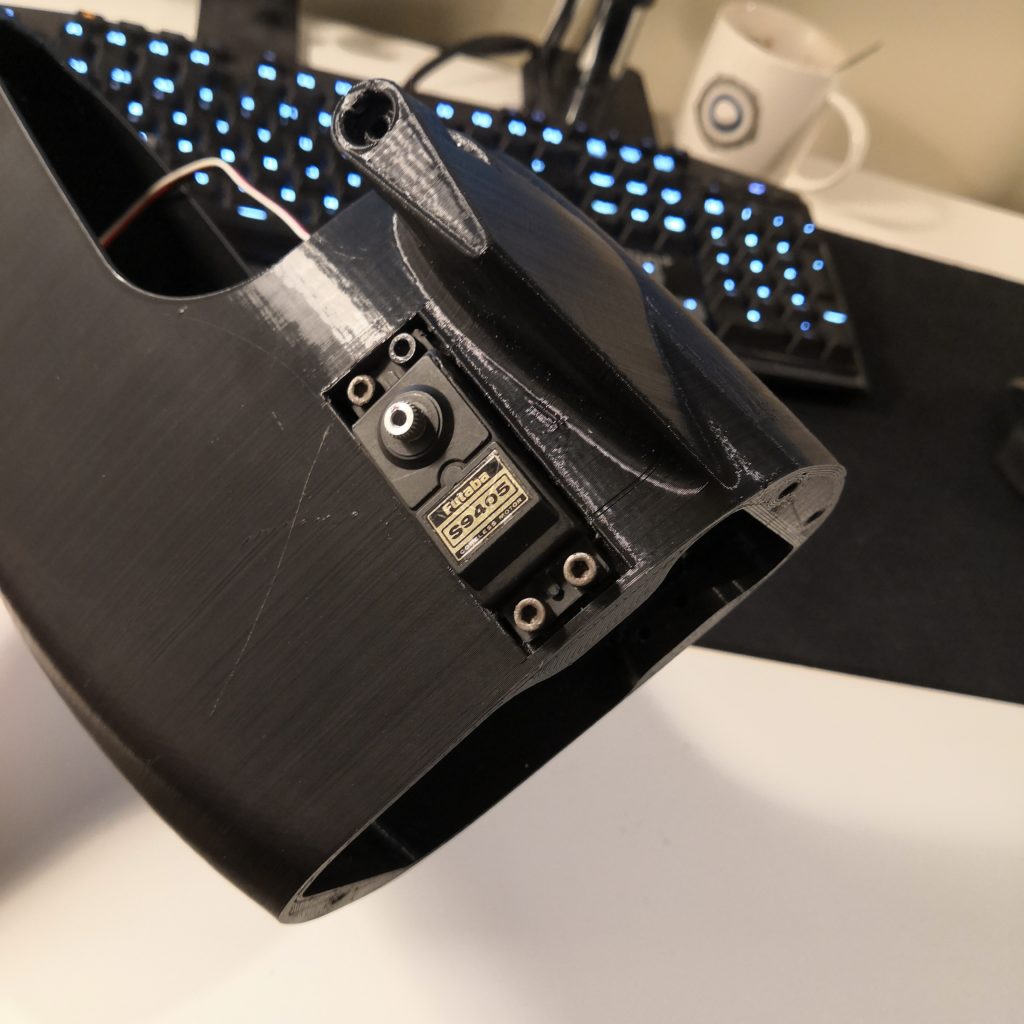
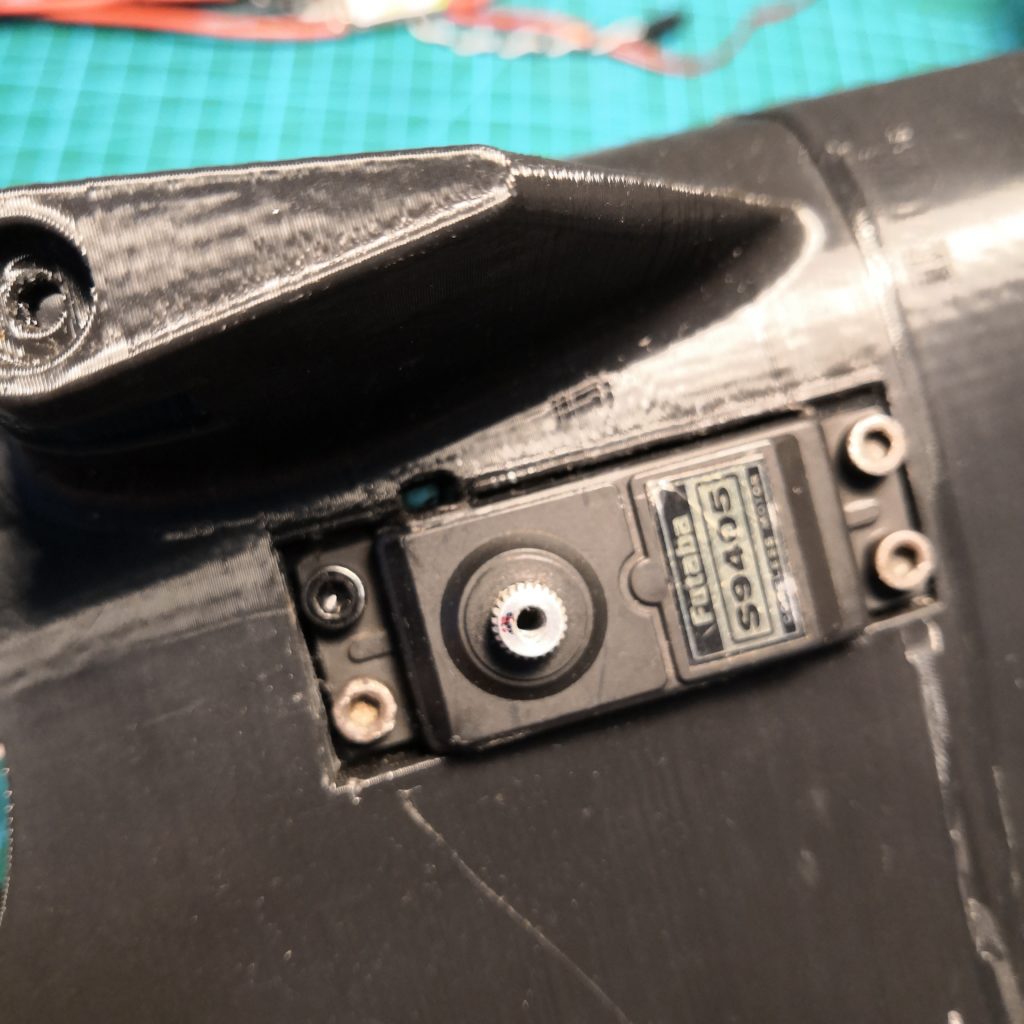
Inserting the servos was a little tricky. There was really no hole to put the cable through and I kind of had to jam them in place. 4 screws holding each servo are screwed straight into the PLA frame and have no nut to hold them there so getting them right on the first try was really good as PLA tends to give up after you screw and unscrew it a few times. Here I used some good old Futaba S9405 servos. They are good quality and reliable.
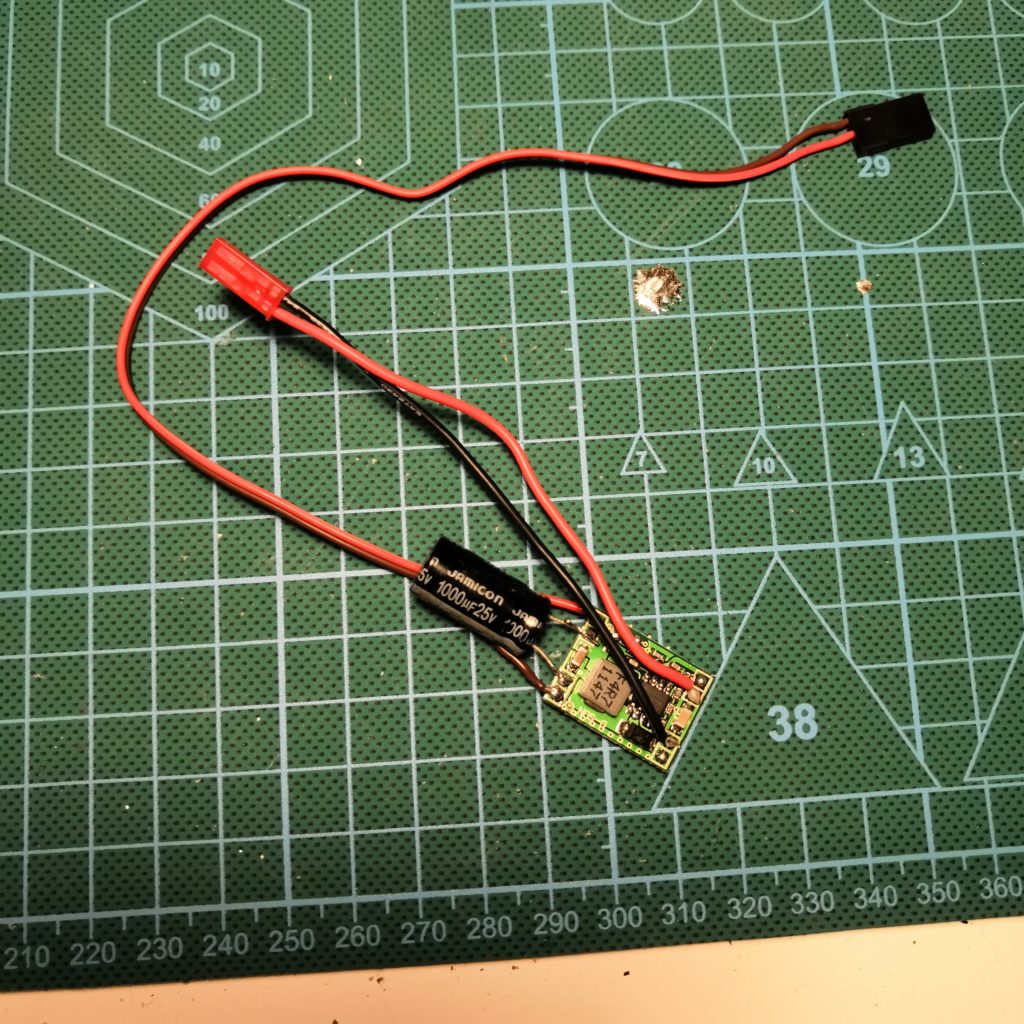
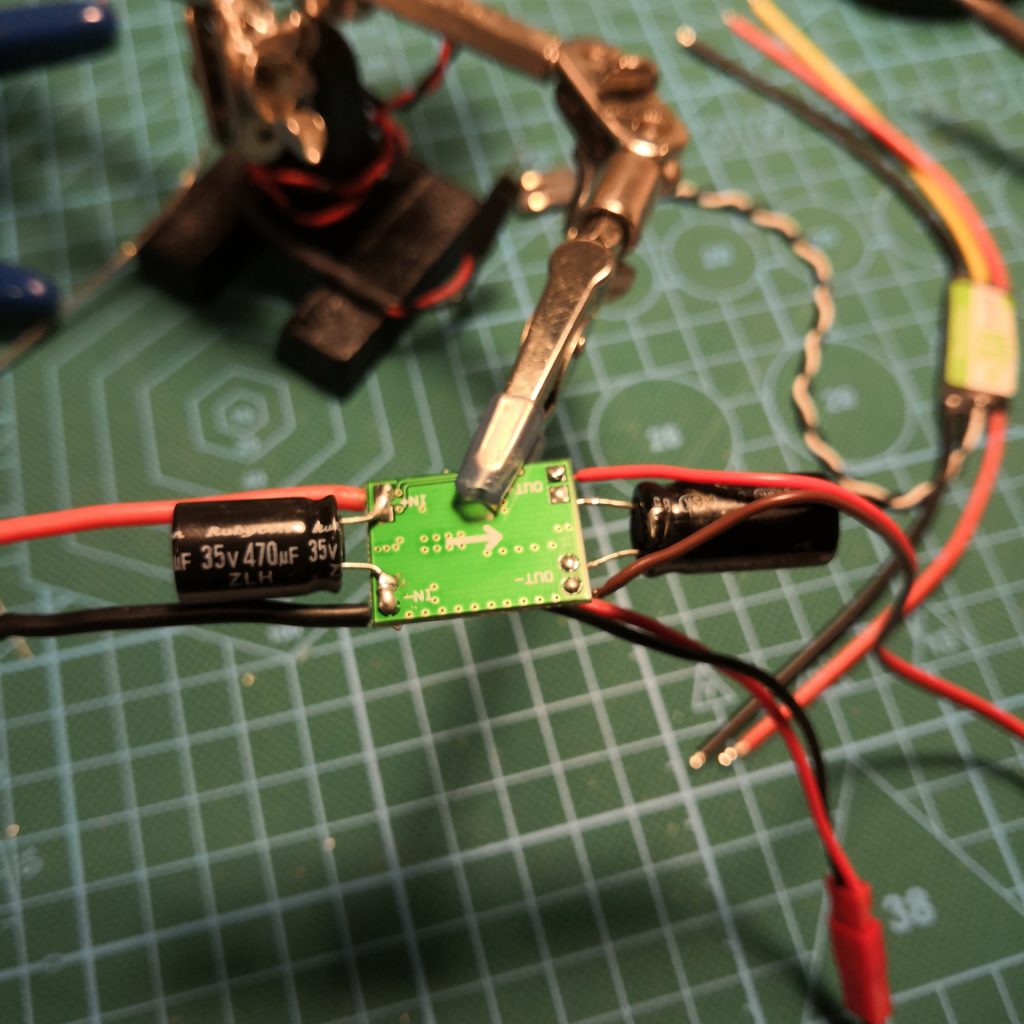
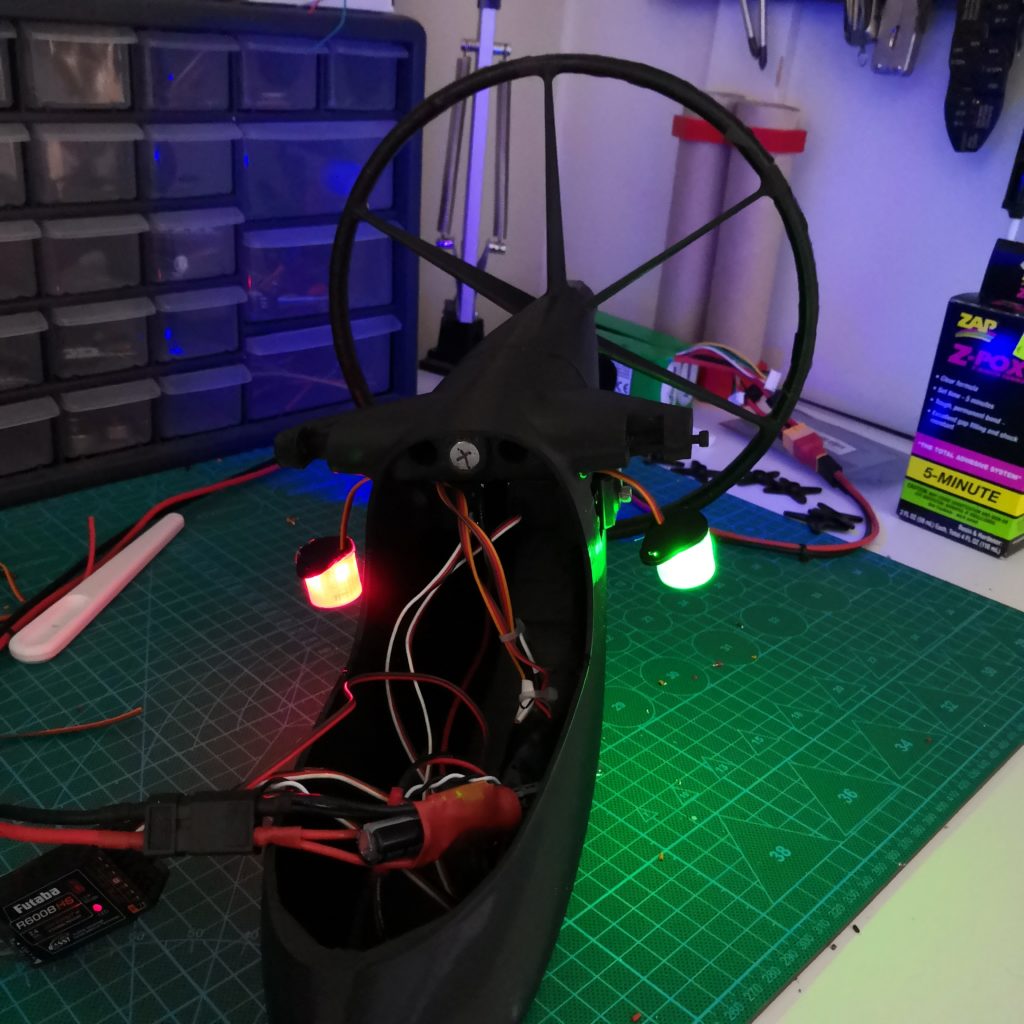
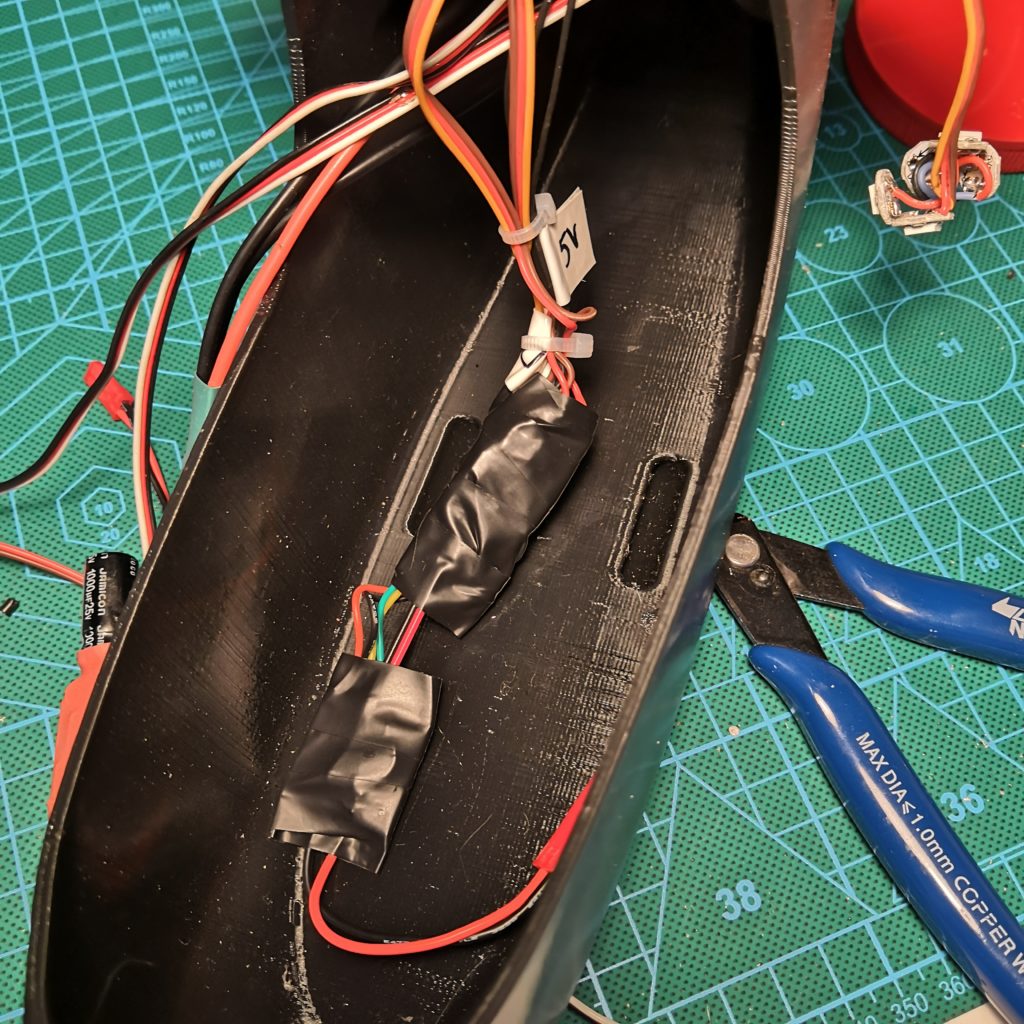
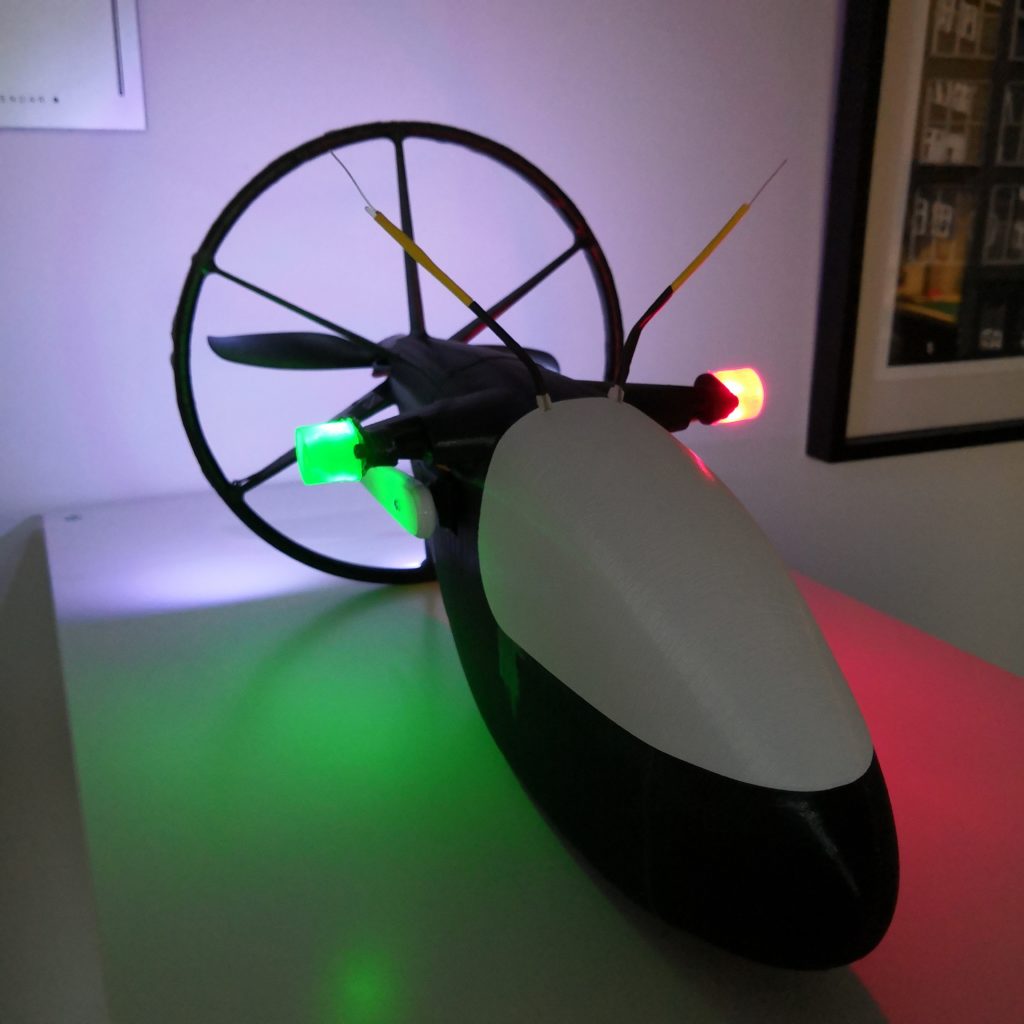
Buildind the “power distribution” for servos and led things. As you can see I ended up having 2 separate 5V BEC’s in this because I wanted to have the arduino and leds as a completely separate system. They are all just plugged in with a red JST connector and can be swapped to something else if needed. This also filters out all possible interference that might occur, I think.
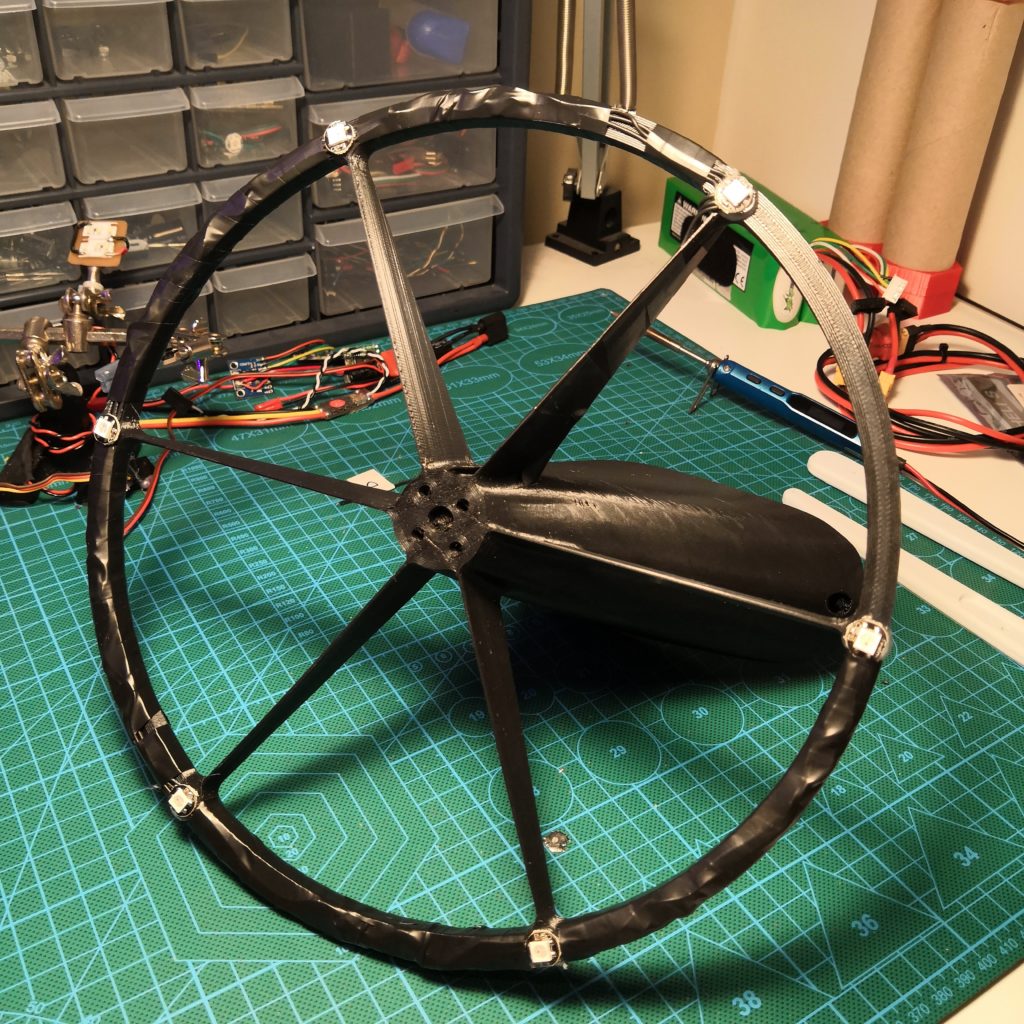
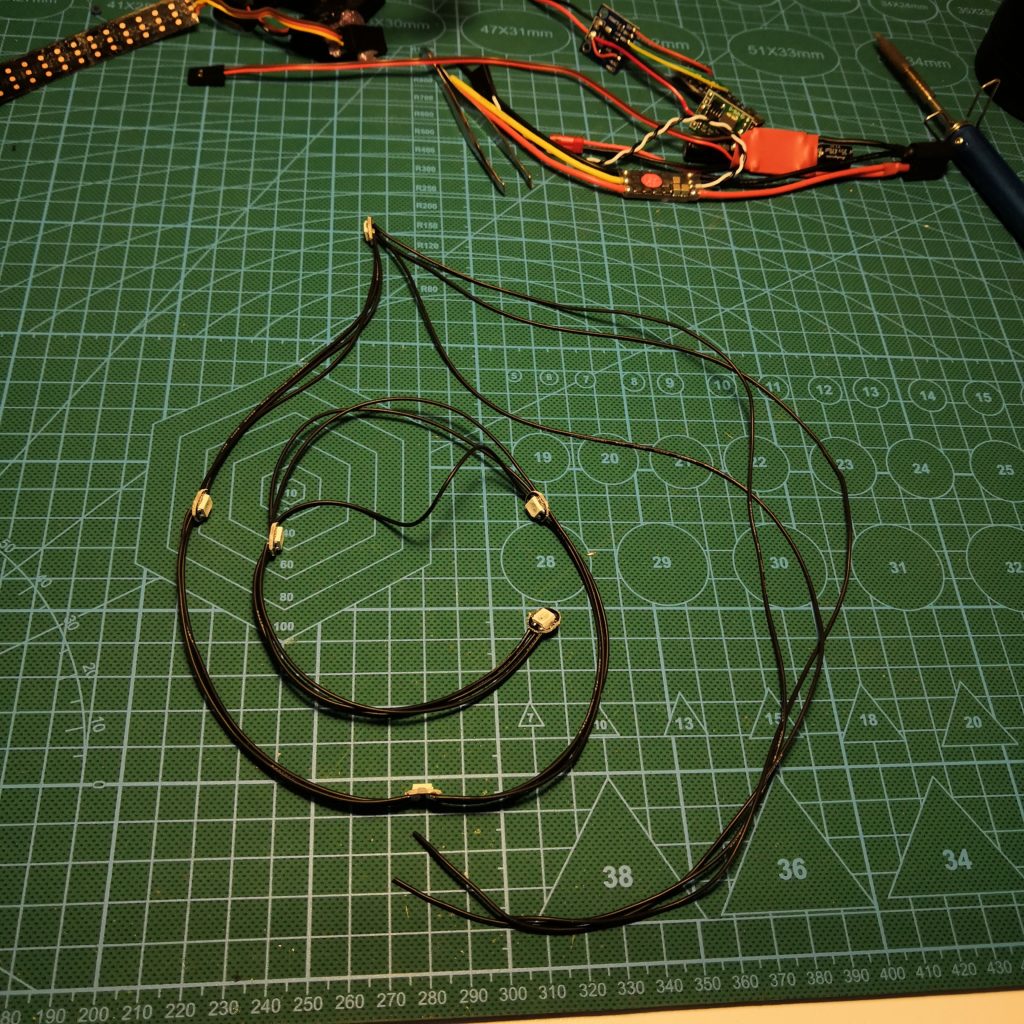
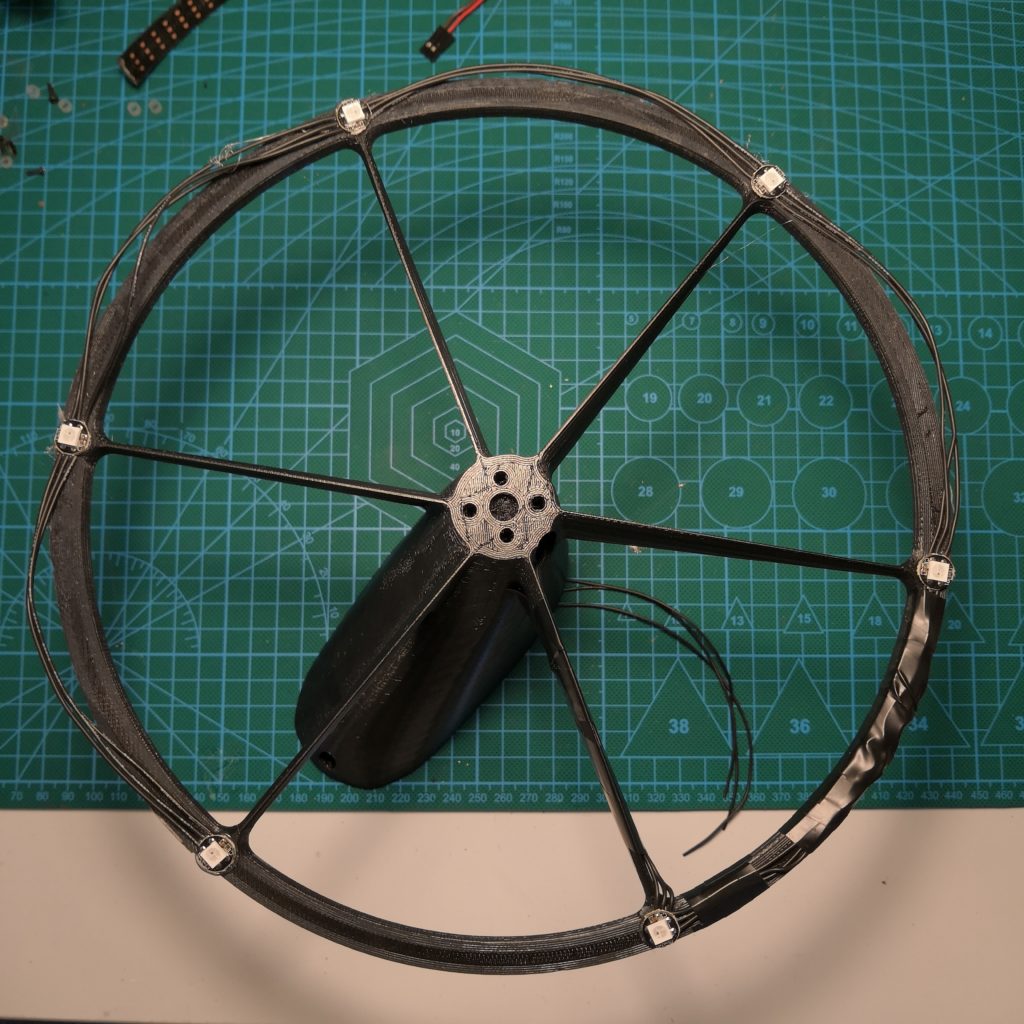
LED wires after wrapping them in tape. Each LED is held in place with tap of hot glue.
Here you can also see the motor mounting holes. I forgot to take any pictures of mounting it but just mount it before attaching the frame together! After that you don’t really have access to back of the frame.
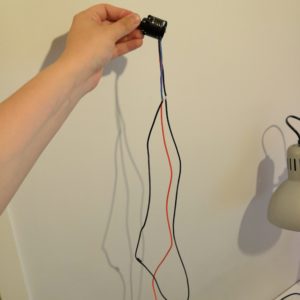
Motor itself with some long ass wires.
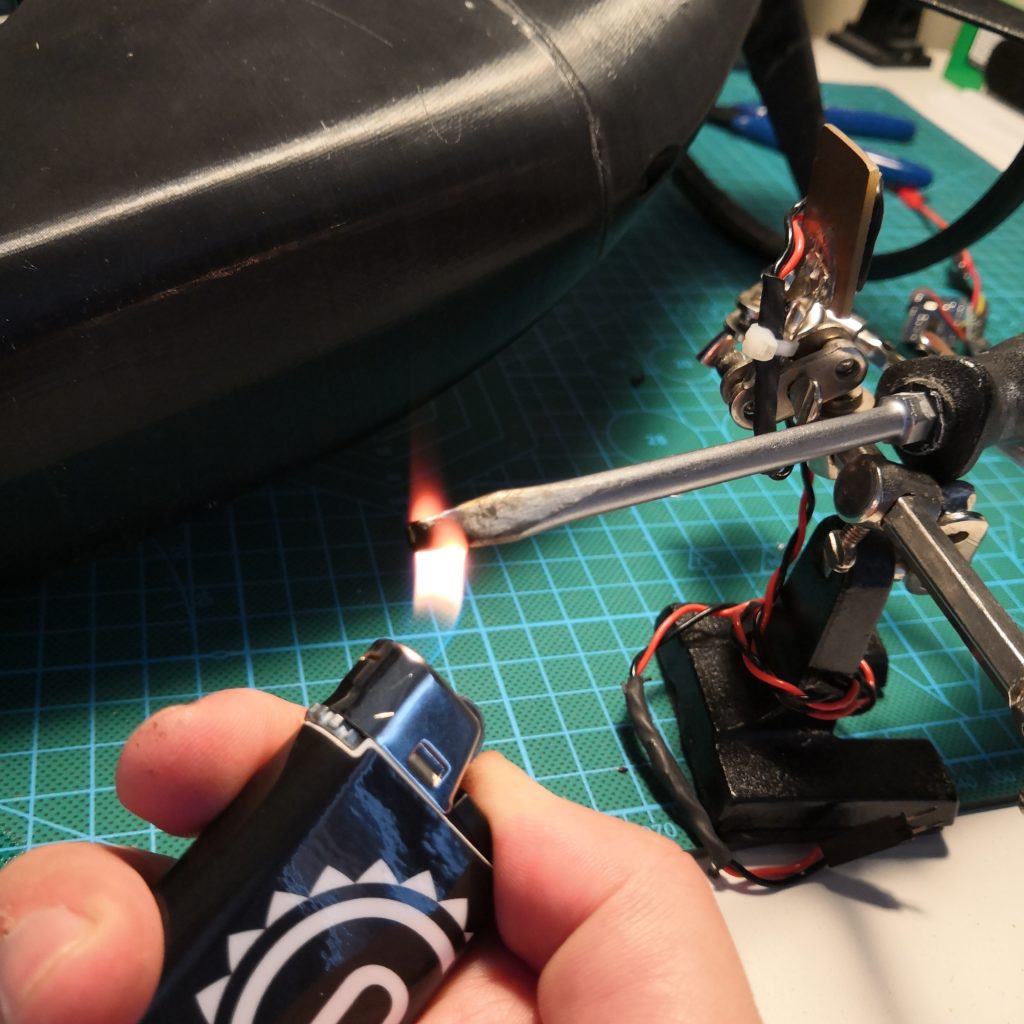
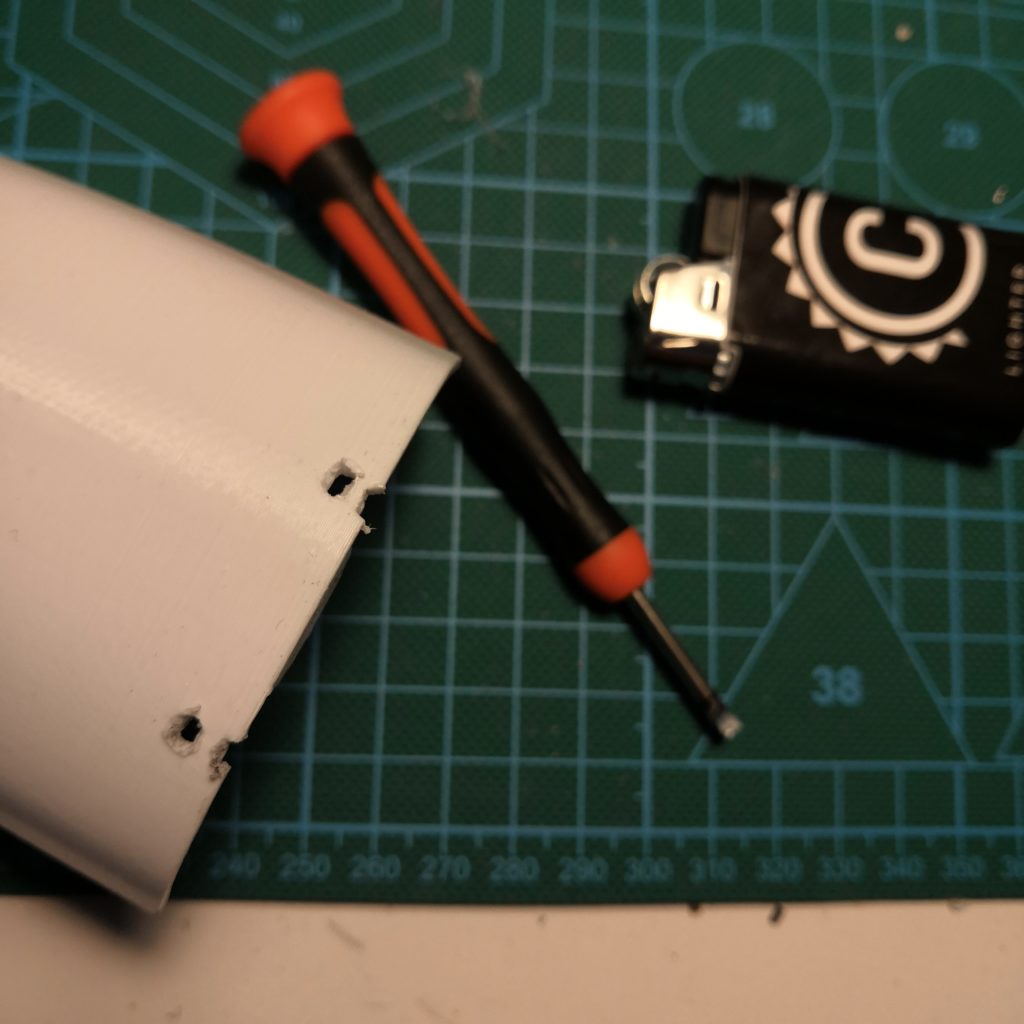
Simple yet effective way of post processing 3D-printed parts. Heat up a screwdriver and punch holes where you need to pass cables through. In this case the screwdriver was also perfect shape for three lead servo cable.


Programming the arduino and yep, all lights work! Each one individually addressable.

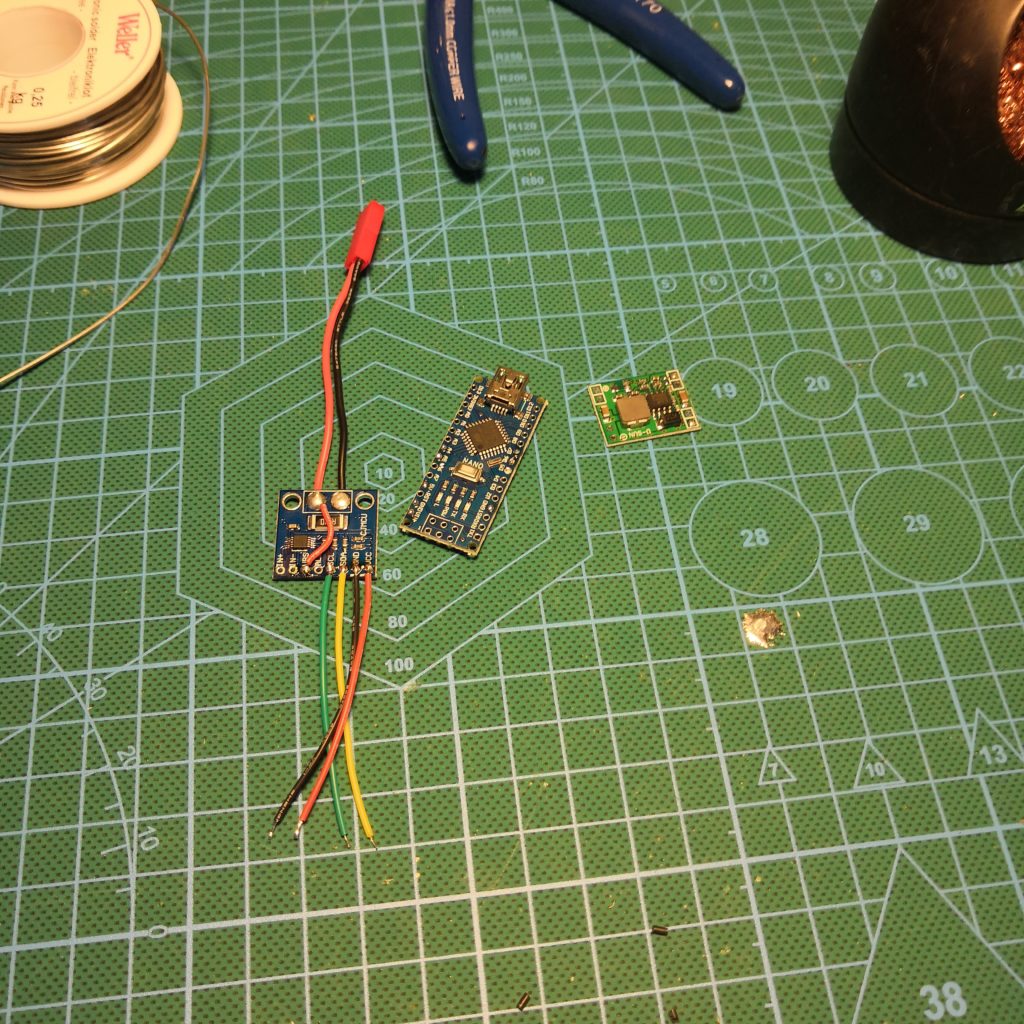
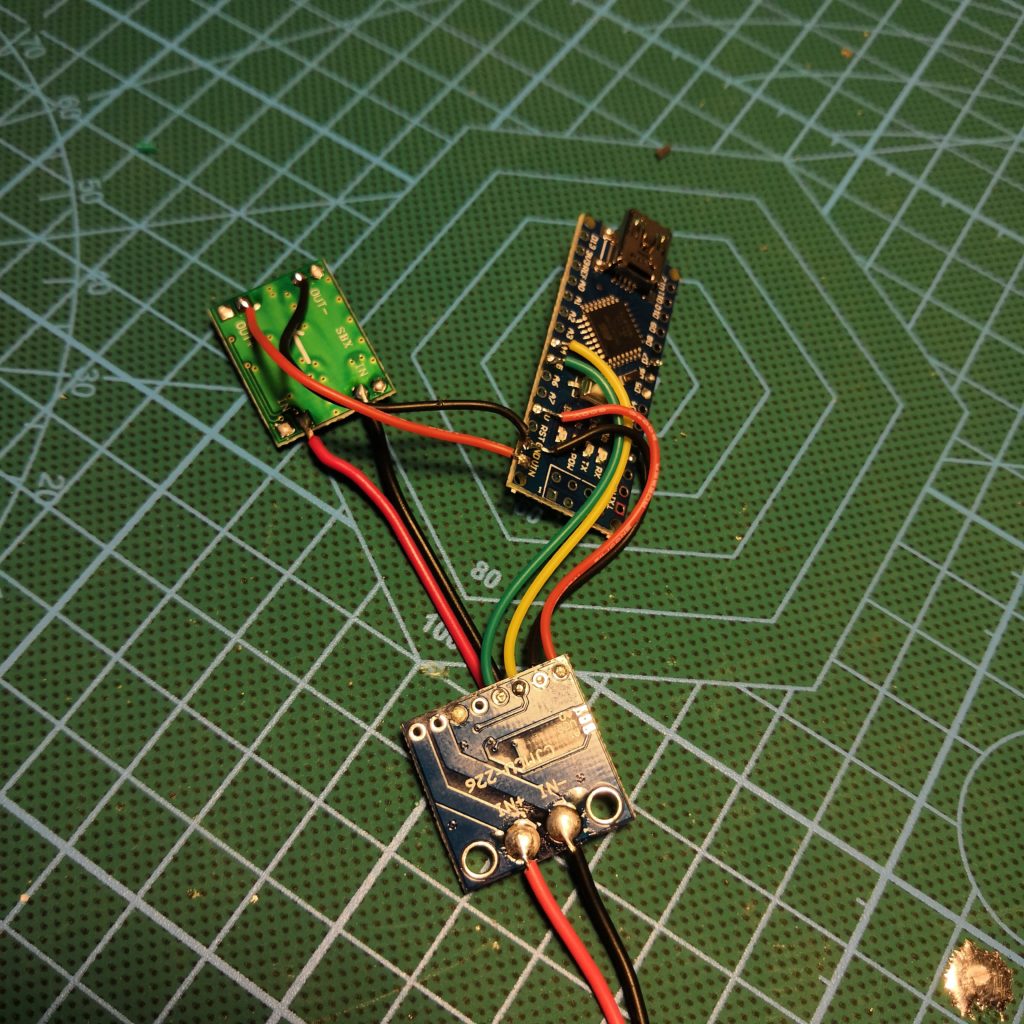
This is what the arduino controlling the LEDs looks like before and after wrapping it in tape. “Clean” looking package.


This is how I mounted those extended arms on the servos. Chopped big servo arms into smaller ones that fit into the holes that were made for different type of arm. Then I covered them in epoxy so they’re like never coming off. Of course because I did it this way I had to cut custom length M2.5 screws to hold them in place on the servos. Just be careful not to fill the screw hole with epoxy and this works perfectly.
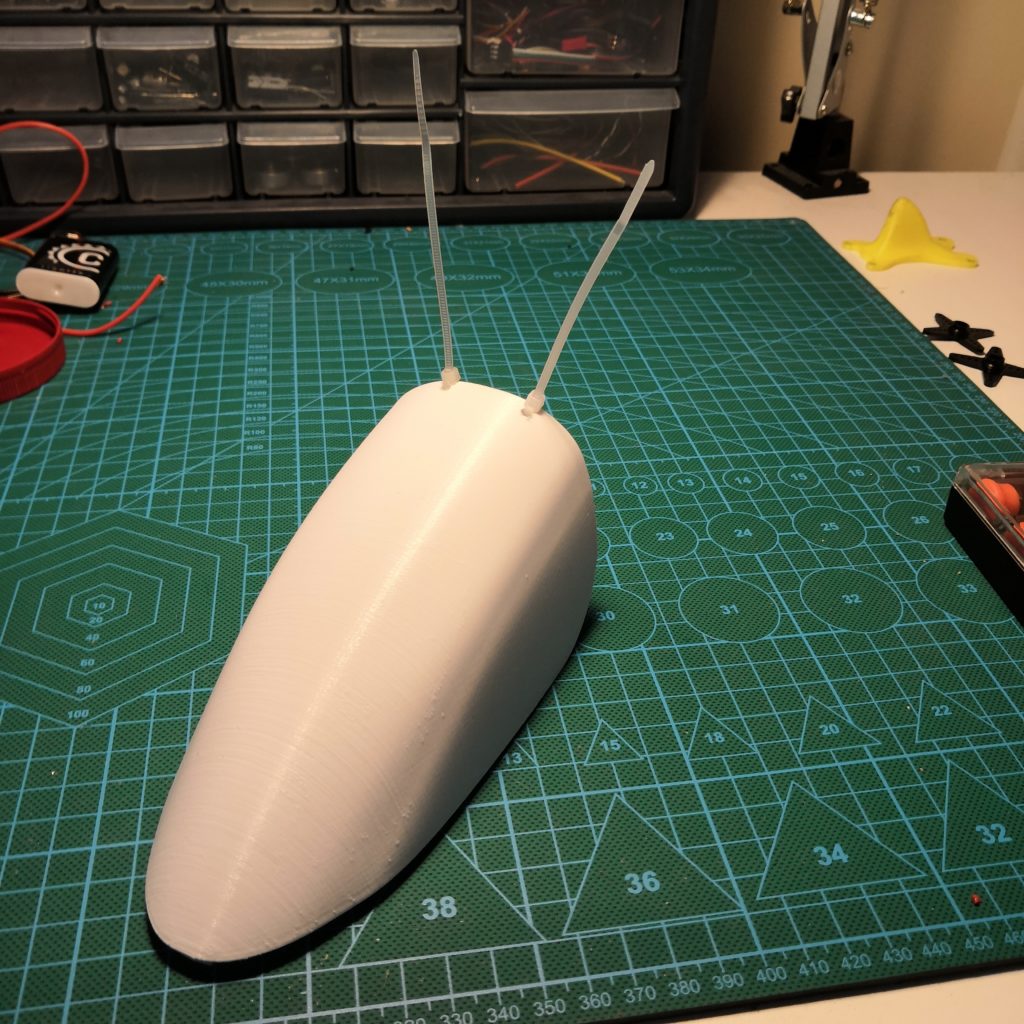
More screwdriver heating and poking holes into prints. I noticed that the original model didn’t really have any way of getting the antennas outside of the frame. I don’t know if it’s really even necessary but at least I get peace of mind knowing they are even somehow actually mounted. Then I mounted the receiver under the canopy because I had lengthy wires that allowed this easily. I think they also look kind of cool.
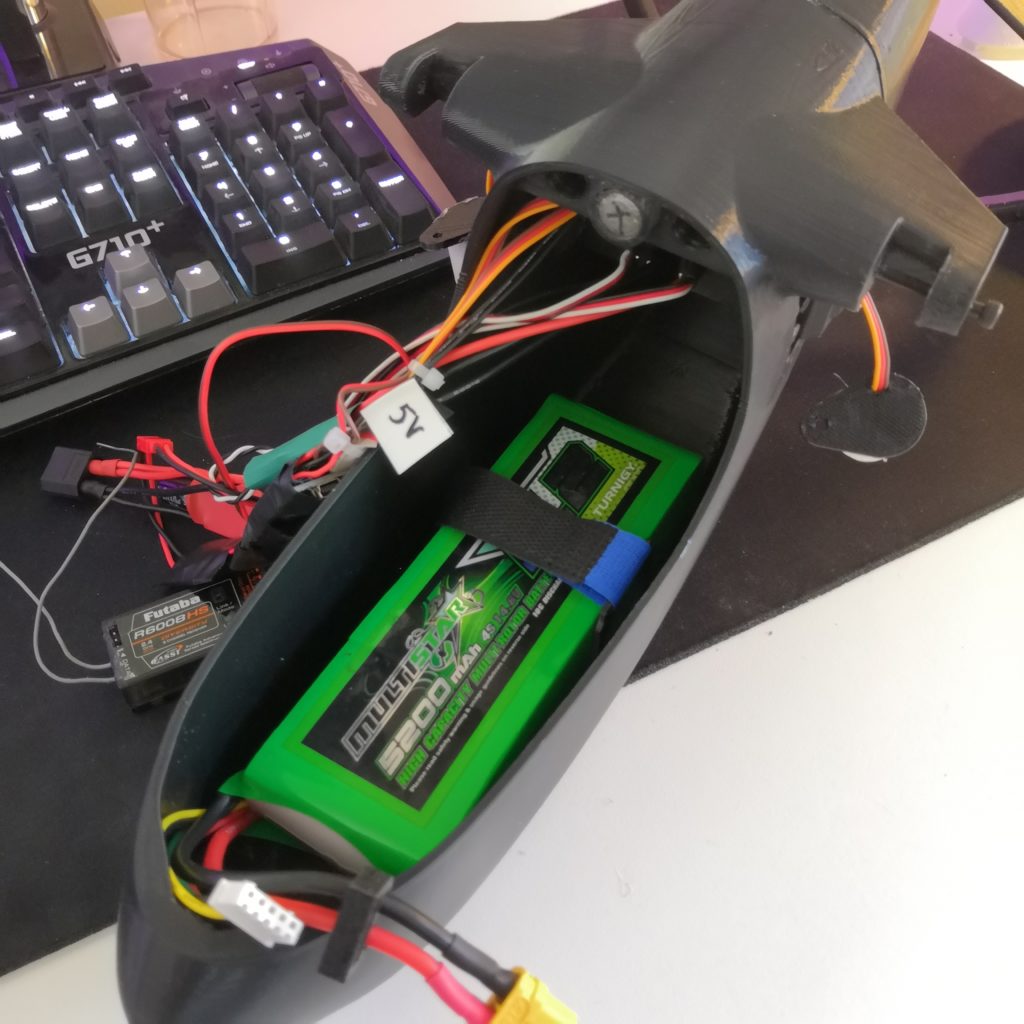
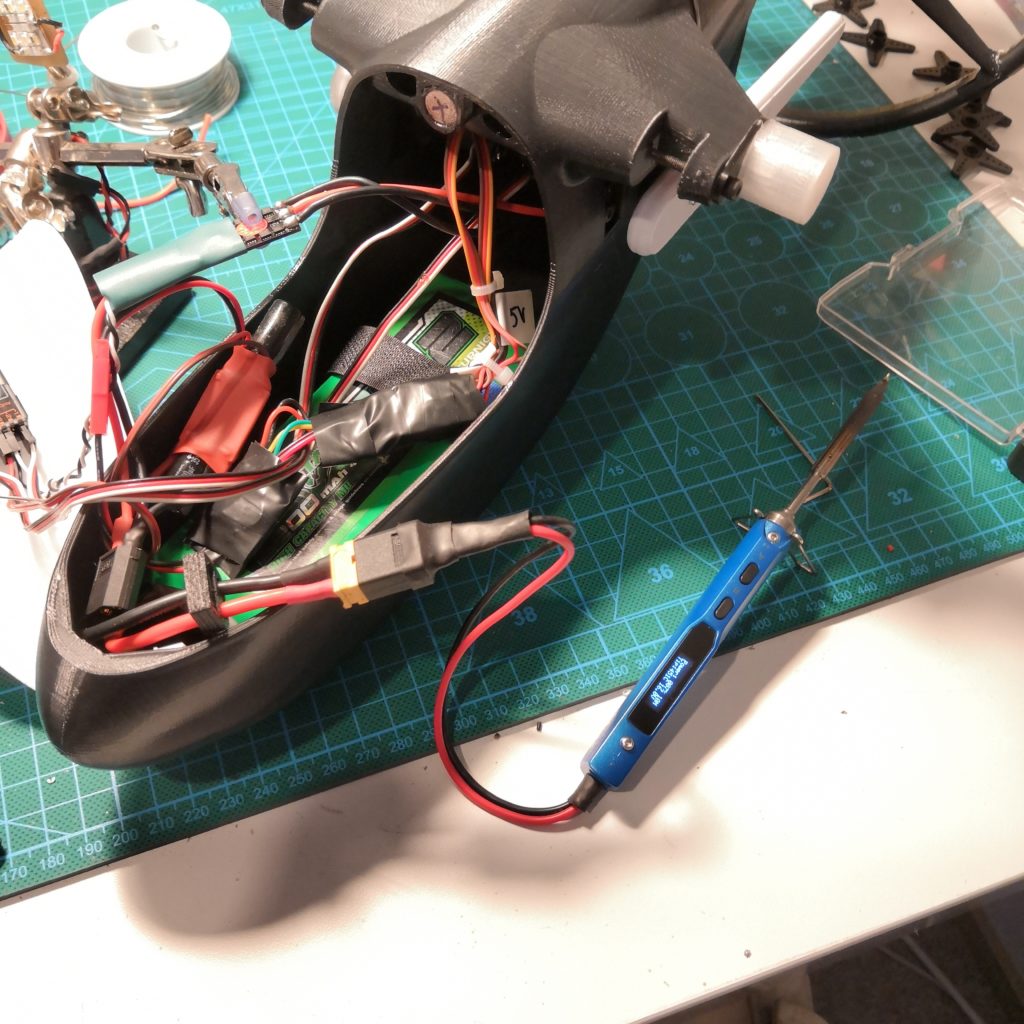
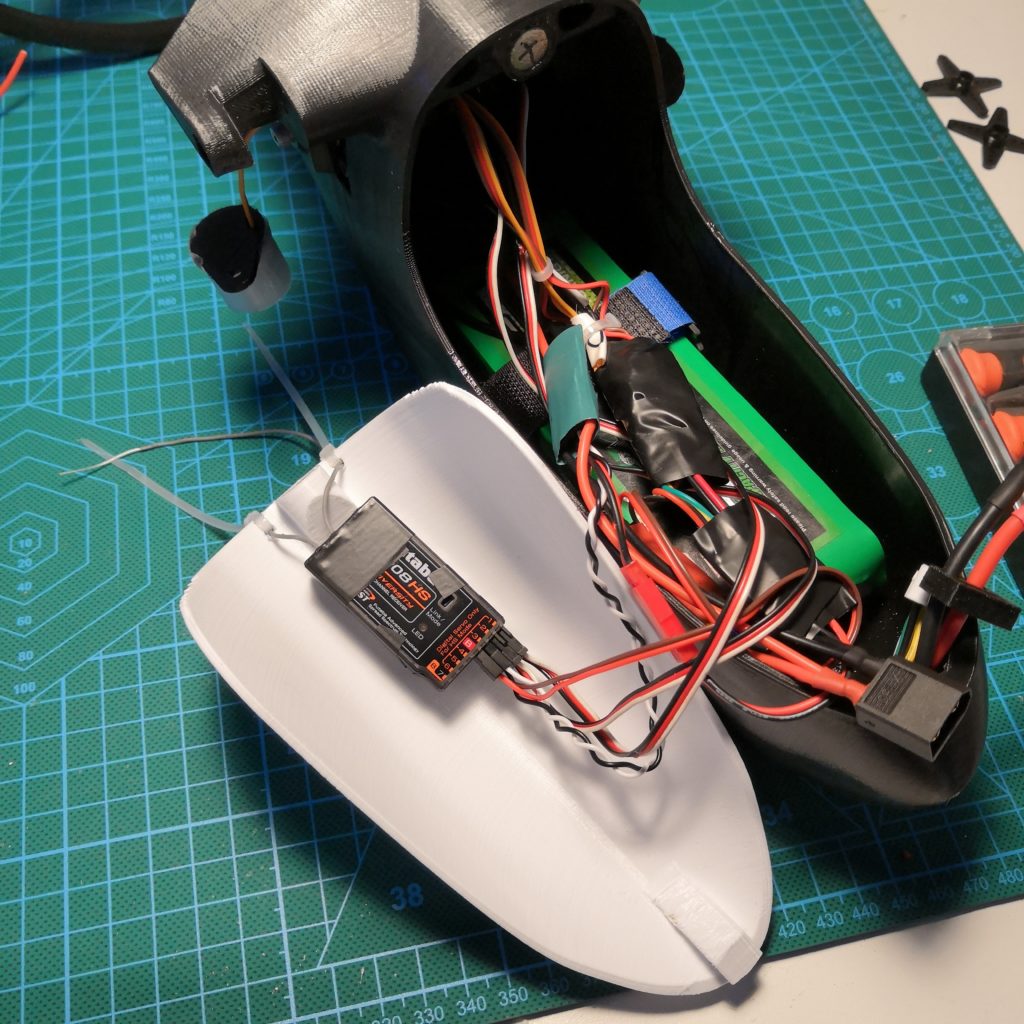
Here’s a good look in the battery compartment, and of course the motor was running into wrong direction first.
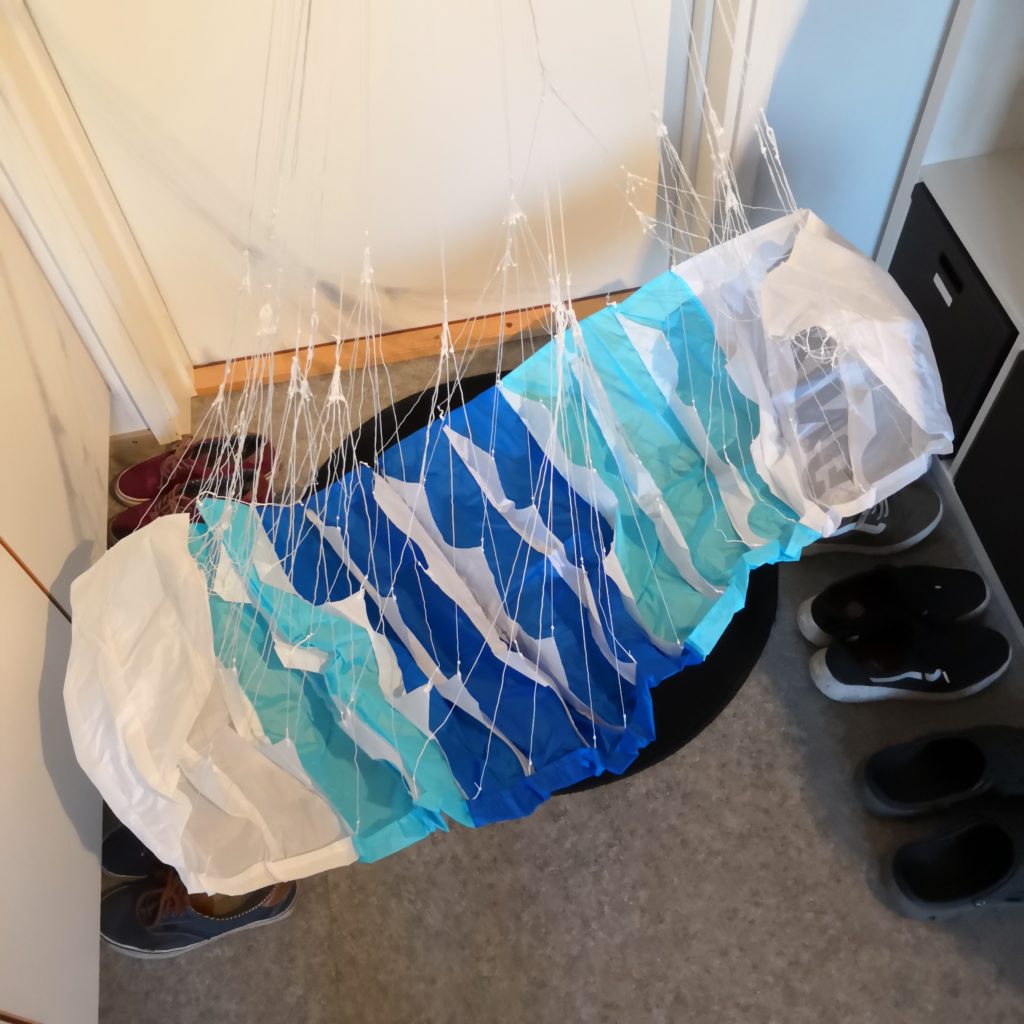
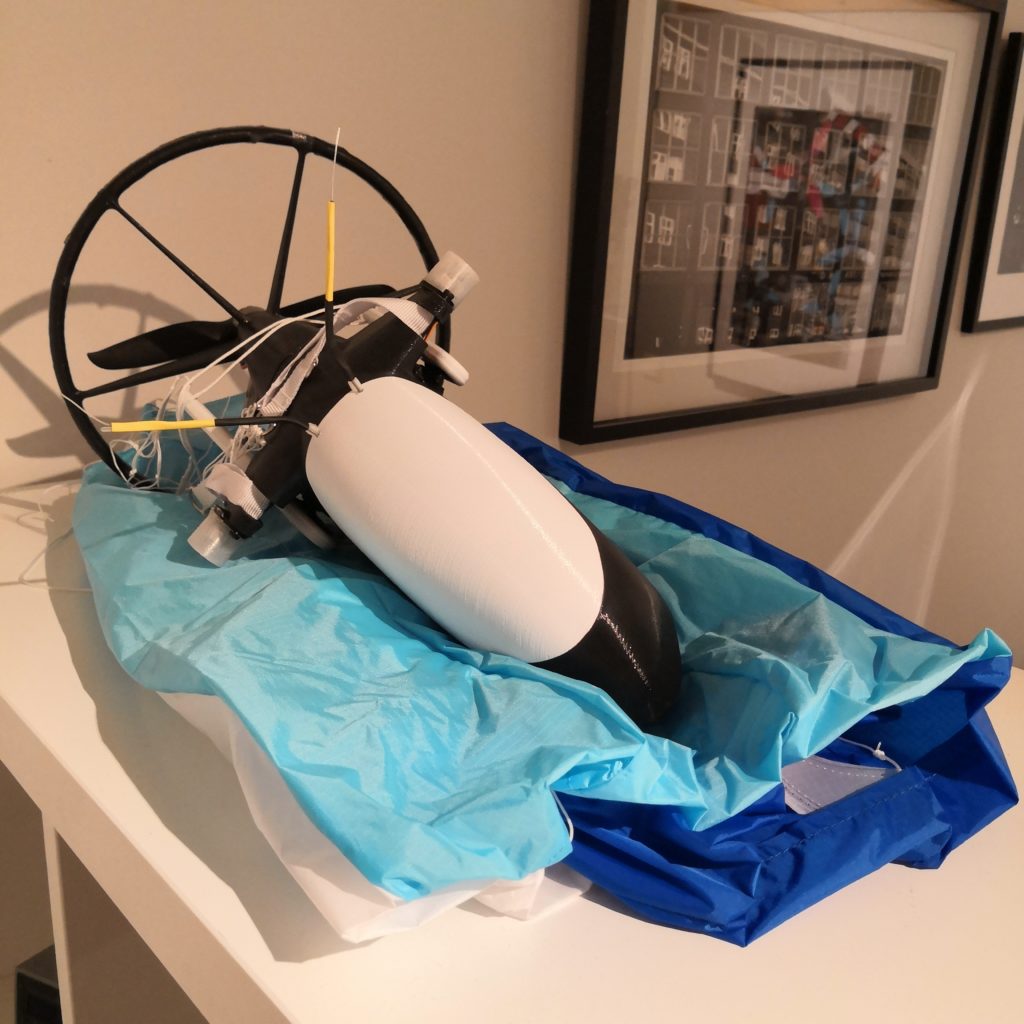
The chute, or sail, was the last thing I attached to the frame. It was actually pretty easy after giving it a little thought. Just make sure front faces forward and brake cords attach where they are supposed to.
d 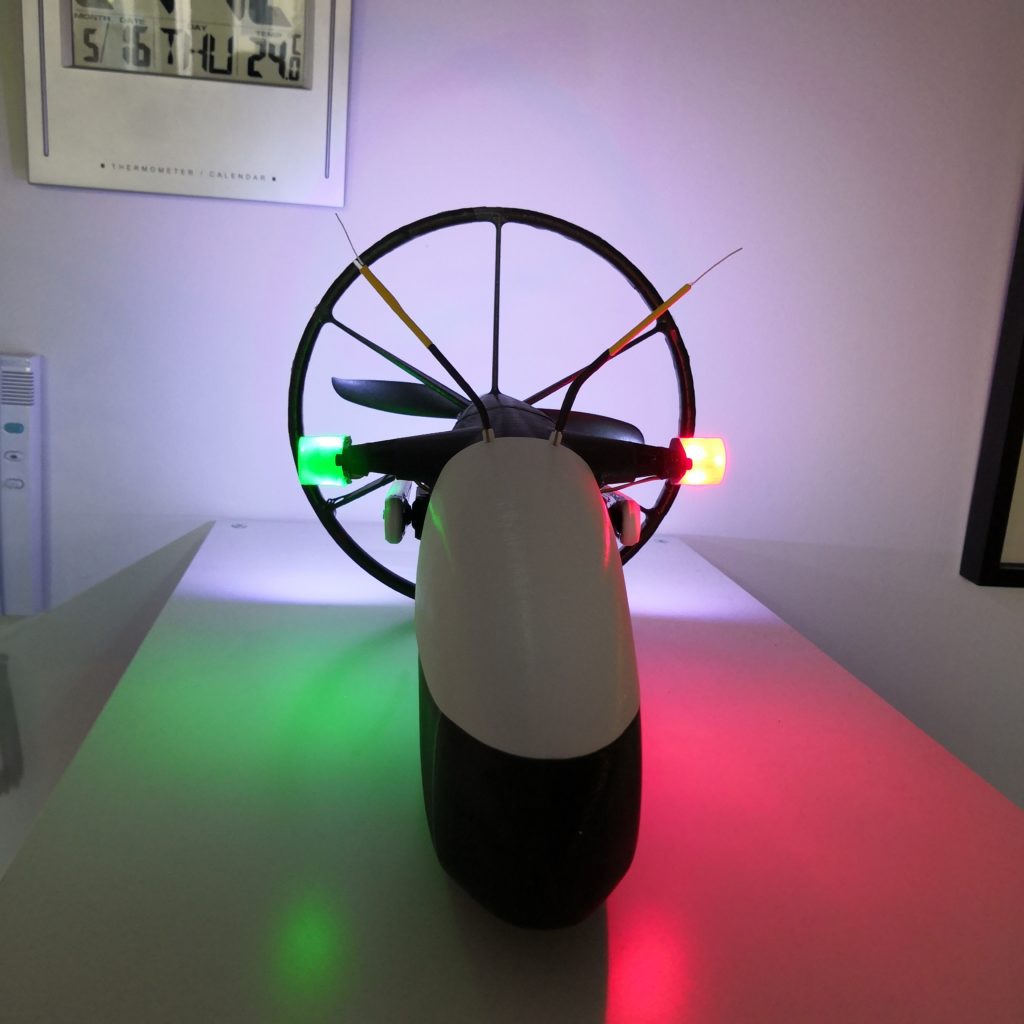
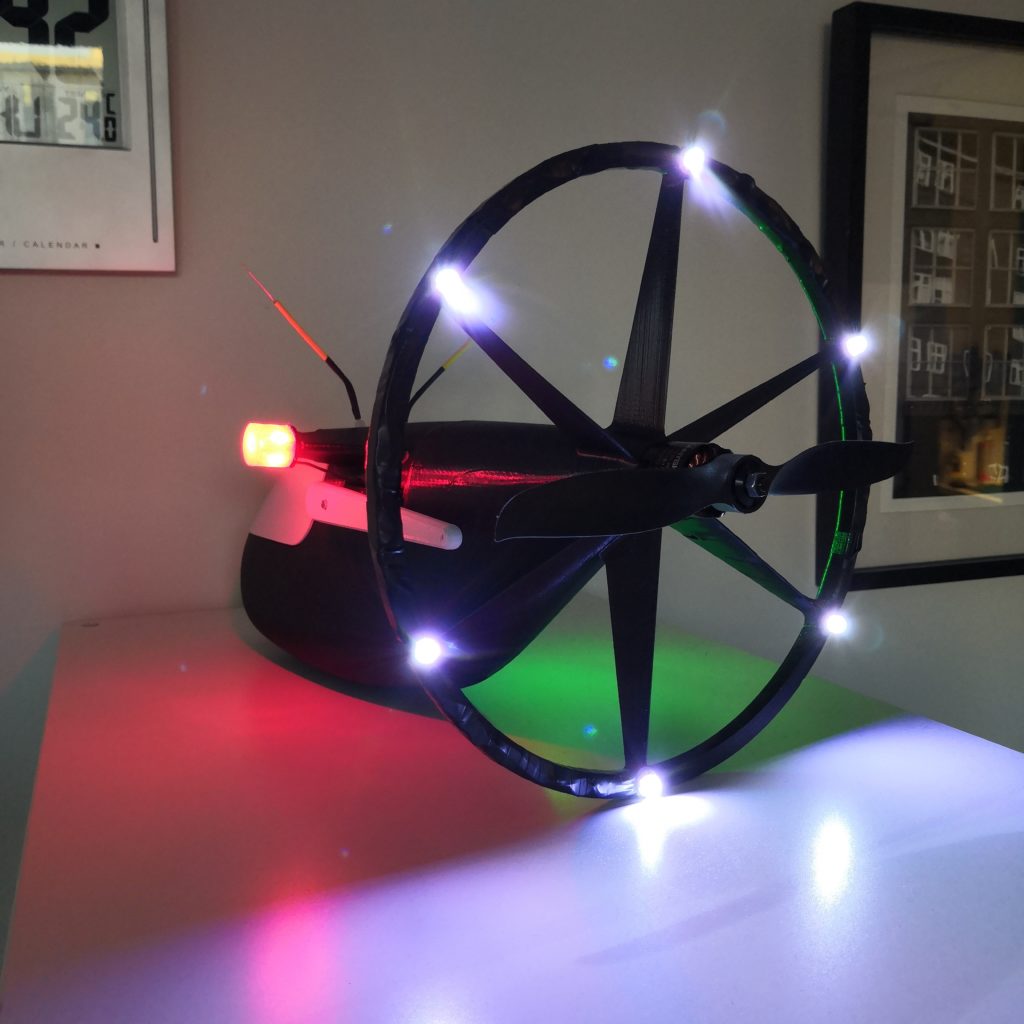
Fancy pictures.
All in all the body without chute weights around 1.2 kg but I think it might fly even better with little more weight to it. We’ll see. Adding Gopro might be enough or then I’ll use 2x 4000mAh batteries instead of single 5200mAh. Time and more testing will tell. 🙂
Video of first flight:
Bill of materials:
Parts you need at least:
- 2.4m Paramotor Sail
- 3D-printed files by Tom Stanton
- RC receiver of your choice
- 2x strong servos
- Big 5000mAh+ battery
- SunnySky X2212 980KV motor
- Racerstar 20A ESC
- 2x10mm round magnets to hold canopy in place
- Bunch of M3 screws, 20-25mm ones to mount motor and frame halves together, 8-12mm to mount servos
Parts I used to make it all shiny and pretty:
That’s about it. Future plans for this are making it into an FPV thing of course and carry a gopro on it. I’ll have to design another canopy for that but that should be easy enough.