
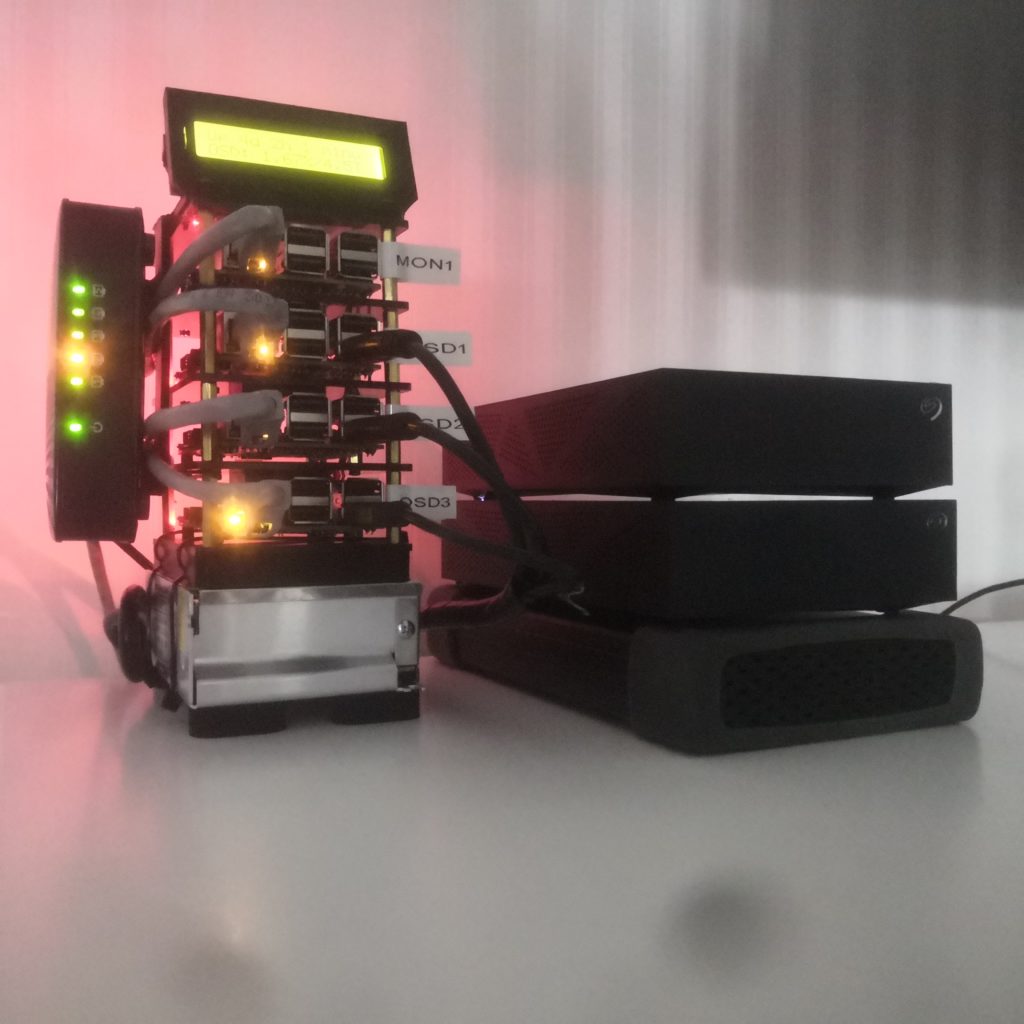
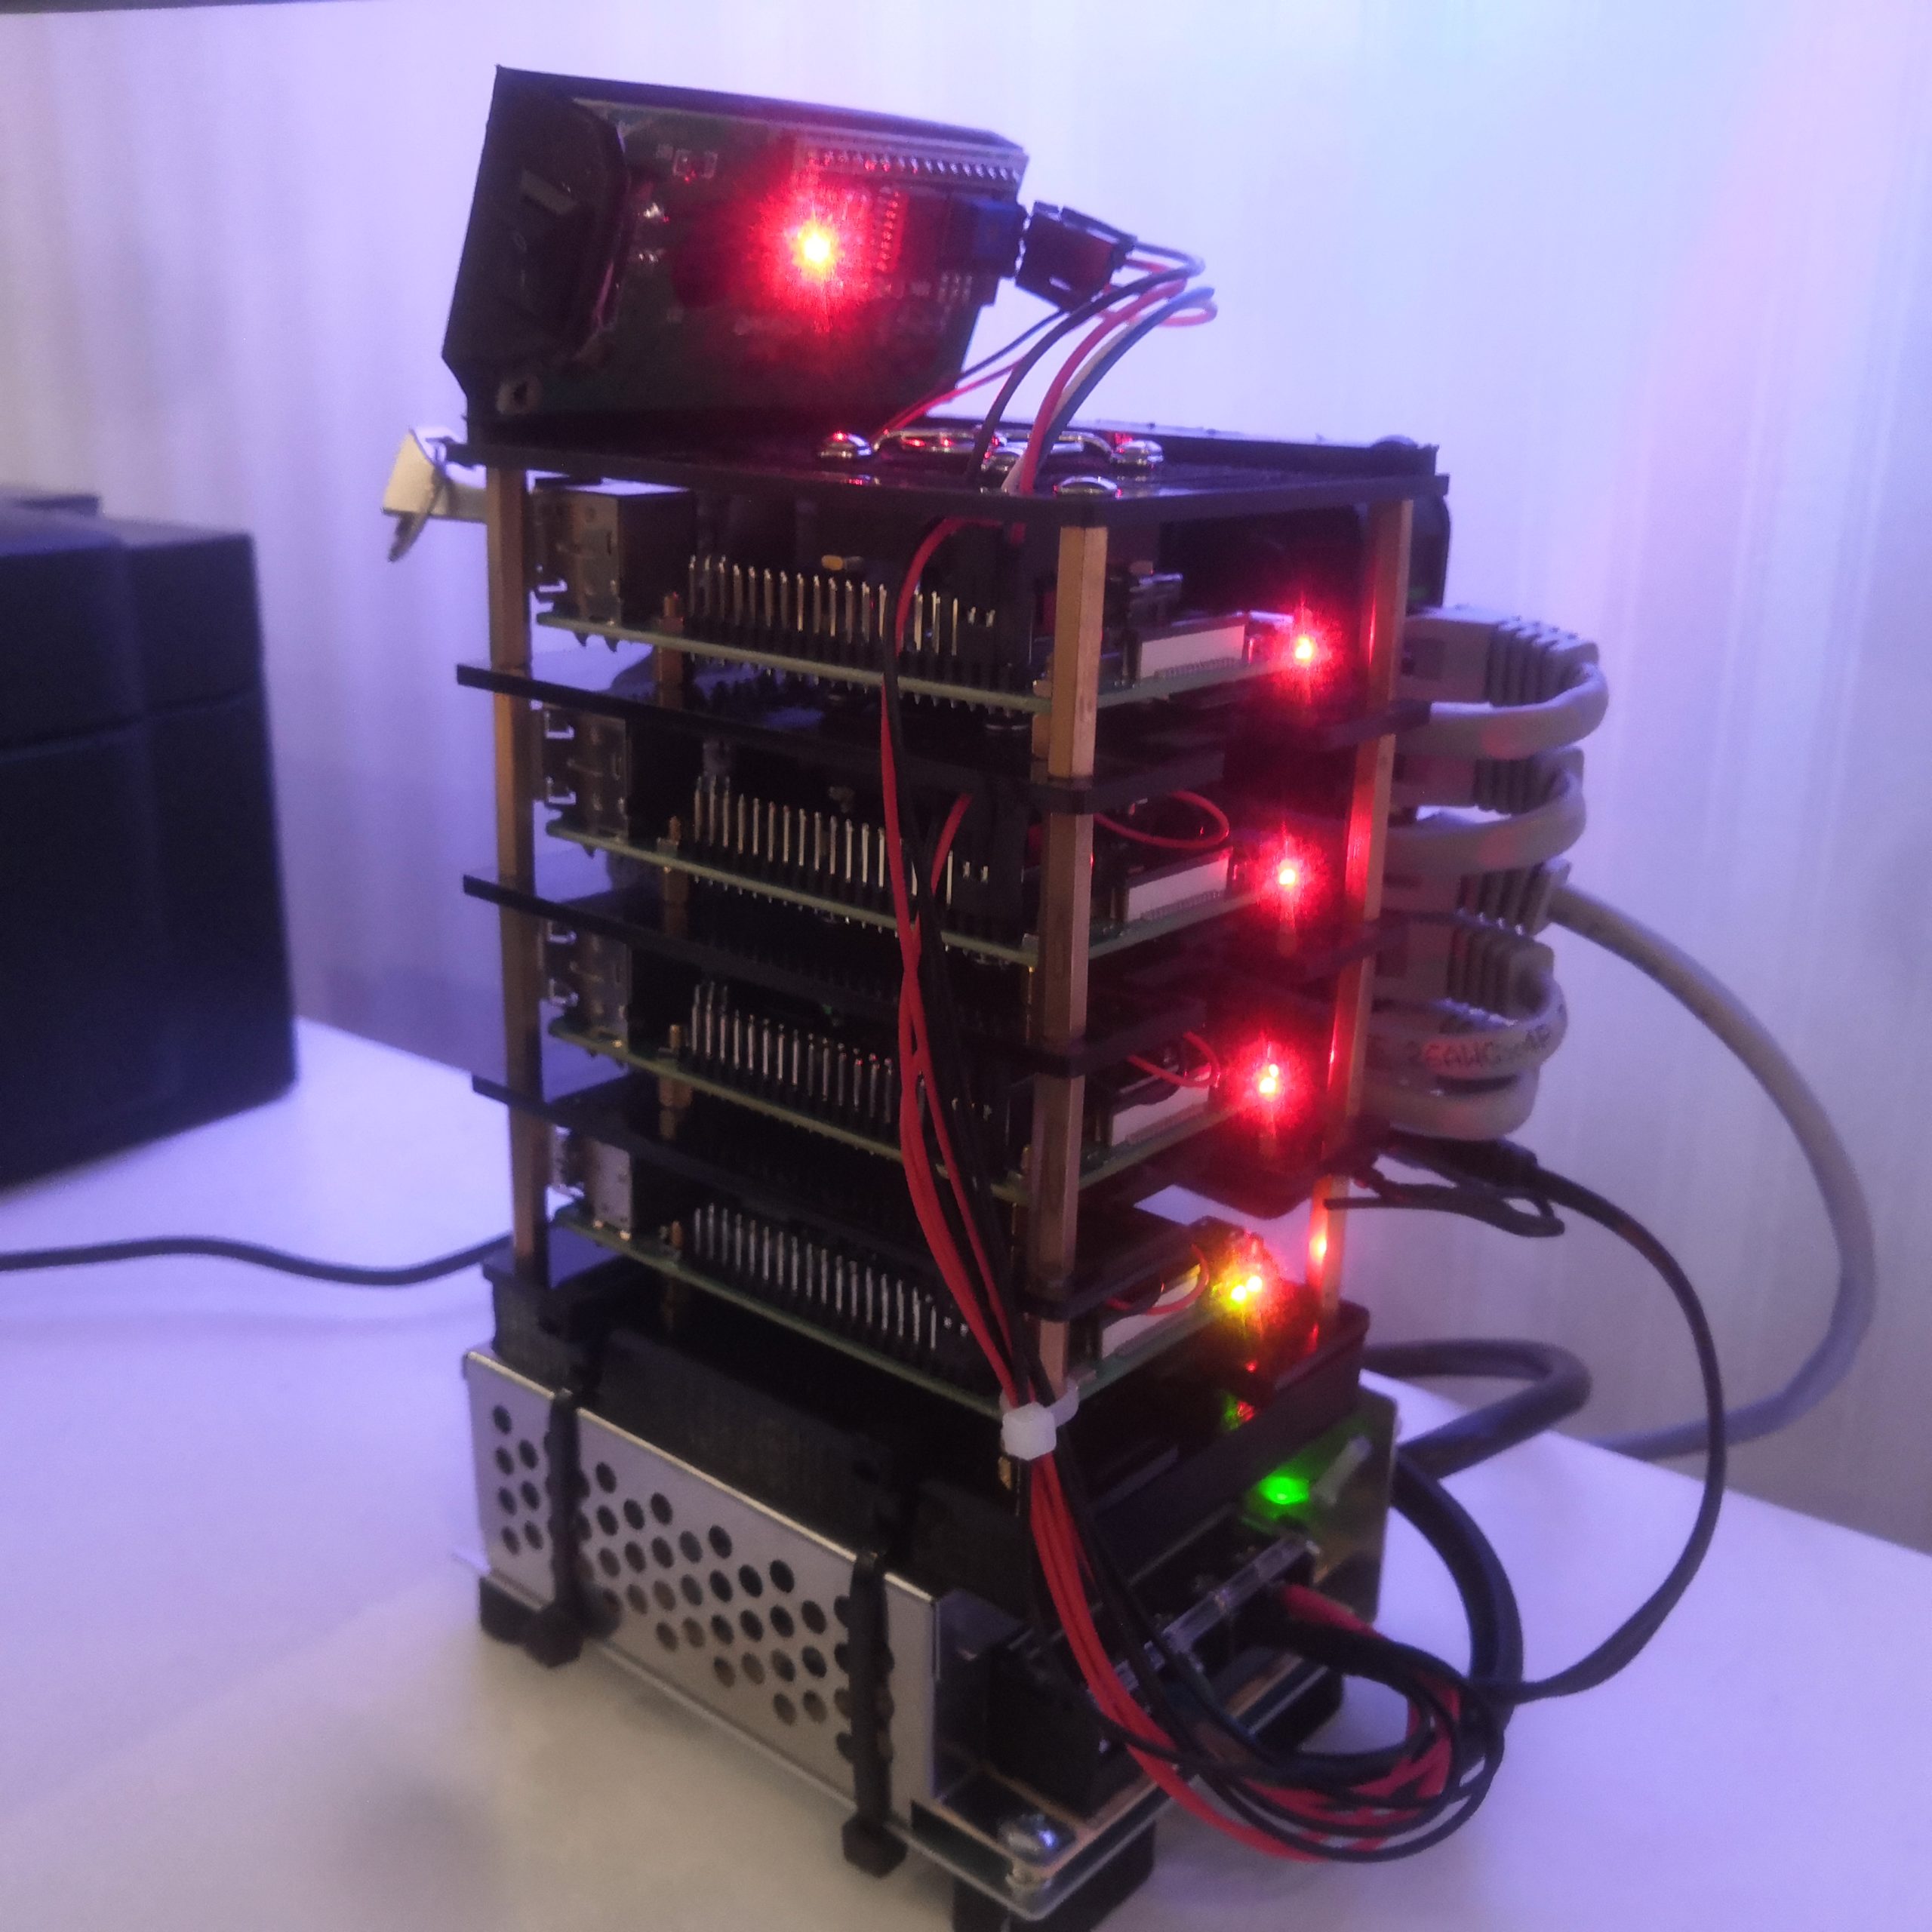
Raspberry Pi Ceph cluster
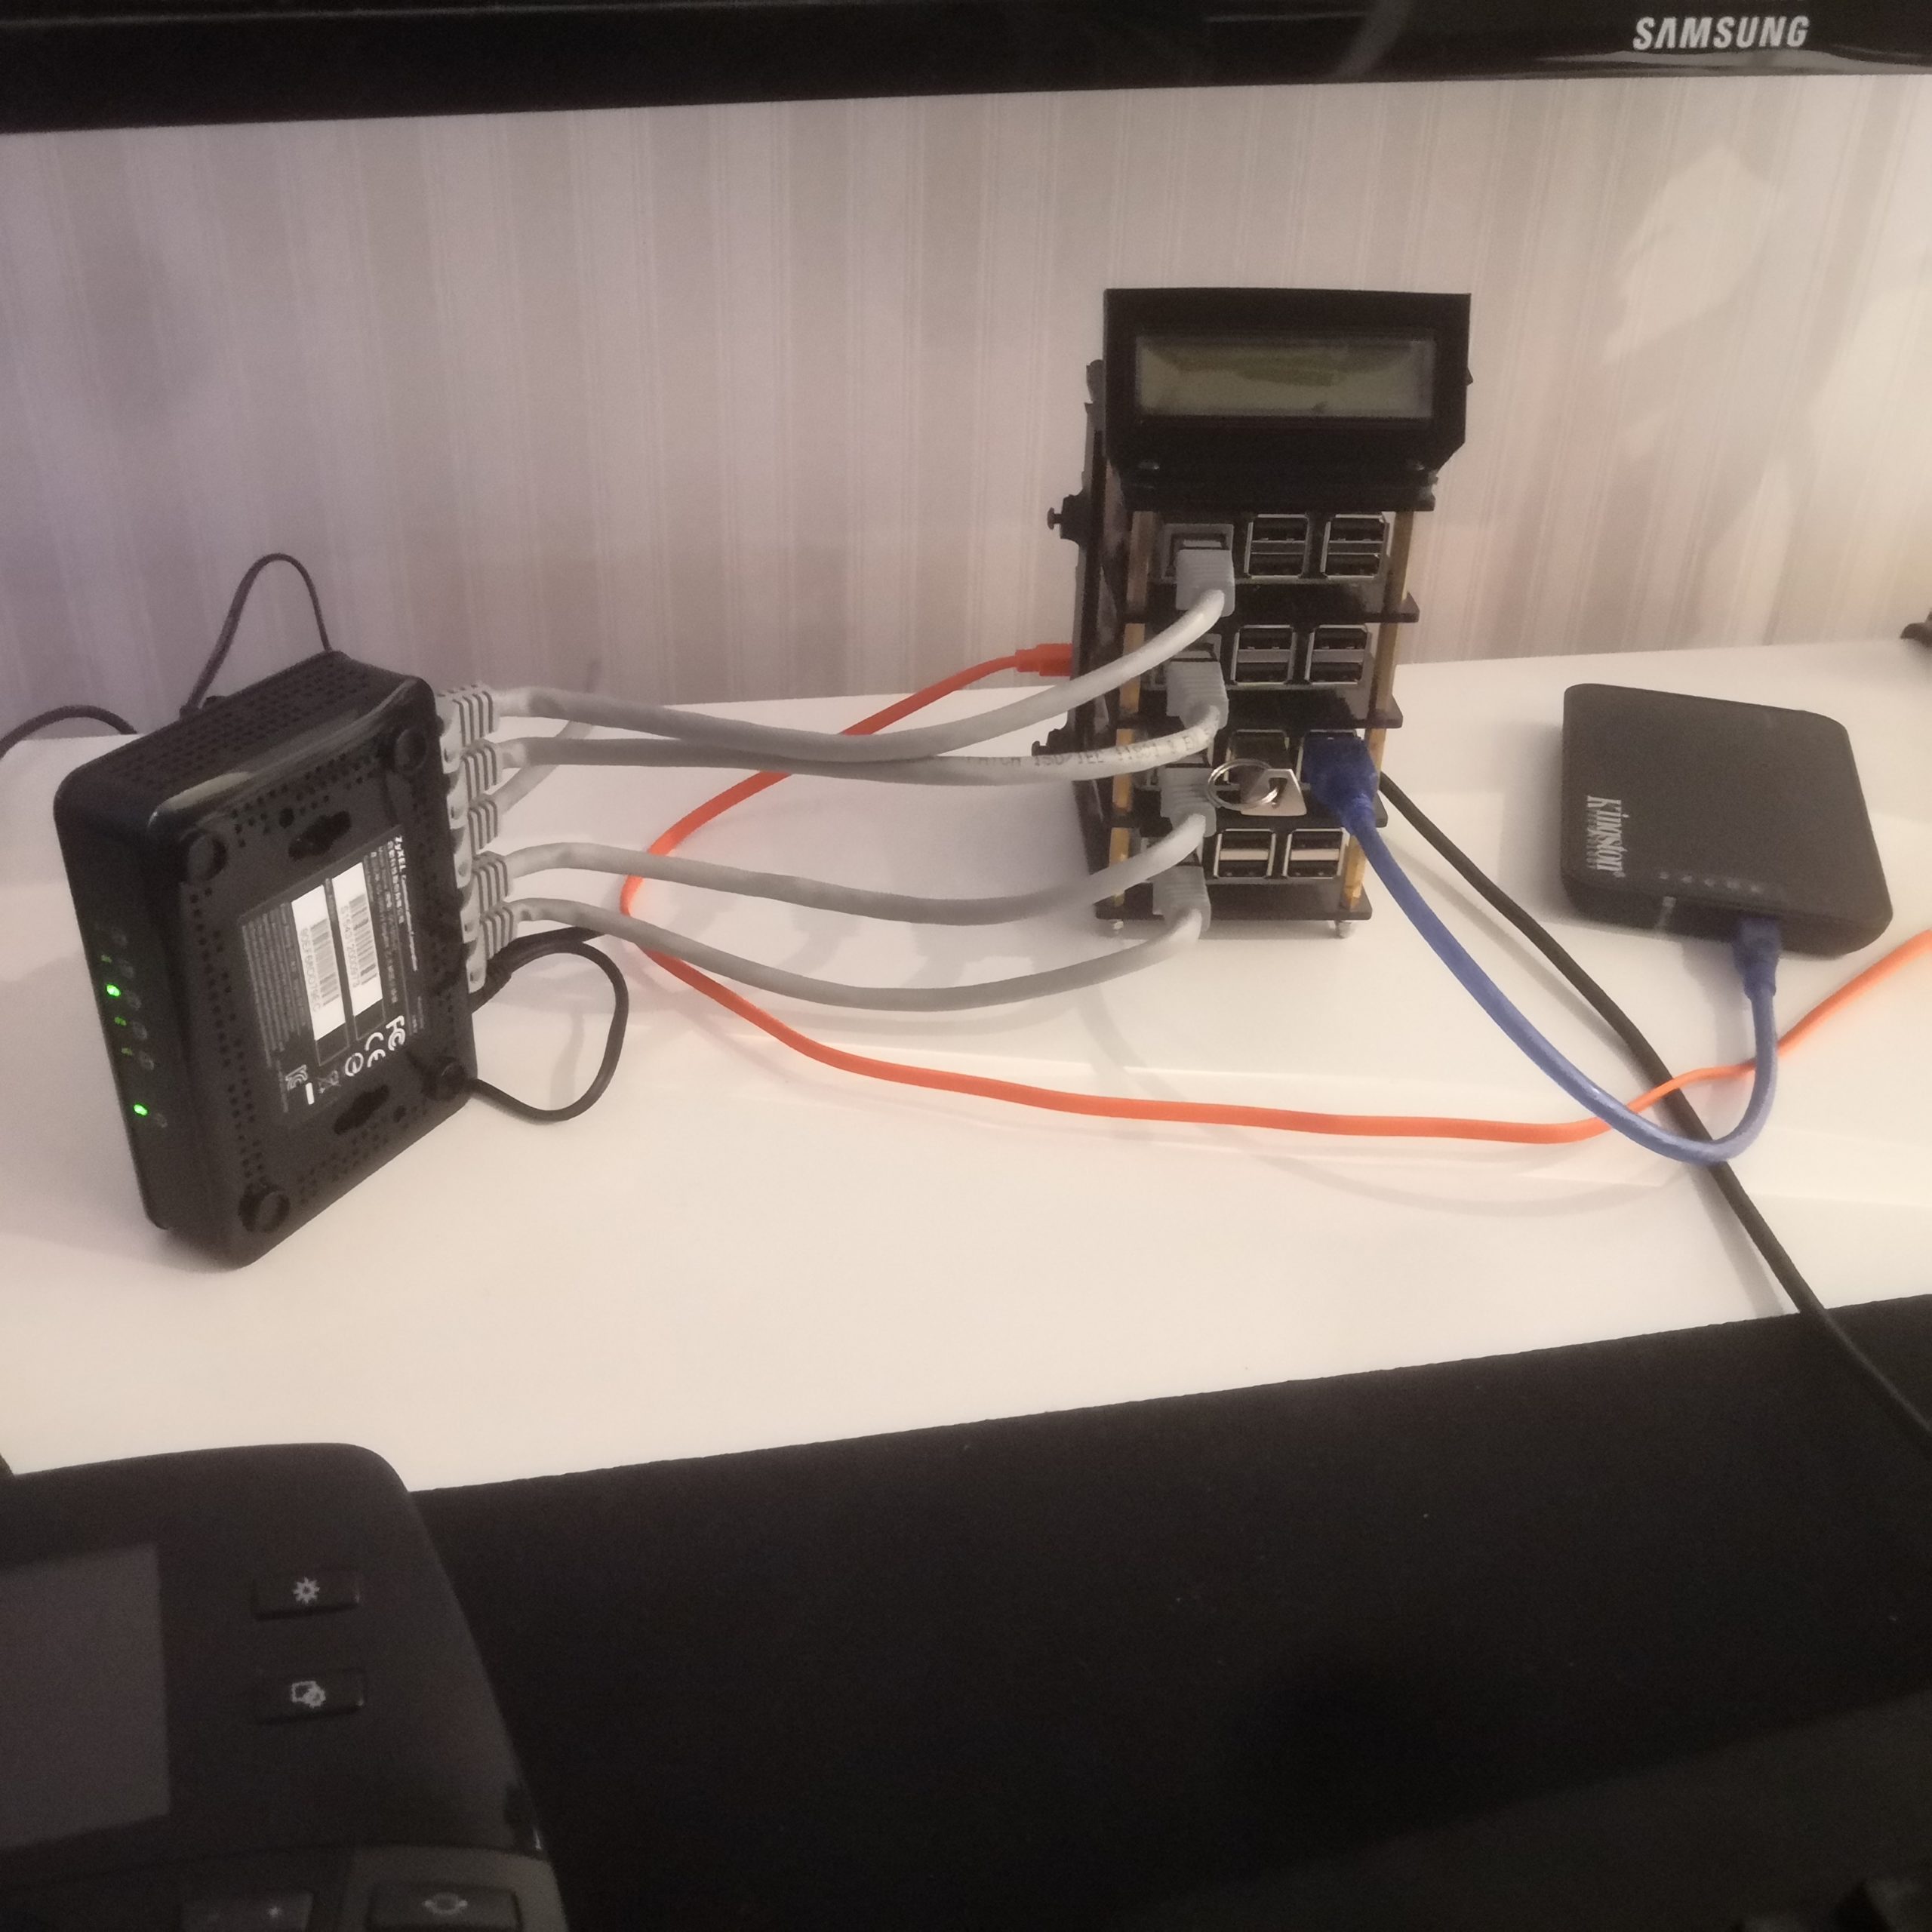
A Ceph cluster made from Raspberry Pi 3 boards.
(Three B+ models and one older non-plus board.)
Please note: this documentation is not perfect, it’s made for cephs “pacific” release, touches only those things that I have come across to and is mostly just a tutorial / journal for myself.
Real ceph docs: https://docs.ceph.com/en/latest/
If you came here only to figure out how to get ceph running on Pi’s, heres the main points:
- Use Ubuntu 21.04 Server or newer release made for rpi. RaspiOS or older Ubuntu’s won’t work.
- Increase the swap file a lot, to like 8GB.
- Use wired ethernet
Anyway…
If I remember correctly I was browsing the /g/-section of 4chan when I stumbled upon someone mentioning ceph as an option for NAS at home. I did some reading what Ceph actually even was and found this promo video:
I was sold, to me this did seem like a technology that I’m very interested to learn more about.
Open source, scalable, failure resistant, can run on any hardware, what else can you wish from a storage solution? It even has a great documentation.
I’m a big fan of everything when it comes to data storage, pc hardware and inexpensive computers like raspberries so then and there I knew what I wanted to try and do.
I found this article and used it as my initial starting point but later didn’t follow it much at all. However I kept the same idea of having 4 pis, one as a monitor node and three osd nodes.
Building the cluster
This part is obviously somewhat optional as your cluster can physically look however you want it to. It can be clean stack of Pis built on a purpose made case like I have but throwing them into a shoebox or having them just lay on a table works just as well. Keep in mind that at least some sort of air circulation is needed and even more so if you pack them very tightly.
Here I’ll briefly show you with pictures how I built my cluster and what I used to make it look as clean as I wanted it to.
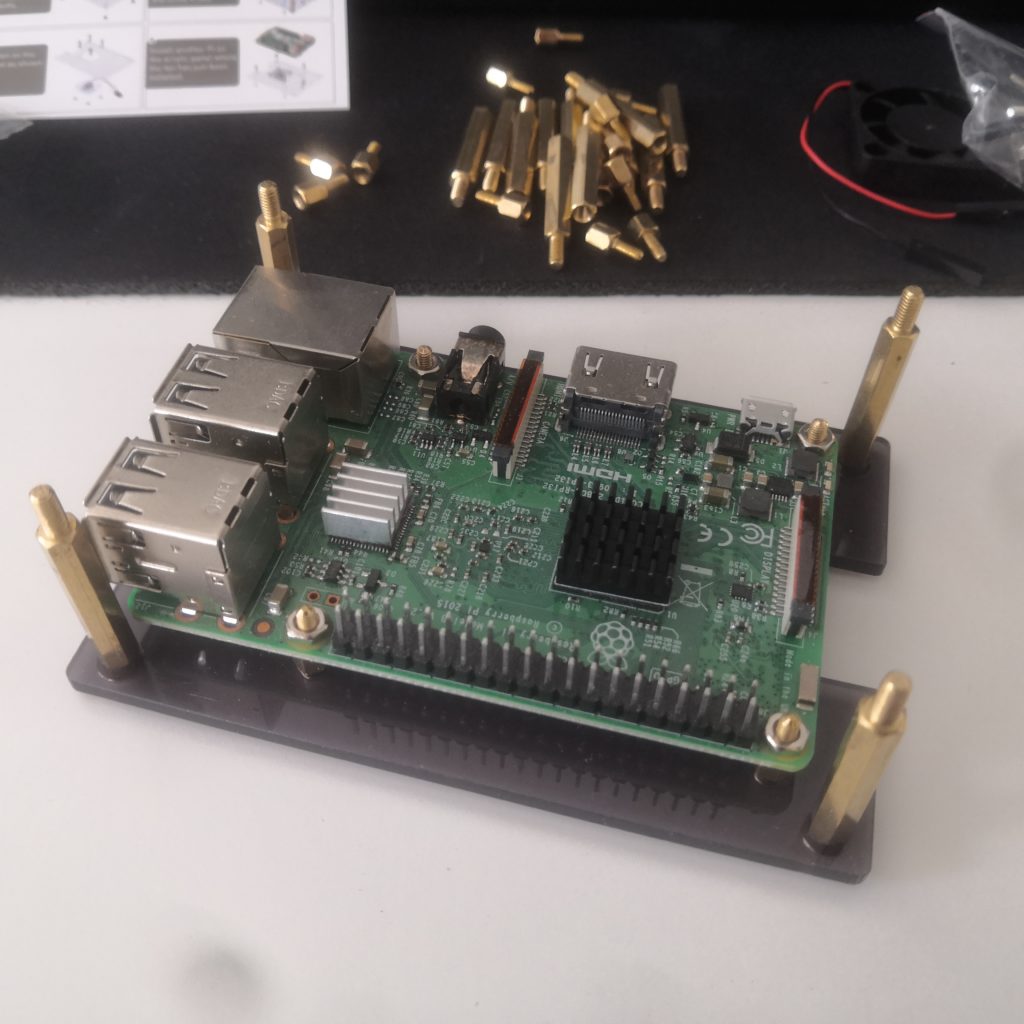
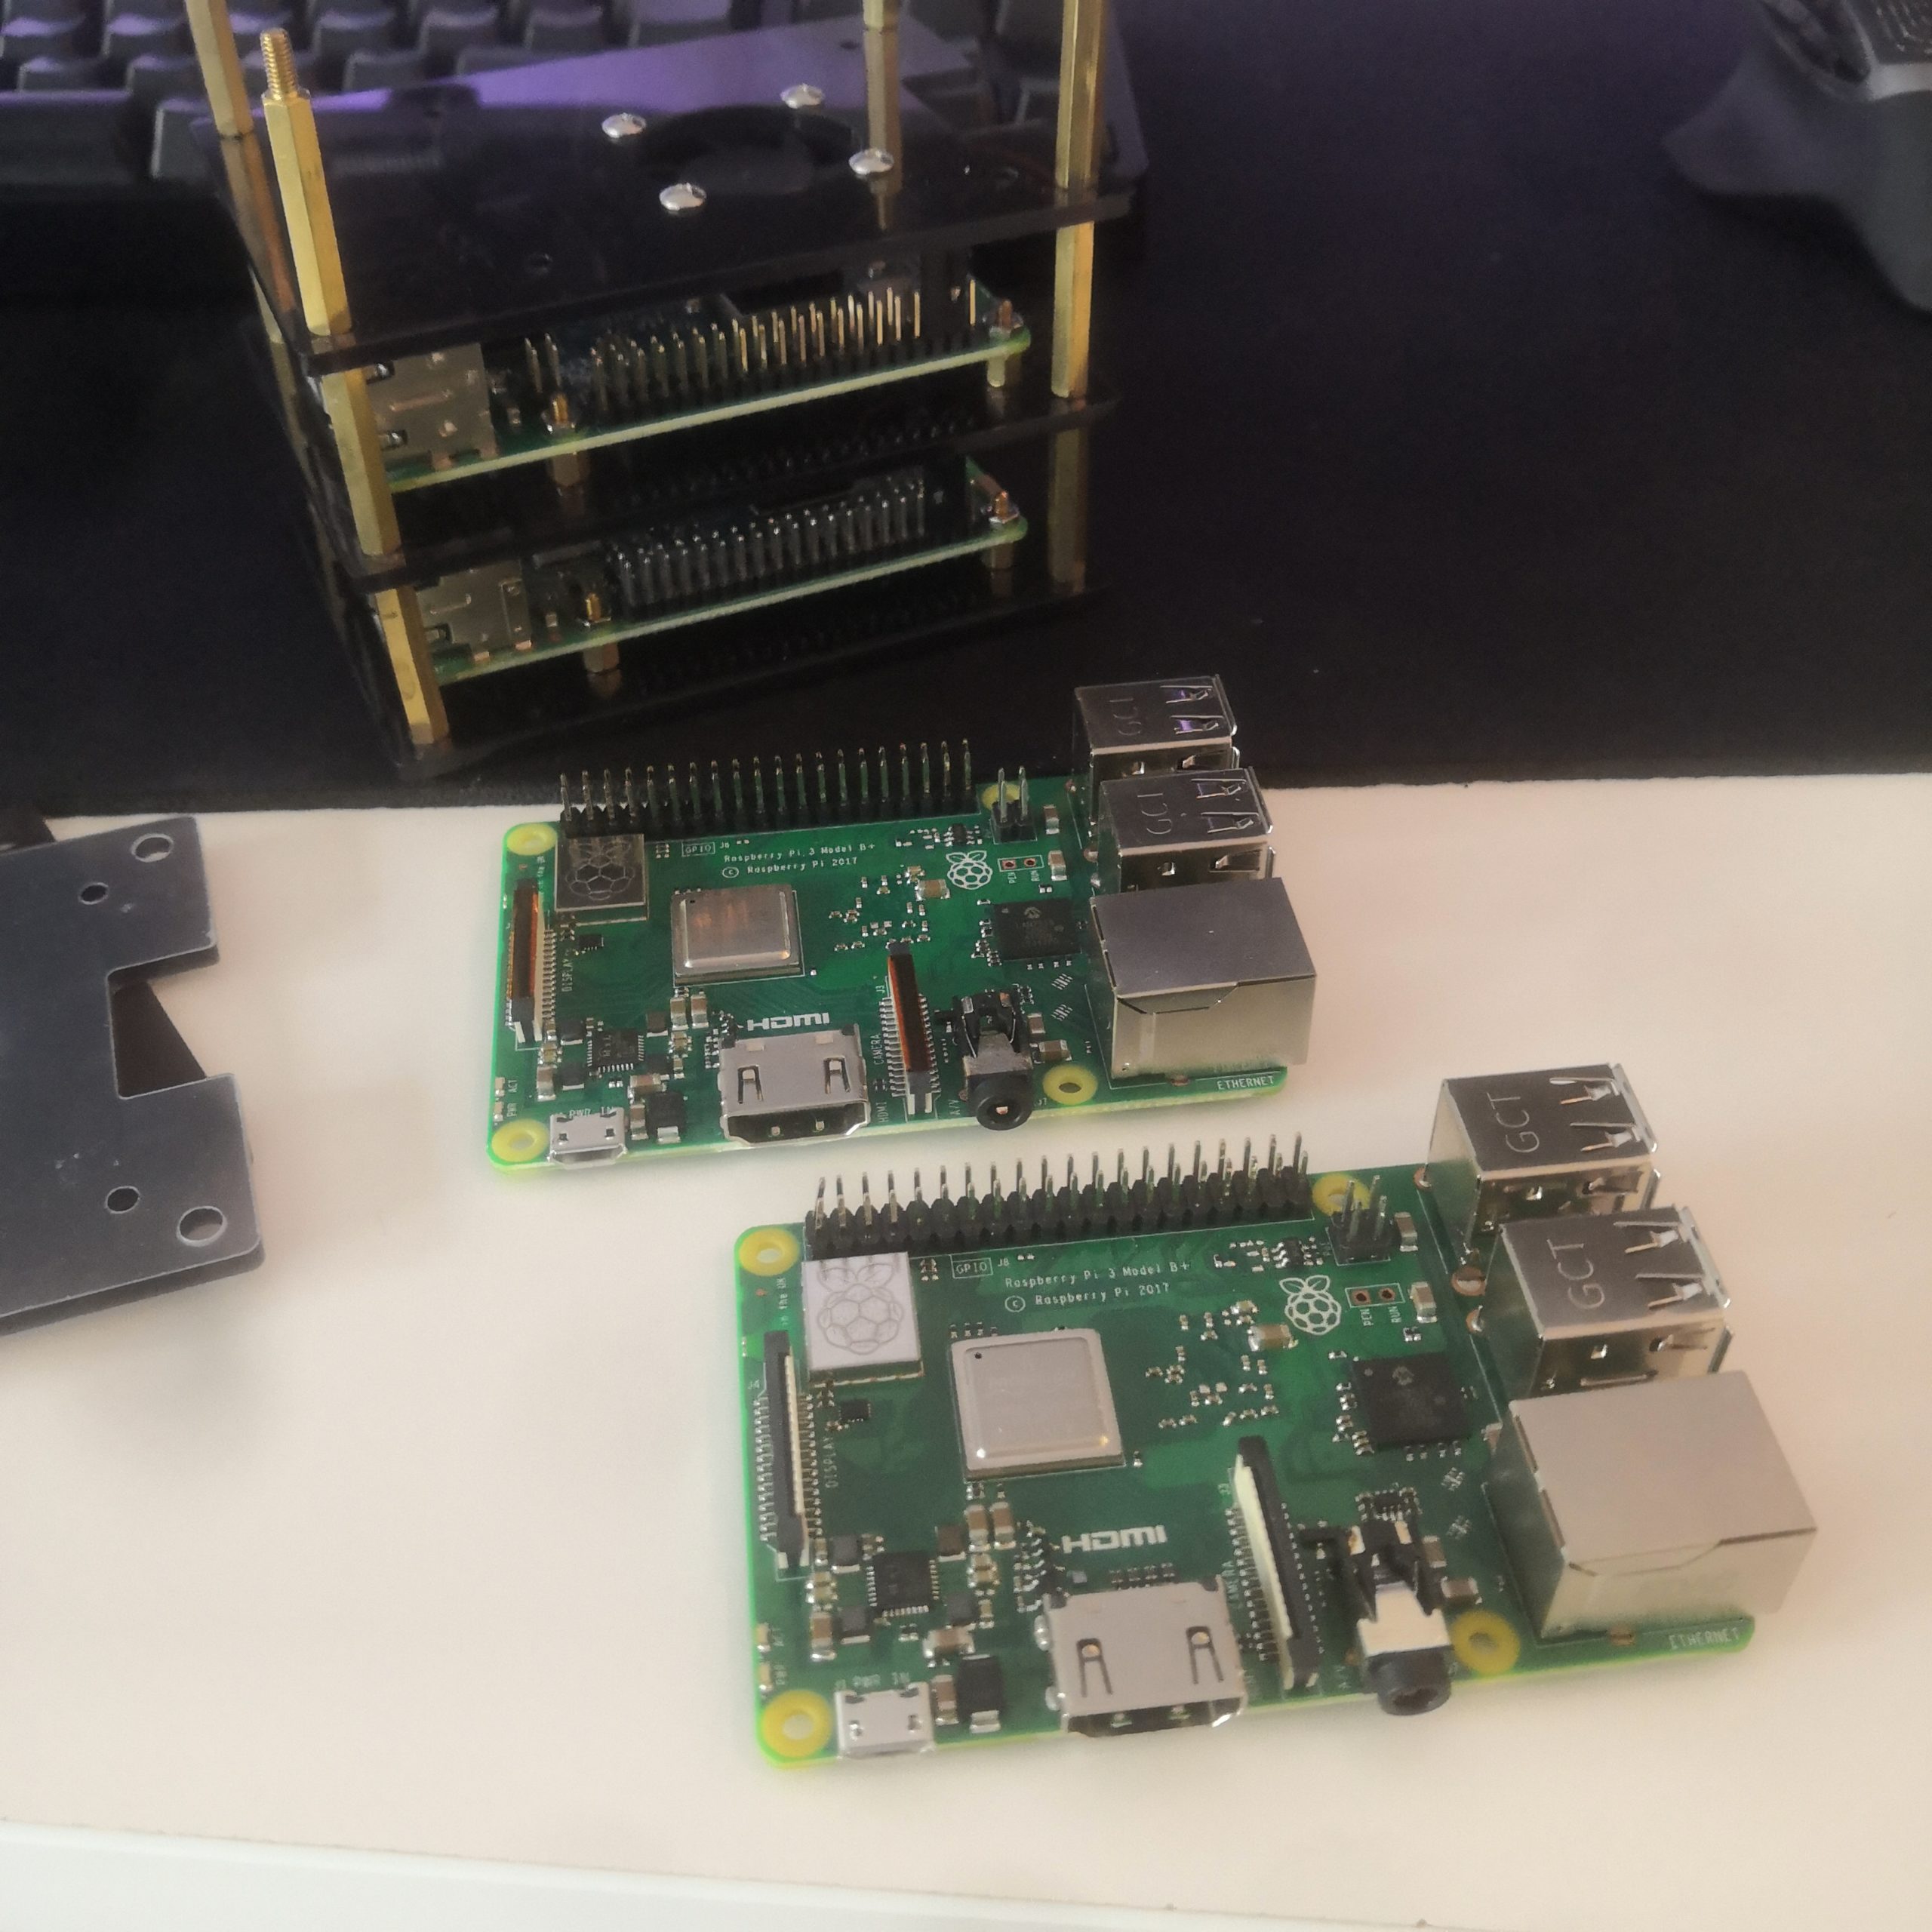
A single pi 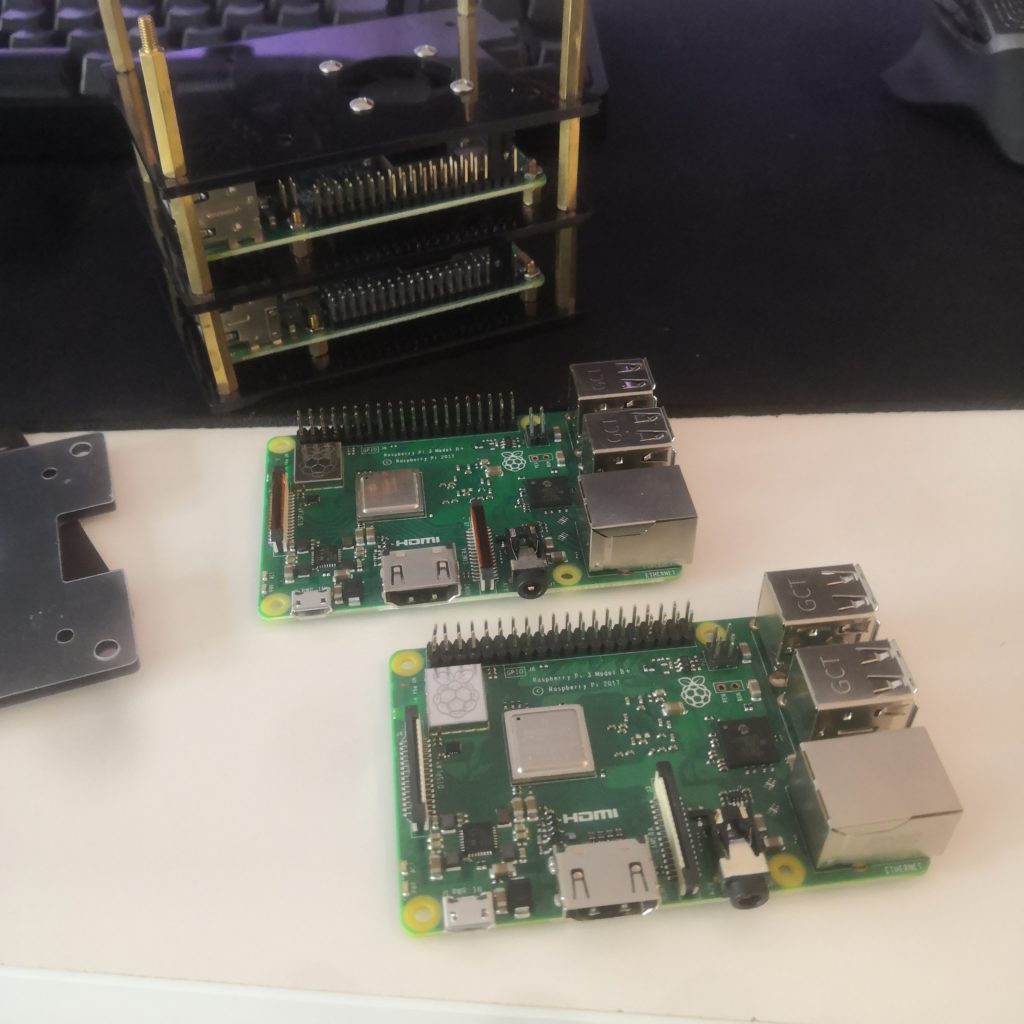
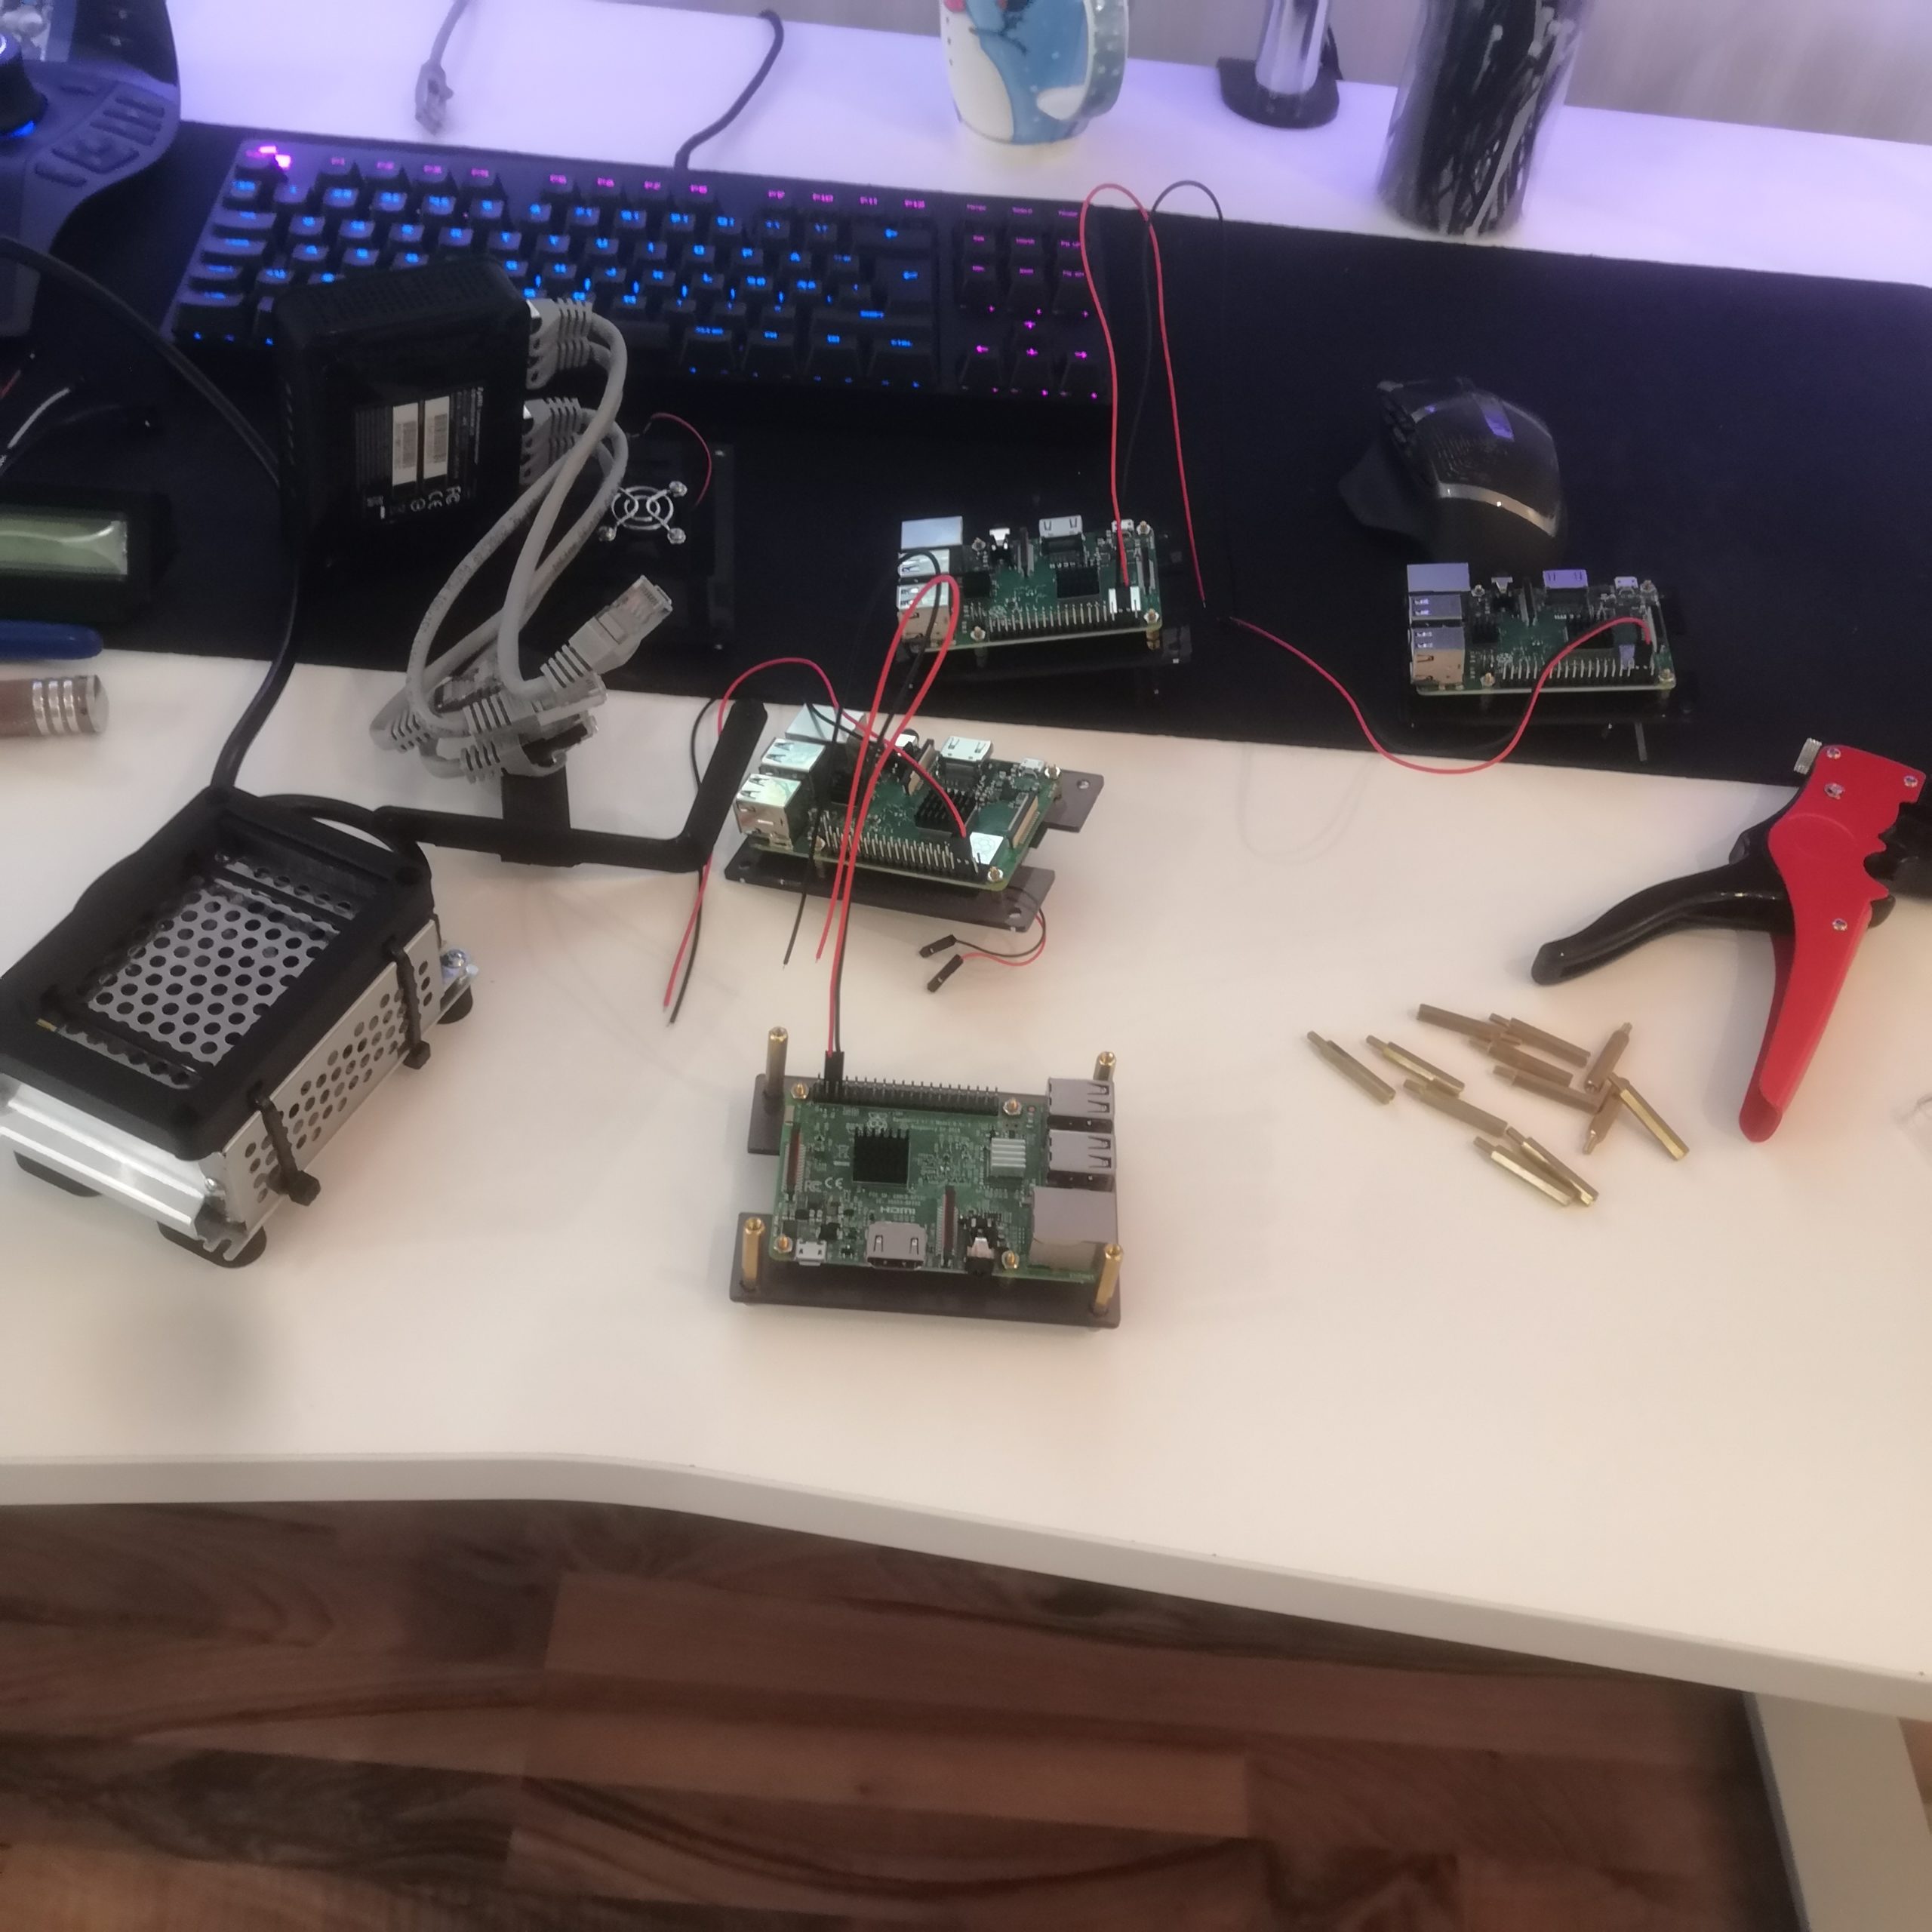
Assembling the stack 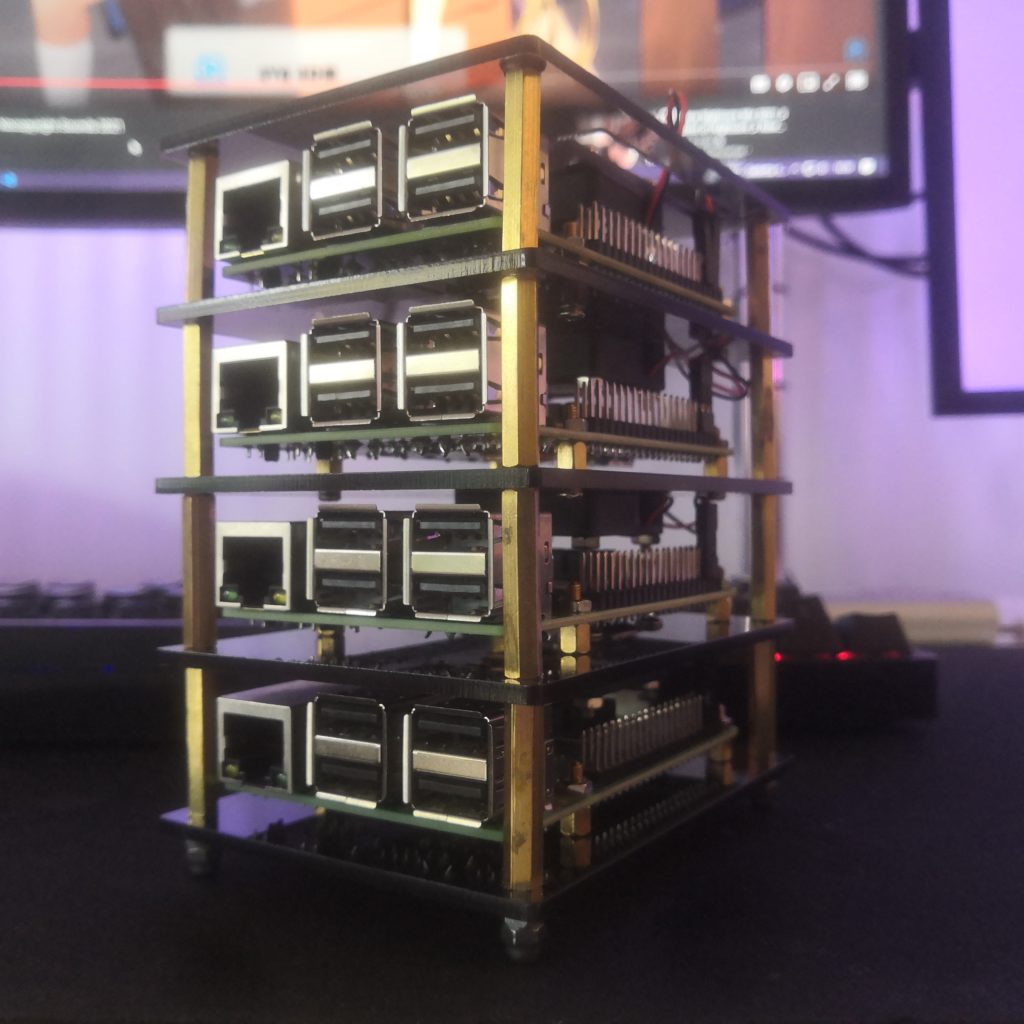
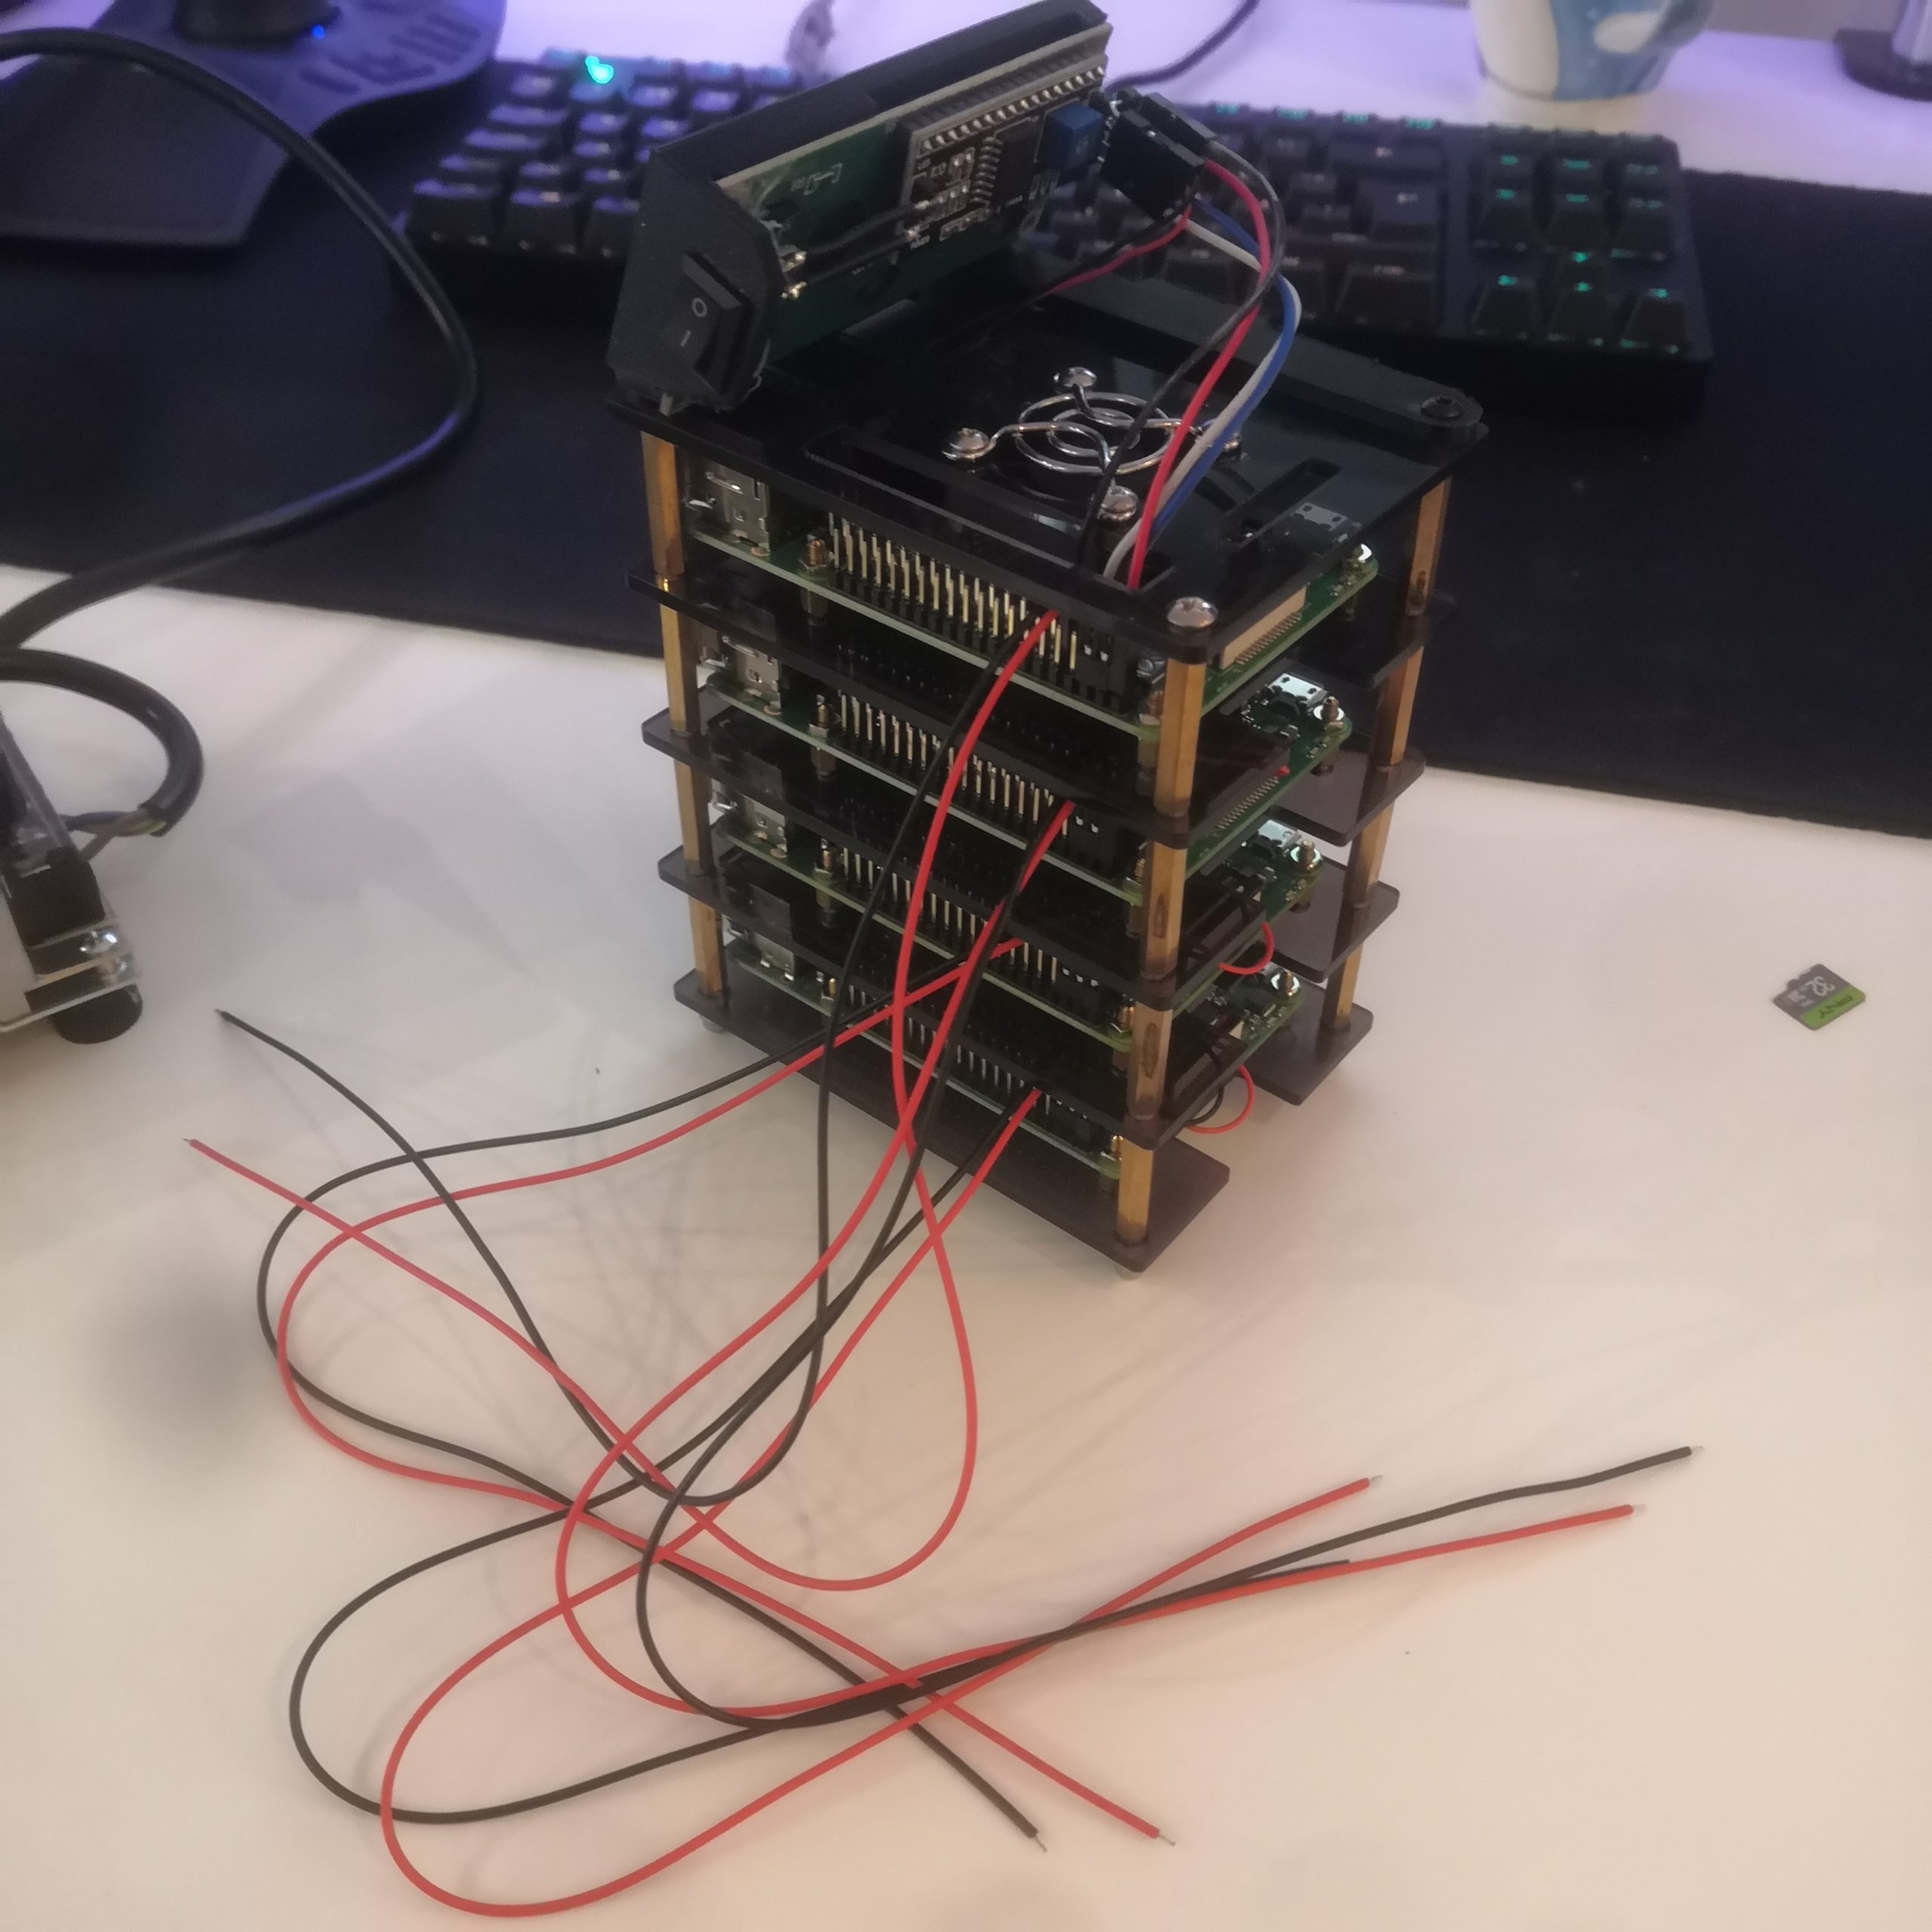
Assembled, but… 
You have to add the power wires at this point before you put it together… 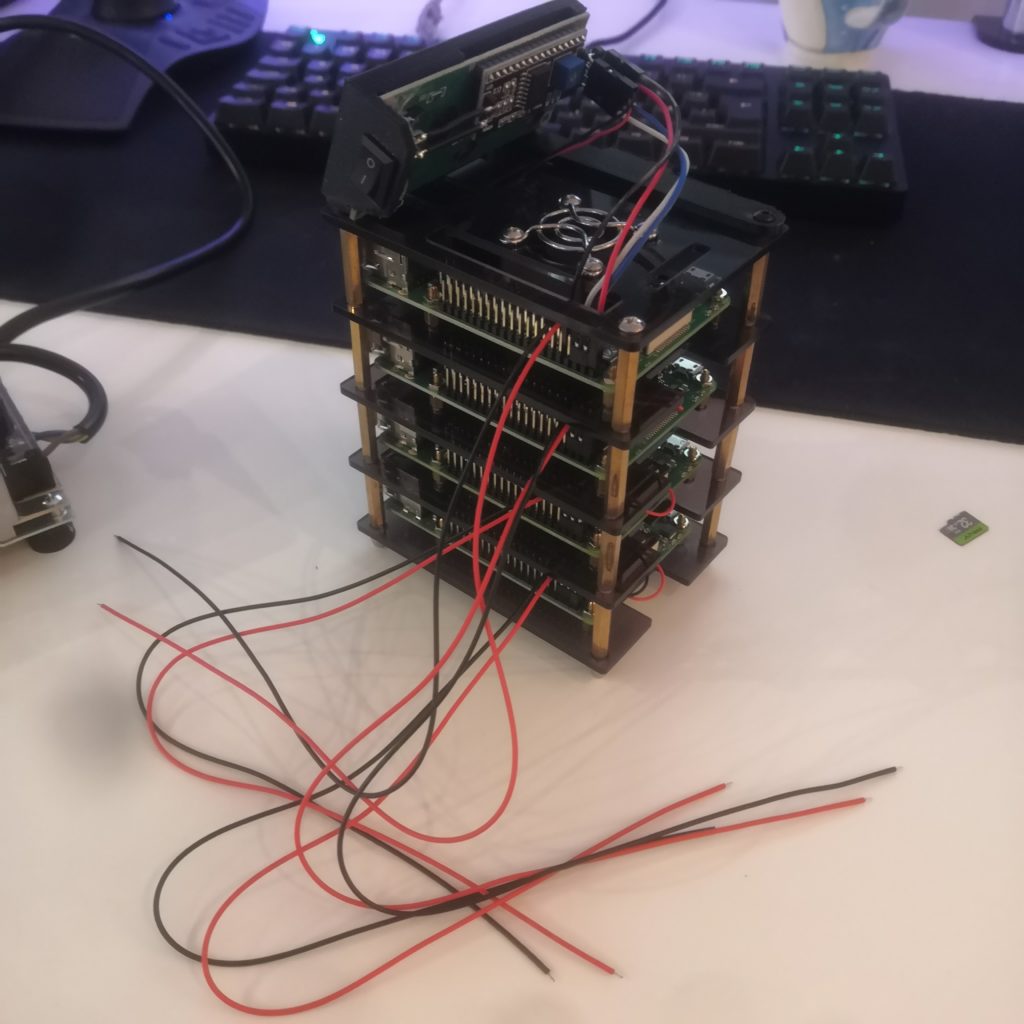
Stack with power wiring hanging loose 
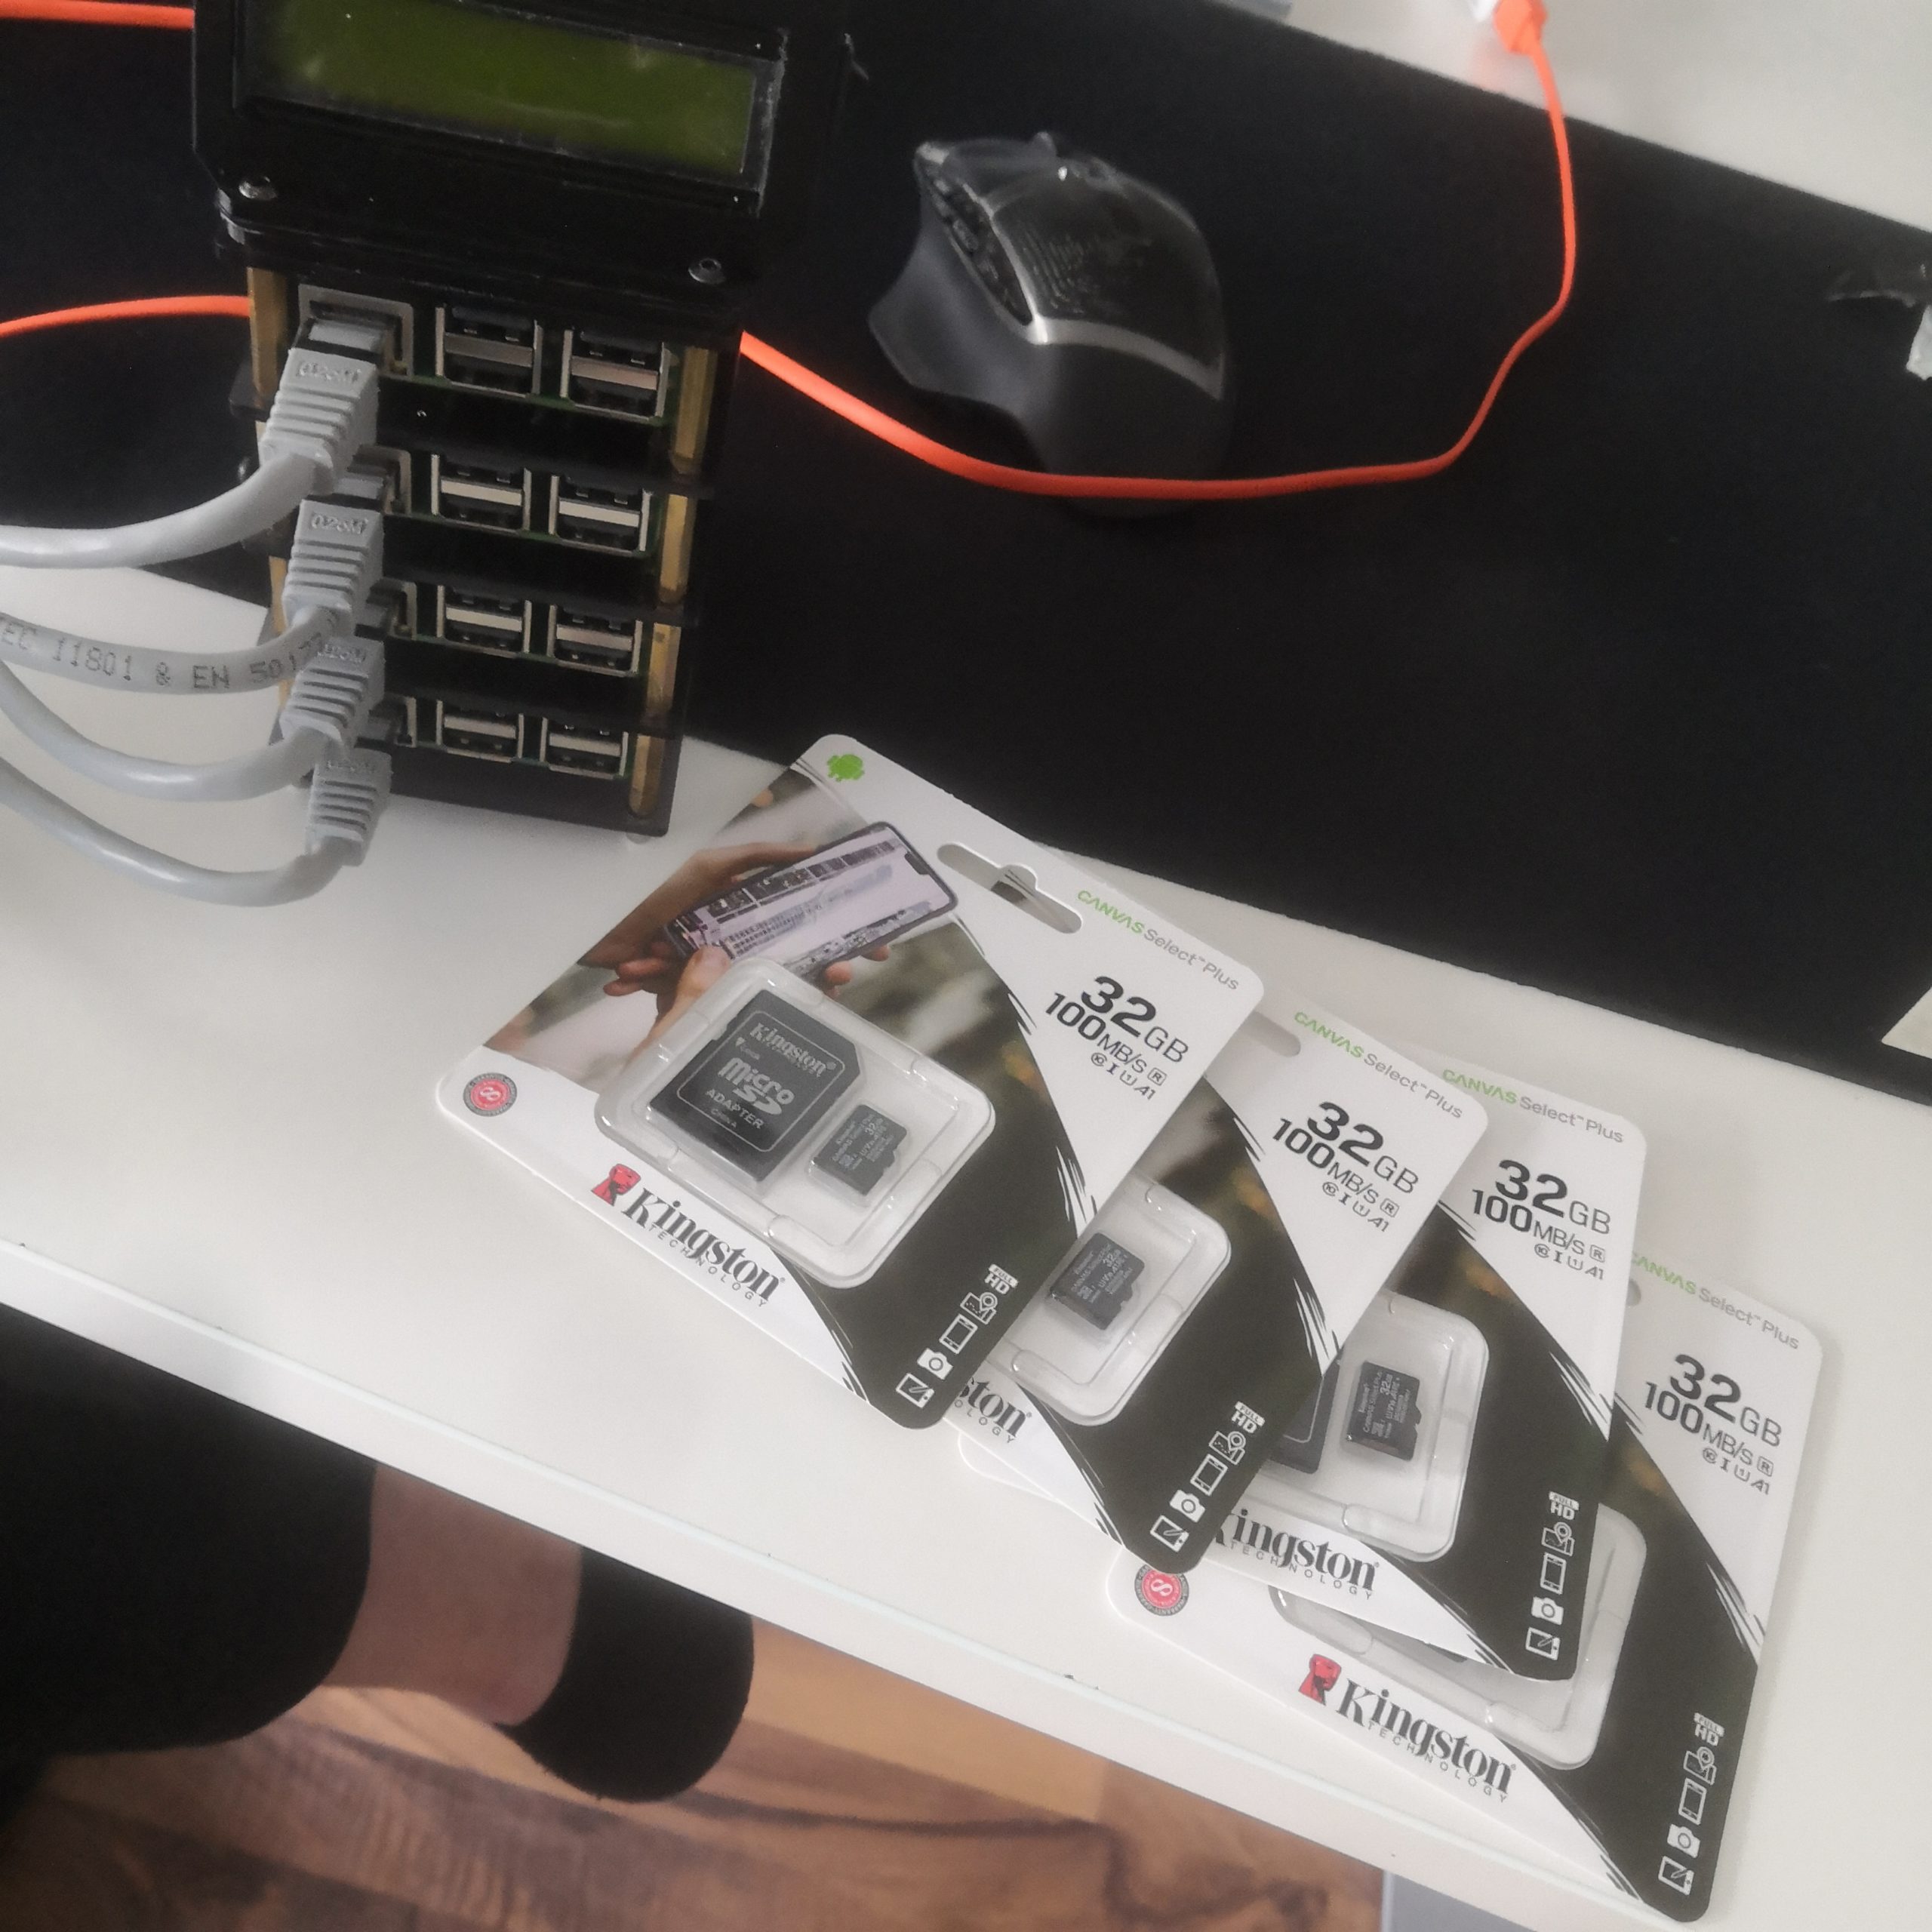
SD cards! 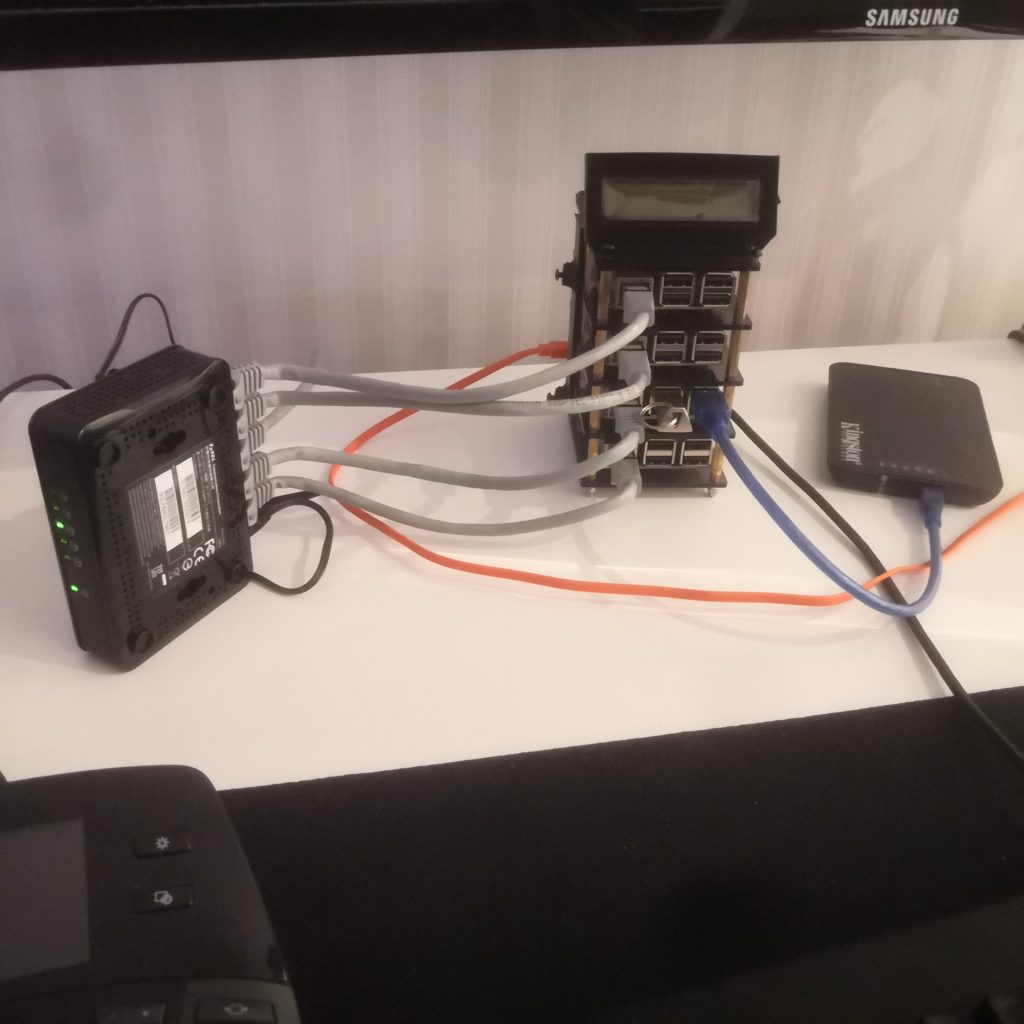
Running a single Pi as I waited for the power suplly to arrive 
PSU with rubber feet under it 
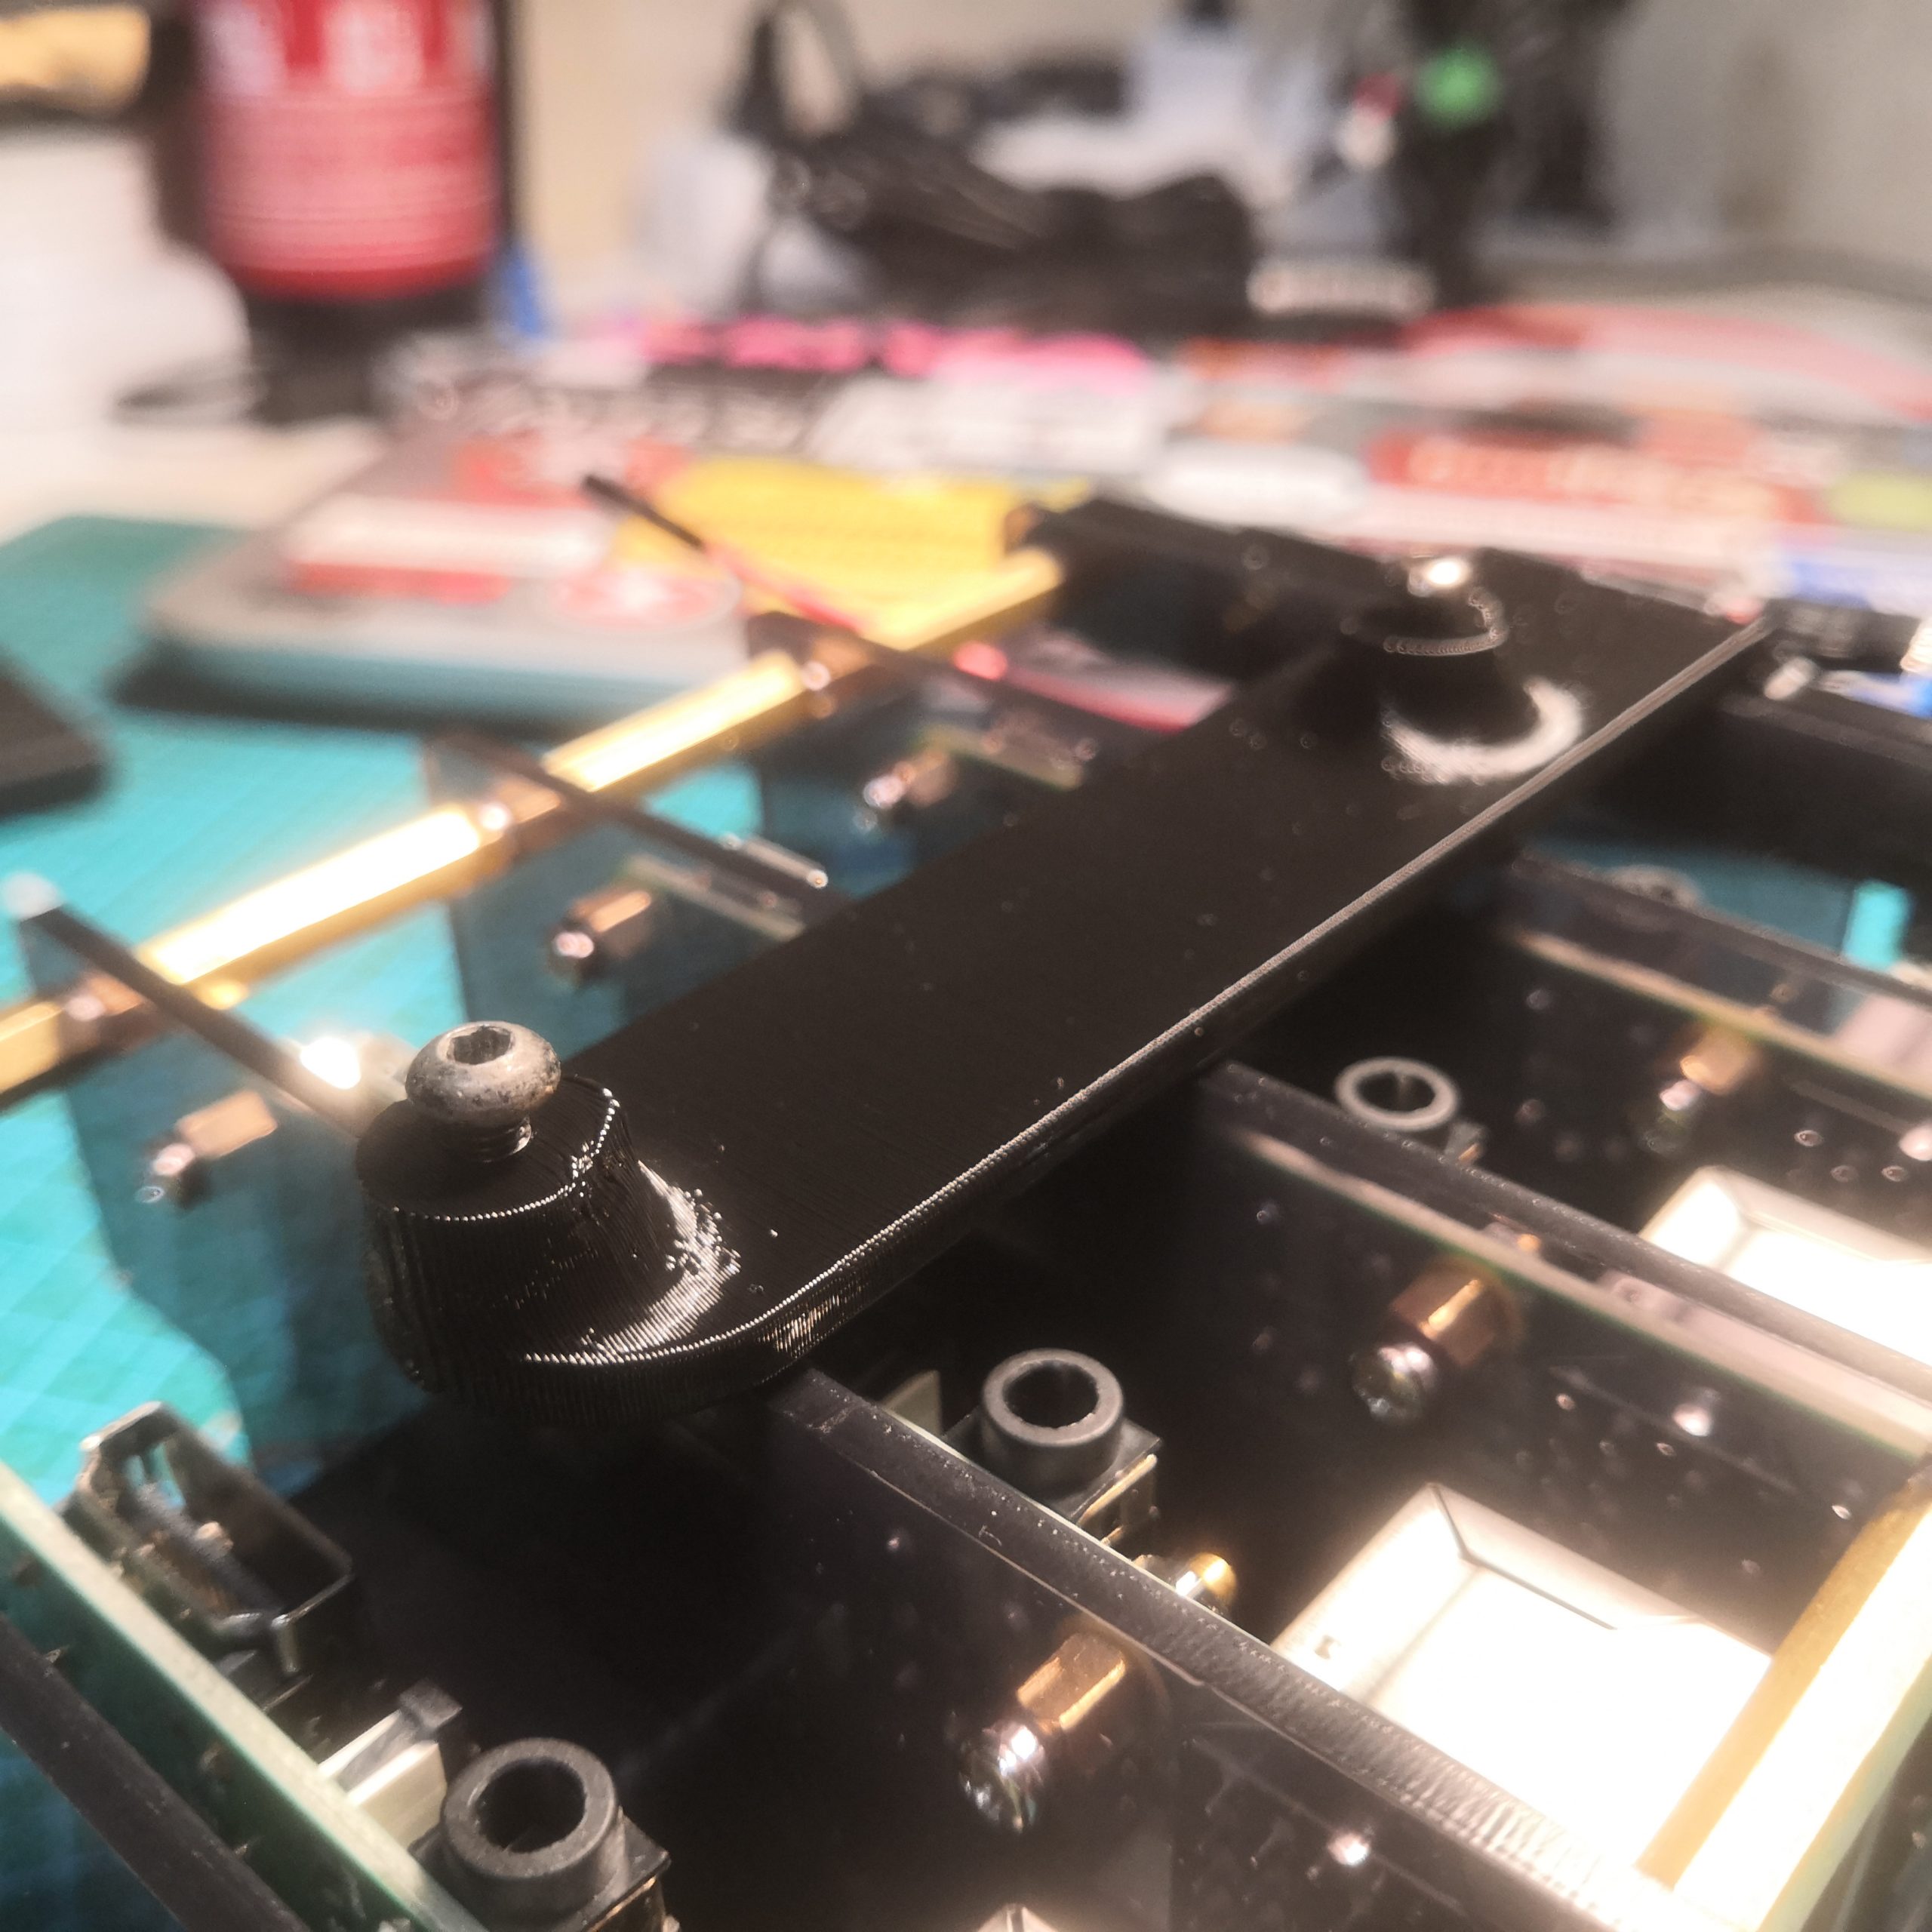
Made a 3D-printed coupler between the stack and PSU 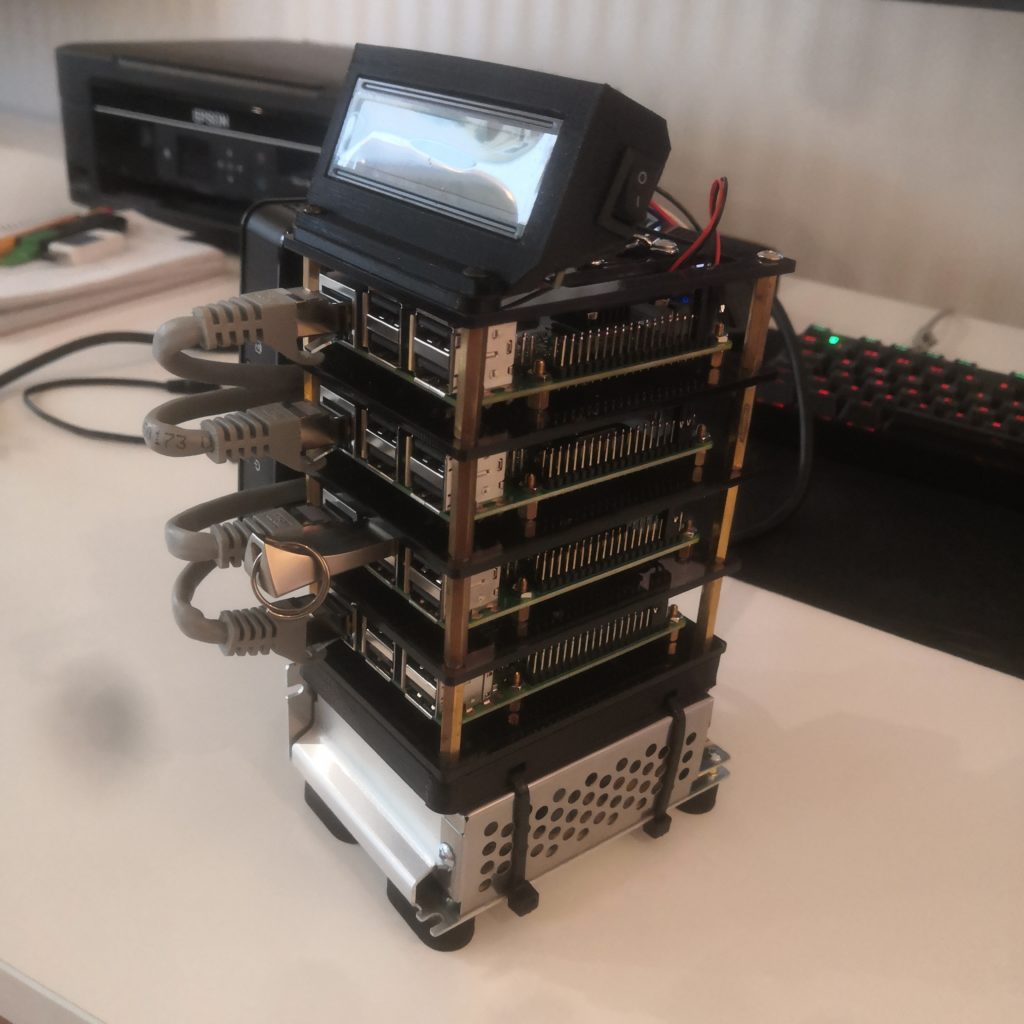
The unit assembles 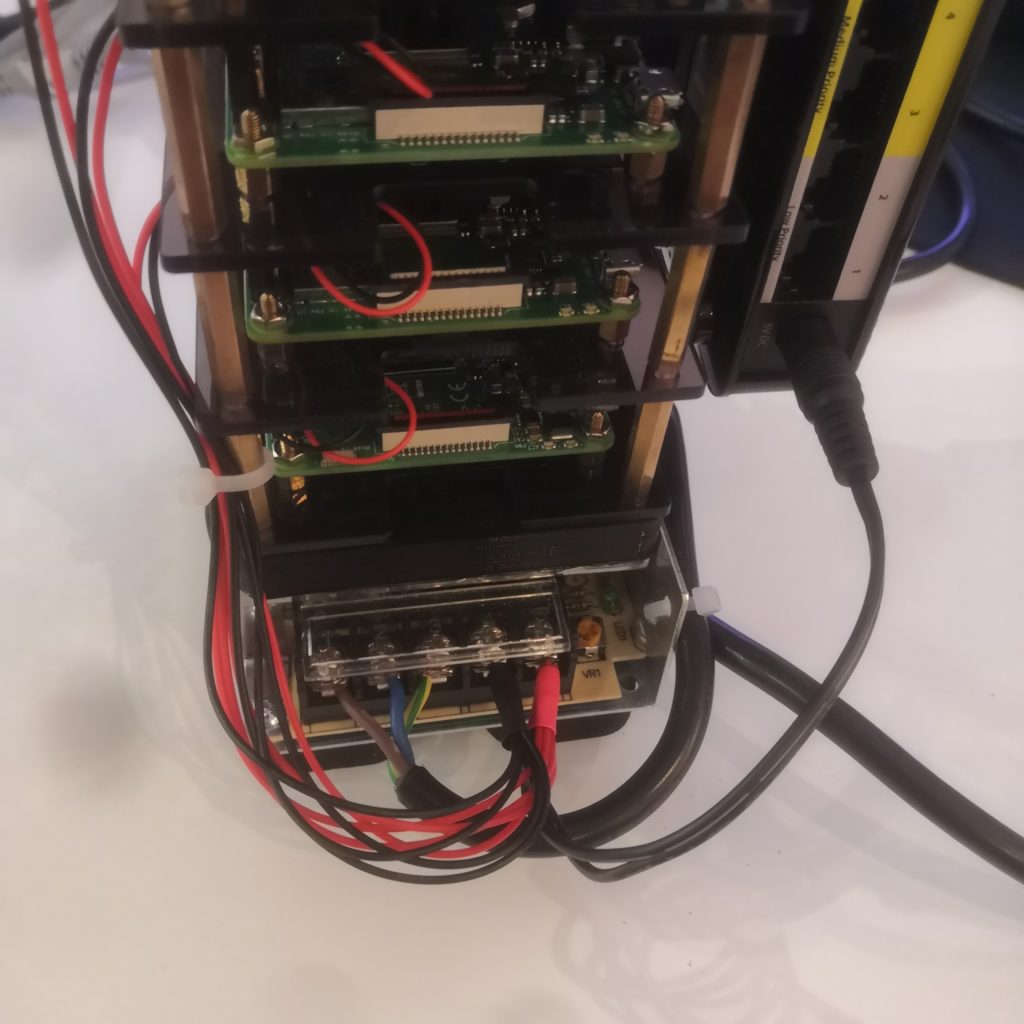
PSU wiring, as the Pis and my switch were all running on 5V I could power everything from this single PSU. 
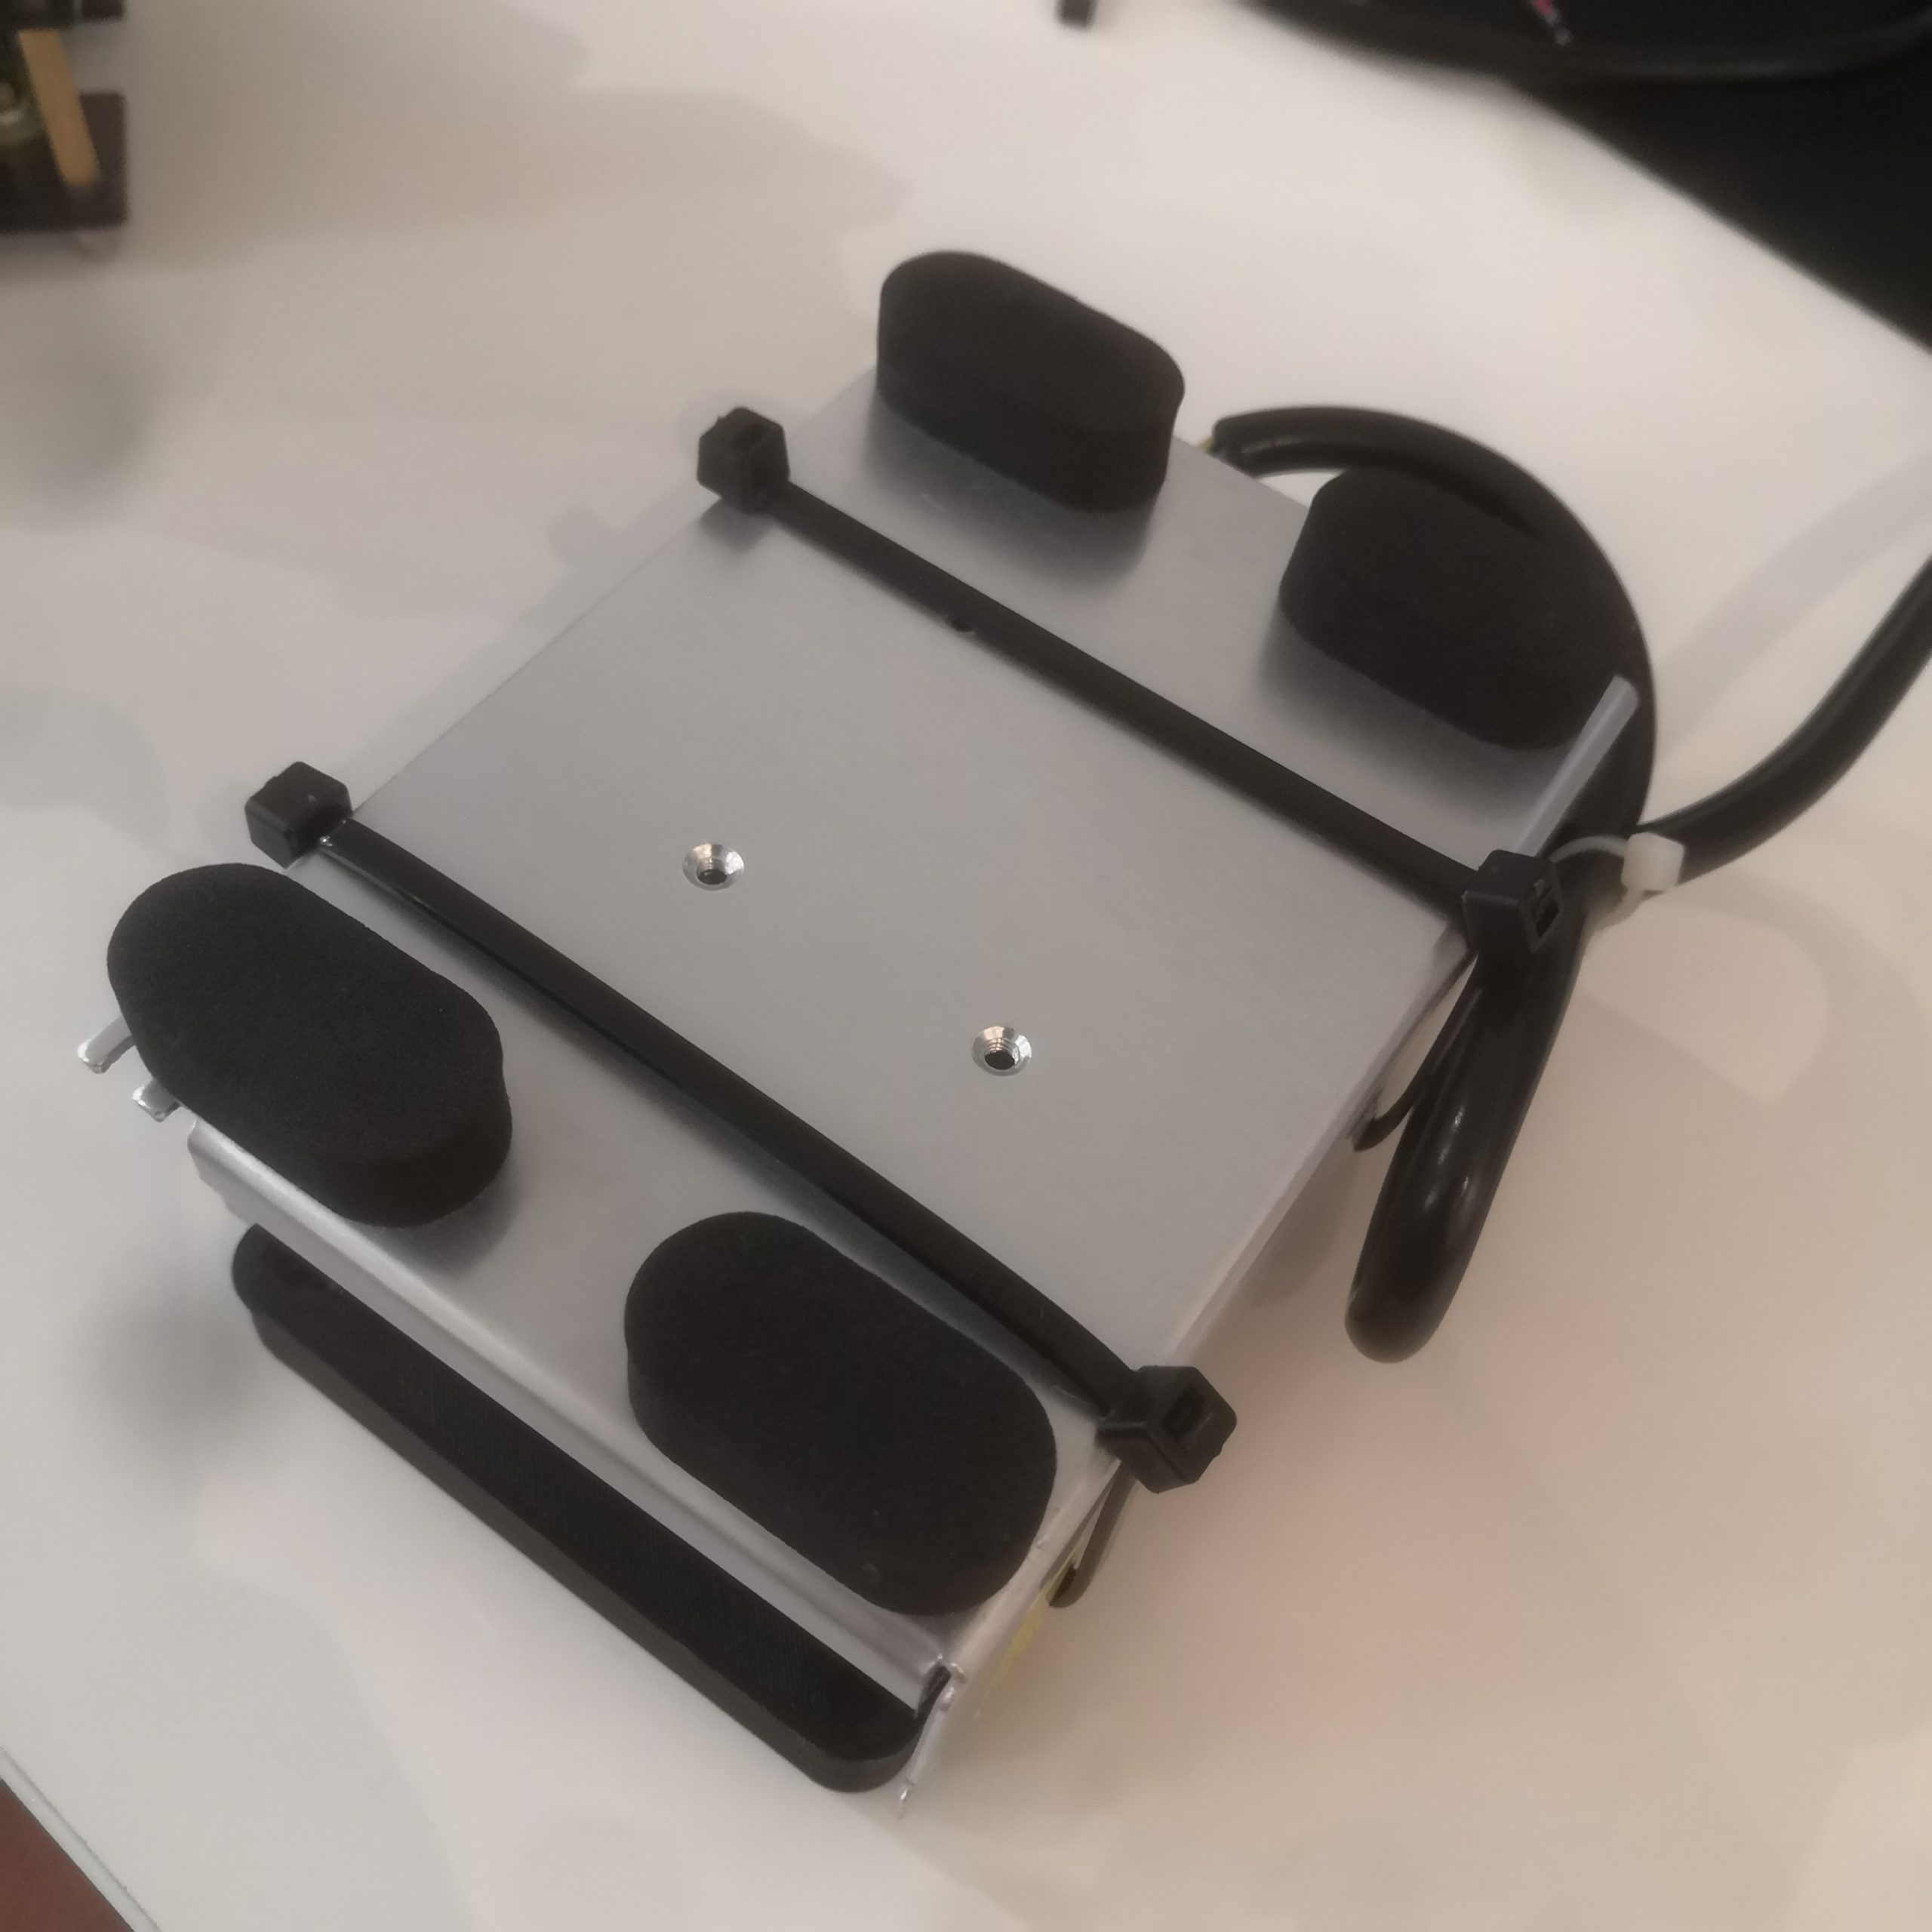
Mounting points for the switch 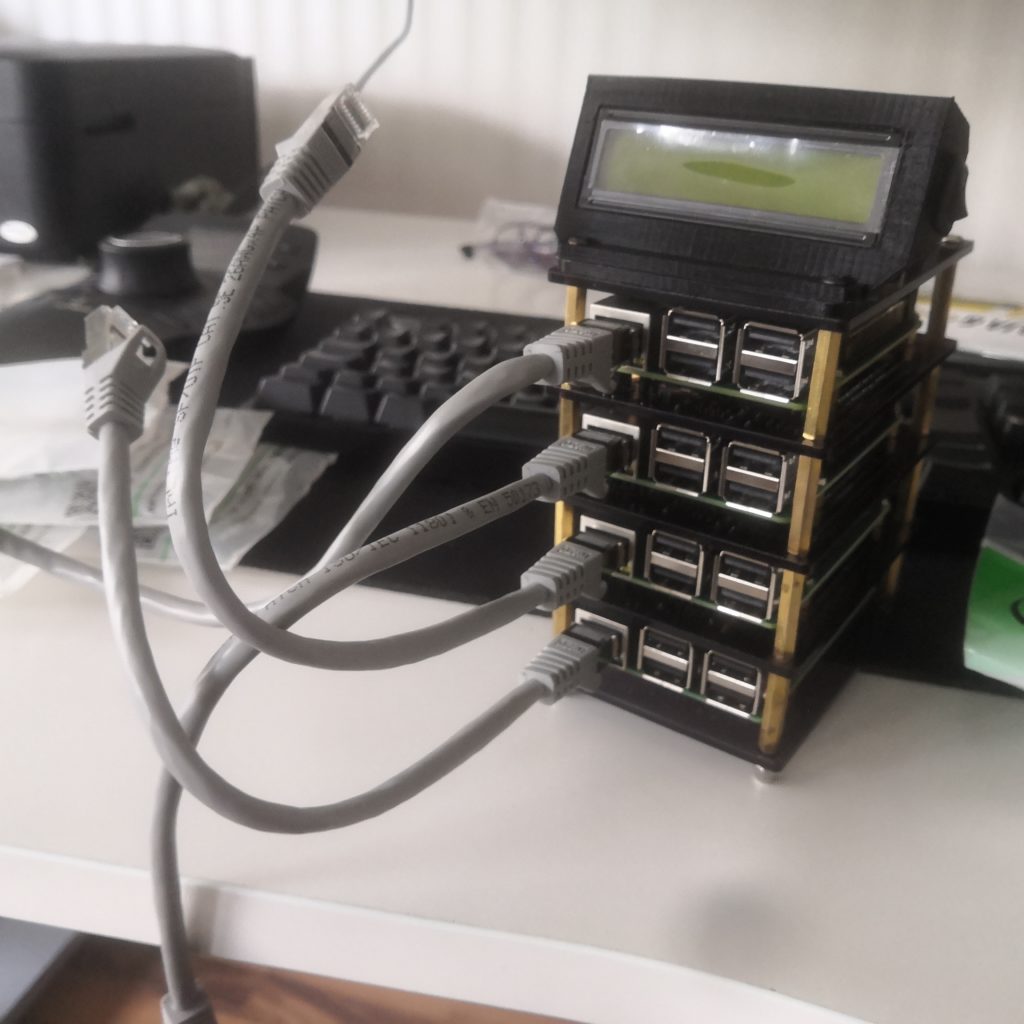
25cm ethernet wires 
The switch fits here perfectly 
flashy! 
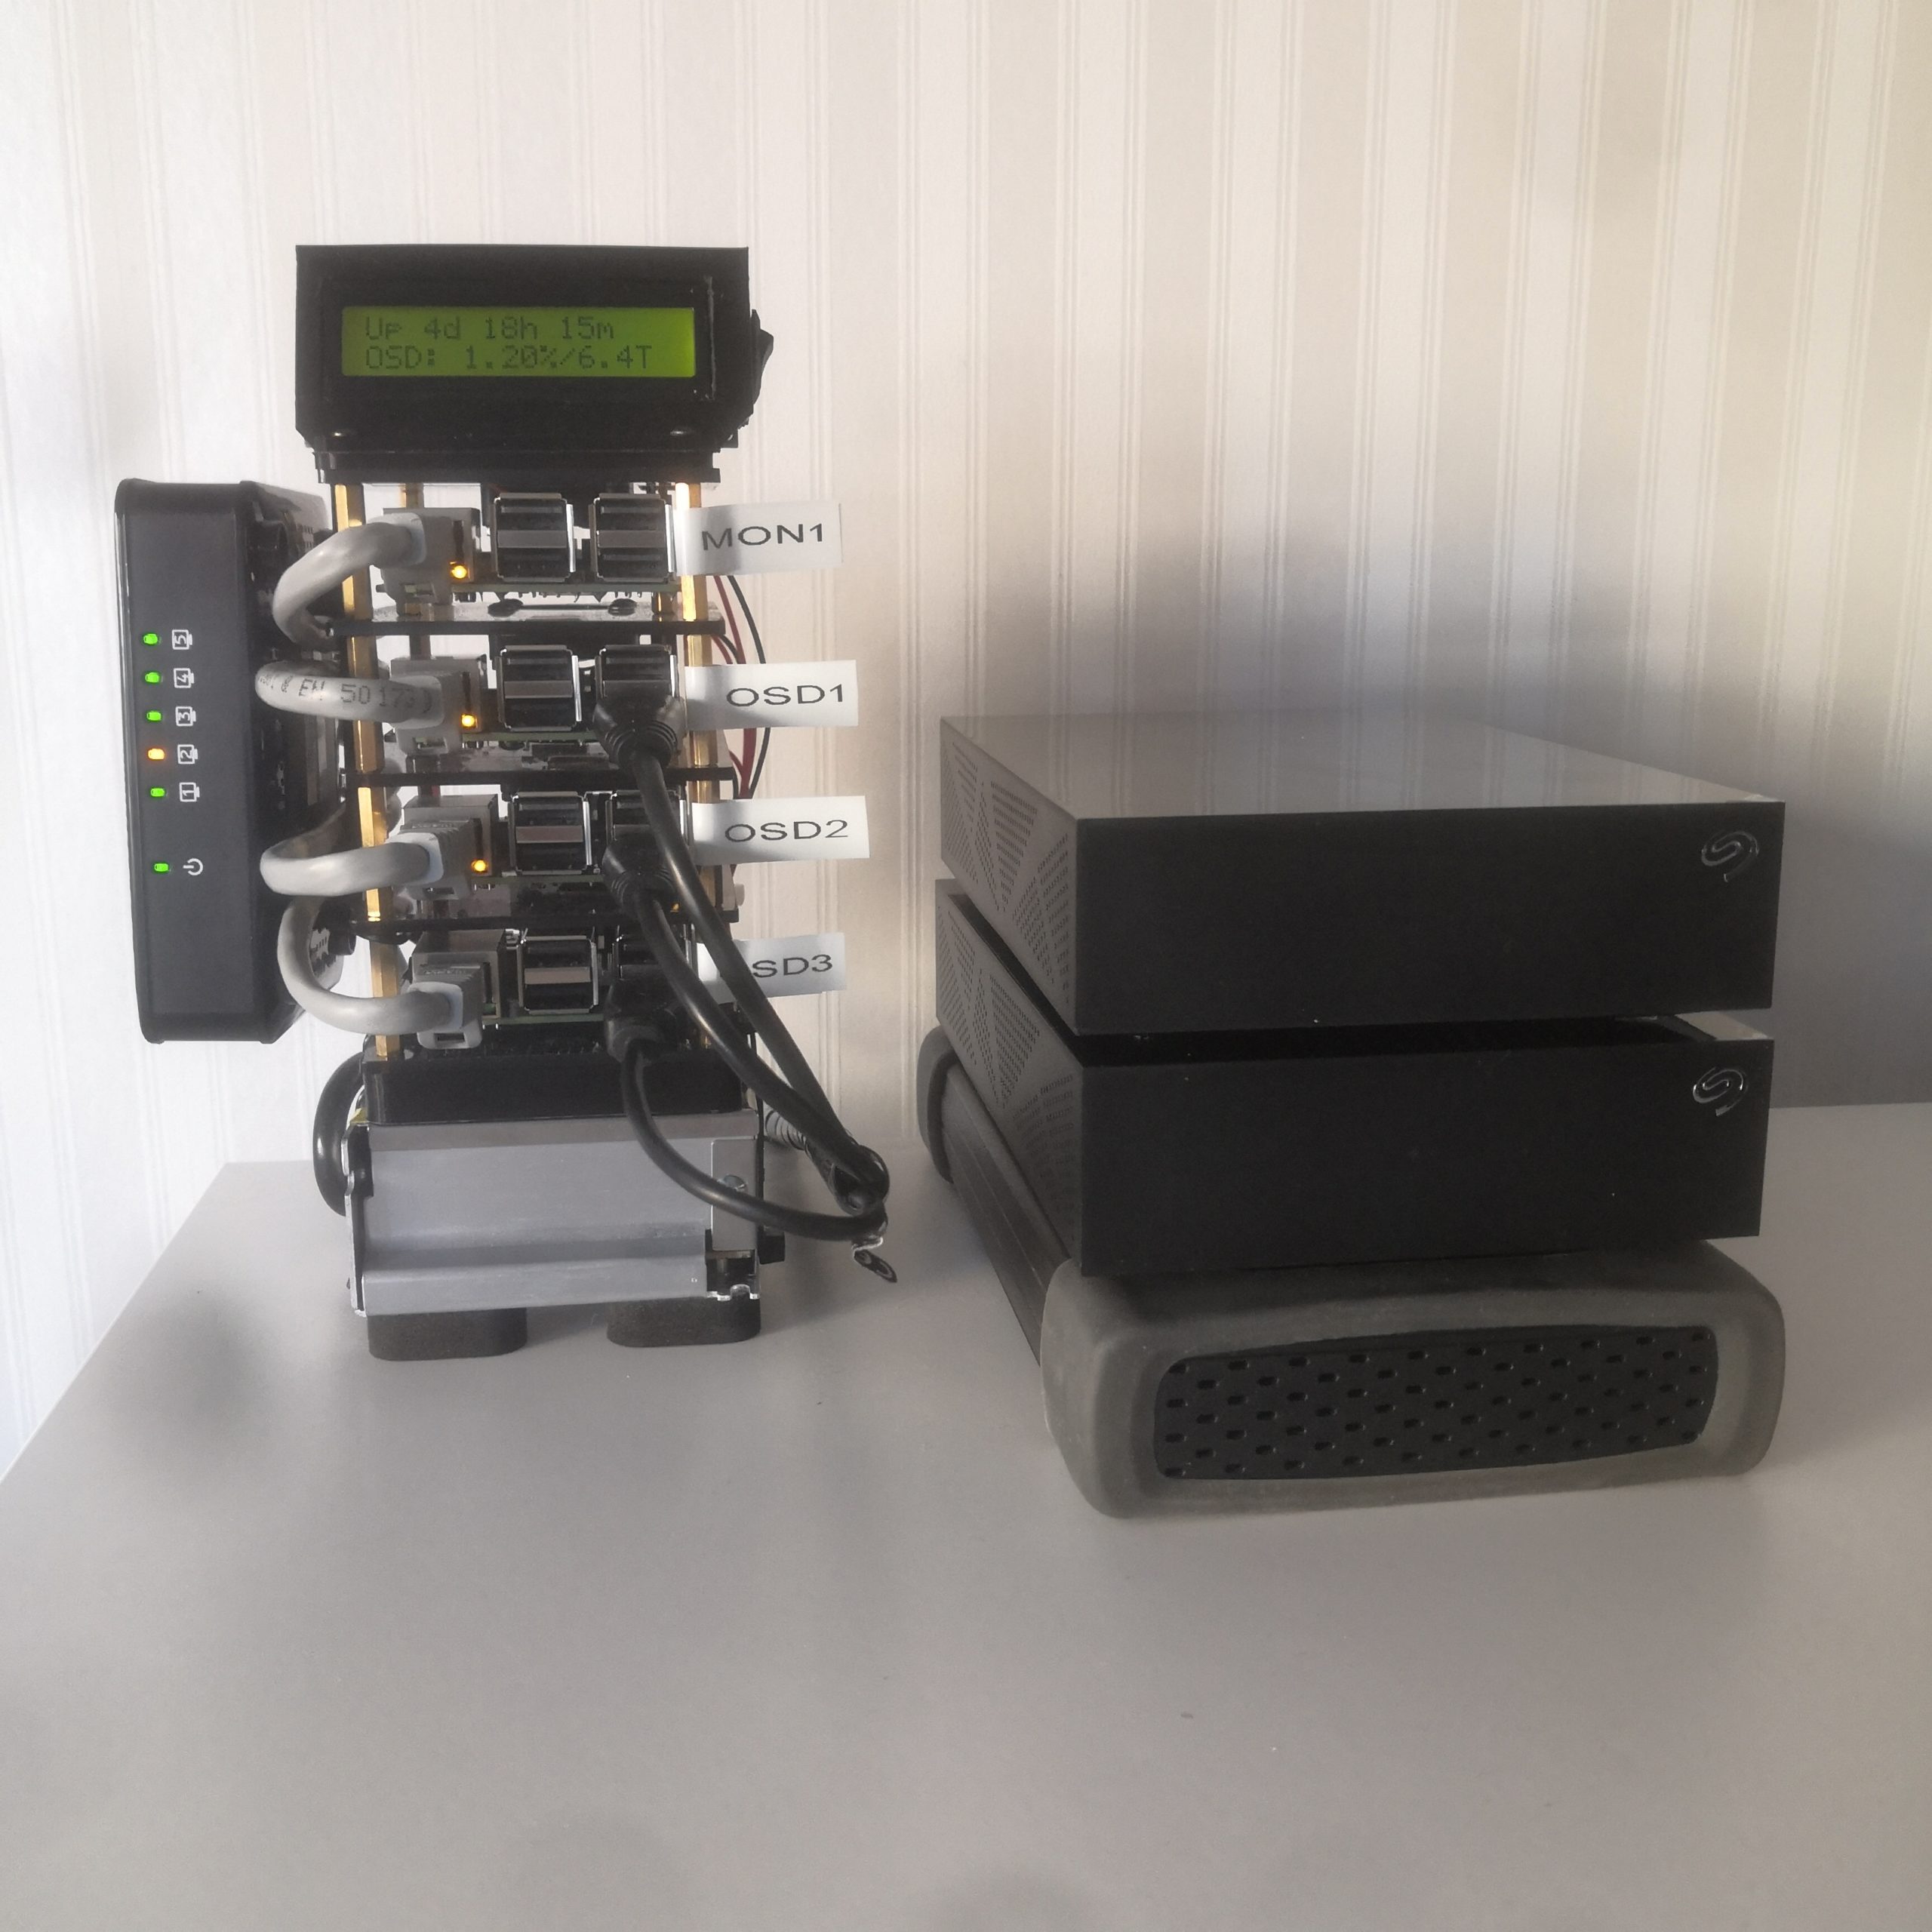
As it stands now with hard drives


Parts list (for my build)
- 4x Raspberry Pi 3B
- 4x micro-SD cards
- Stack case
- 5V 10A power supply
- 3x storage devices of your choice
- 5-port gigabit ethernet switch
- 4x 25cm ethernet cables
- One longer ethernet cable to connect to the router
- 1602 LCD screen
- 3D-printed mount for the switch
- 3D-printed mount for the lcd screen
- 3D-printed spacer between the stack and power supply
- Wires to power the Pis
- Wire to power the switch from the same power supply
Items on the list that don’t have a link you need to source yourself, these are items that I already had or I bought second hand.
Setup and deploy Ceph mon node
The actual documentation and content of this post.
(At first I wasted a lot of time not really knowing what I was trying to do.)
First of all, you obviously need to install an OS on all of the Pis.
Use Ubuntu Server 21.04, or whatever is newest Server version now, RaspiOS or Ubuntu 20.04 LTS does not work. At least I had no success with those. Newer Ubuntu Server releases will probably work too but as of writing this in late 2021, 21.04 was the newest release and did work for me.
I assume you know how to install the OS on all of the Pis and know how to set them up so that you have four working Pis ready for further installs. Remeber to change your passwords and changing the hostnames will help you later on when all of them won’t be “ubuntu@ubuntu:~$” and then you get confused and don’t know which one you’re on right now.
My raspberries hostnames are mon1, osd1, osd2 and osd3 so that they match the labels on the stack.
Preparation:
Run sudo apt update and sudo apt upgrade
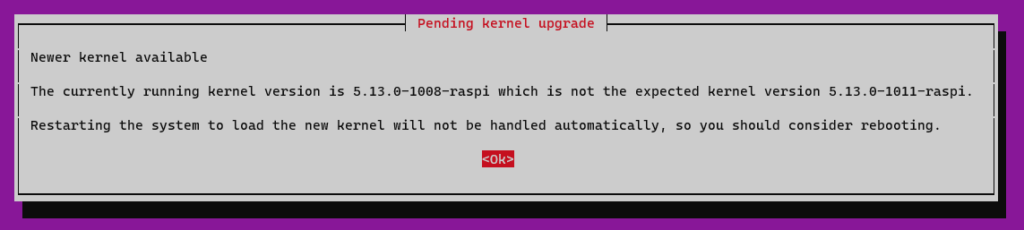
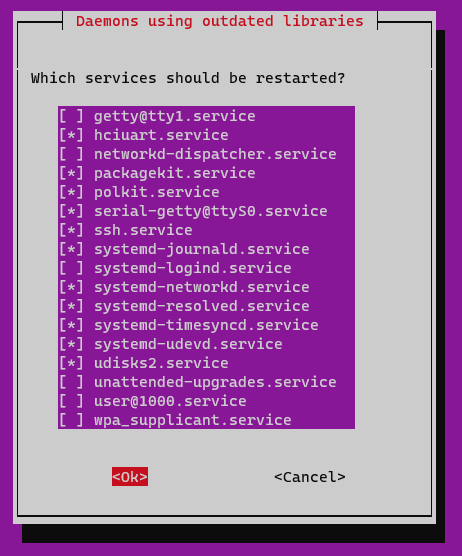
You will probably be asked to reboot the device. Before you do that, you might want to change the hostname of your Pi to match your preferences.
Run sudo nano /etc/hostname, change the hostname in this file and then run sudo nano /etc/hosts and replace any occurrence of the existing computer name with your new one.
Then, sudo reboot and after you log in again, it should say ubuntu@mon1:~$, or whatever you named your device as.
Install ceph:
Next we’ll install Ceph on it:
sudo apt install -y cephadmsudo apt install ceph-common -y
Run the bootstrap command:
sudo cephadm bootstrap --mon-ip *<mon-ip>*
(Replace the *<mon-ip>* with the ip address of this host, e.g. 192.168.1.228)
This command will:
- Create a monitor and manager daemon for the new cluster on the local host.
- Generate a new SSH key for the Ceph cluster and add it to the root user’s
/root/.ssh/authorized_keysfile. - Write a copy of the public key to
/etc/ceph/ceph.pub. - Write a minimal configuration file to
/etc/ceph/ceph.conf. This file is needed to communicate with the new cluster. - Write a copy of the
client.adminadministrative (privileged!) secret key to/etc/ceph/ceph.client.admin.keyring. - Add the
_adminlabel to the bootstrap host. By default, any host with this label will (also) get a copy of/etc/ceph/ceph.confand/etc/ceph/ceph.client.admin.keyring.
I got this error on my first try:
mgr not available, waiting (15/15)…
ERROR: mgr not available after 15 tries
I’m not exactly sure how important this is however.
After this I ran these two commands:
sudo ceph mgr module enable cephadm
sudo ceph orch set backend cephadm
and after that sudo ceph -s tell you that ceph is actually running:
cluster:
     id:     031feef0-6cb2-11ec-835d-4d3e50ca64c4
     health: HEALTH_WARN
             OSD count 0 < osd_pool_default_size 3
 services:
     mon: 1 daemons, quorum mon1 (age 2h)
     mgr: mon1.pthity(active, since 15s)
     osd: 0 osds: 0 up, 0 in
 data:
     pools:   0 pools, 0 pgs
     objects: 0 objects, 0 B
     usage:   0 B used, 0 B / 0 B avail
     pgs:
Next we will create a cephfs filesystem, it’s as simple as:
sudo ceph fs volume create <fs name>
obviously replace the <fs name> with whatever you want to call it. I’ll call mine “databank”. You should receive message like this:
Volume created successfully (no MDS daemons created)
Default number for file replication is 3, I want it to be 2 so I’ll do the following:
sudo ceph osd pool set cephfs.databank.data size 2
You should receive:
set pool 2 size to 2
We need to generate a key for this cluster in order to add other hosts later, this needs to be done only once.
Generate the key and put it in ~/ceph.pub file:
sudo ceph cephadm generate-keysudo ceph cephadm get-pub-key > ~/ceph.pub
Now the monitor node should be ready to go!
Adding an OSD node
Do the same basic preparations as you did for the monitor node.
After that, we need to increase the size of the swapfile, an OSD node needs quite a bit of memory to play with, and a raspberry don’t have all lot of it.
Do the following:
sudo swapoff /swapfilesudo rm /swapfilesudo dd if=/dev/zero of=/swapfile bs=1M count=8192sudo chmod 600 /swapfilesudo mkswap /swapfilesudo swapon /swapfile
then use sudo crontab -e and add this to the very end: @reboot swapon /swapfile
Enable the root user on your Ubuntu install:
sudo passwd root
sudo nano /etc/ssh/sshd_config
Here, change line:
#PermitRootLogin prohibit-password
to:
PermitRootLogin yes
service sshd restart
Install cephadm and ceph-common also on this machine
sudo apt install -y cephadm
sudo apt install ceph-common -y
Run these on the monitor host machine:
Copy an SSH key from monitor node, you need to go back to the monitor node you set up earlier. This is why we had to enable the root user.
sudo ssh-copy-id -f -i ~/ceph.pub root@192.168.1.234
Add the new machine to the cluster:
sudo ceph orch host add osd1 192.168.1.234
Should return: Added host 'osd1' with addr '192.168.1.234'
Now iy fou run sudo ceph orch host ls you see a list of nodes on the cluster, currently there is only one host, the one we just added.
ubuntu@mon1:~$ sudo ceph orch host ls
 HOST  ADDR           LABELS  STATUS
 osd1  192.168.1.234
When you plug in a hard drive with no filesystem into this new host, it should show up after a while when running sudo ceph orch device ls --refresh from the monitor host:
ubuntu@mon1:~$ sudo ceph orch device ls --refresh
 HOST  PATH      TYPE  DEVICE ID                      SIZE  AVAILABLE  REJECT REASONS
 osd1  /dev/sda  hdd   Seagate_Desktop_02CD0422B1WH  3000G  Yes
The drive is listed as an available device so we can tell our cluster to consume all available OSD devices with:sudo ceph orch apply osd --all-available-devices
Should return: Scheduled osd.all-available-devices update…
To add mds service to the cluster run:sudo ceph orch apply mds <fs name>
Verify the number of active MDS daemons:
sudo ceph fs status <fs name>
Adding extra OSD nodes is as simple as just repeating this process.
Installing an wireless OSD node
(Not recommended)
- Download Ubuntu Server for Raspberry Pi, 21.04 or newer
- Flash the iso file into an SD card using the Imager software of your choice. I use Win32 Disk Imager but you can use whatever you’re used to use.
- Go into the root directory of the SD card and find a file called “network-config”, open this file in your text editor. (I use VS Code)
- Contents look something like this:
version: 2
ethernets:
  eth0:
    dhcp4: true
    optional: true
#wifis:
#  wlan0:
#    dhcp4: true
#    optional: true
#    access-points:
#      myhomewifi:
#        password: "S3kr1t"
#      myworkwifi:
#        password: "correct battery horse staple"
#      workssid:#        auth:
#          key-management: eap
#          method: peap
#          identity: "me@example.com"
#          password: "passw0rd"
#          ca-certificate: /etc/my_ca.pem
Change it to look something like this:
version: 2
ethernets:
  eth0:
    dhcp4: true
    optional: true
wifis:
  wlan0:
    dhcp4: true
    optional: true
    access-points:
      myhomewifi:
        password: "S3kr1t"
Replace the “myhomewifi” with your wi-fi name and “S3kr1t” with the password.
All the comment lines at the beginning of the file can be left as they are.
5. For ssh, you should not need to do anything.
If you go into the “user-data” file, also inside the root directory of your SD card, you should see:
# On first boot, set the (default) ubuntu user's password to "ubuntu" and
# expire user passwords
chpasswd:
  expire: true
  list:  - ubuntu:ubuntu
# Enable password authentication with the SSH daemon
ssh_pwauth: true
So, we’ll be able to connect to the Pi via ssh, and we have the initial username and password: ubuntu:ubuntu.
6. Put the SD card into the Pi and power it on. It should automatically connect to your wifi.
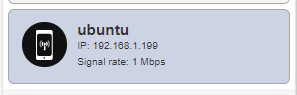
7. Find the Pi on your network. You can use IP-scanner or go to the admin panel or your router to find out which IP was assigned to your Pi.
8. SSH into your Pi. Fresh Ubuntu install will make you change the default password to something better and then throw you out after you change it. This is normal as the password you used to login the first time is no longer valid. Just connect again and use the new password you created.
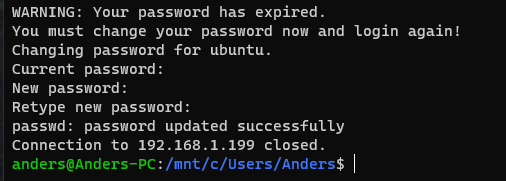
For me it took a while to connect again as Pi does the initial setup.
9. Run sudo apt update and sudo apt upgrade
You will probably be asked to reboot the device. Before you do that, you might want to change the hostname of your Pi to match your preferences.
Run sudo nano /etc/hostname, change the hostname in this file and then run sudo nano /etc/hosts and replace any occurrence of the existing computer name with your new one.
Then, sudo reboot and after you log in again, it should say ubuntu@osd4:~$, or whatever you named your device as.
Now we actually have a Pi up and running as we want it to, next we’ll install Ceph on it.
Mounting as cephfs
Windows
Ceph docs have this covered well: https://docs.ceph.com/en/latest/cephfs/ceph-dokan/
Linux (Ubuntu)
Steps what I use to mount cephfs onto a linux machine, Ubuntu 20.04 Desktop to be precise.
- On the client machine install ceph-fuse
sudo apt install ceph-fuse- Note: if you are mounting Ceph with FUSE not as superuser/root user/system admin you would need to add the option user_allow_other to /etc/fuse.conf (under no section in the conf).
- Create the folder into which we mount our cephfs
sudo mkdir /mnt/mycephfs
- Ssh into your monitor host and print out the ceph.conf file
cat /etc/ceph/ceph.conf
- Copy the output into a similar file on the client machine
- Next we create a CephX user and get its secret key, on the monitor host run the following, here “databank” is the name of the cephfs you want to auth this user for and “foo” will be the id name of your client
sudo ceph fs authorize databank client.foo / rw
- On the client machine, create a keyring file and change its permissions, paste the output from step 5 into this file. Note to change the “foo” here to match the id you gave to your client.
sudo nano /etc/ceph/ceph.client.foo.keyringsudo chmod 600 /etc/ceph/ceph.client.foo.keyring
- Now by running ceph-fuse, you can mount the cephfs onto this machine. Here again “foo” is the id of this client and “/mnt/mycephfs/” is the path into which we mount to.
sudo ceph-fuse --id foo /mnt/mycephfs/
That’s it! Now you have your cephfs mounted on a linux machine.
If you now use df -h to see your drives you should see a line similar to this: ceph-fuse 3,1T 190G 2,9T 7% /mnt/mycephfs
Depending on your user priviledges or mountpoint, you might have to change some permissions.
Useful commands
Just a list of useful commands, a toolbox for you
These all list different information about your cluester:
sudo ceph orch device ls
sudo ceph orch device ls --refresh
sudo ceph orch host ls
sudo ceph osd pool ls
sudo ceph mds stat
sudo ceph osd stat
sudo ceph osd tree
sudo ceph df
sudo ceph versions
sudo ceph osd df
sudo ceph osd pool autoscale-status
sudo ceph balancer status
sudo ceph health detail
sudo ceph fs status databank
To remove an OSD disk from the cluster:
sudo ceph osd tree
sudo ceph osd out 0
sudo ceph osd purge 0 --yes-i-really-mean-it
Erase filesystem from a drive:
sudo wipefs /dev/sda
sudo wipefs -a /dev/sda
Enable i2c on Ubuntu and scan for devices:
sudo apt update
sudo apt upgrade -y
sudo apt install -y i2c-tools python3-pip
sudo pip3 install smbus2
sudo i2cdetect -y 1
If you get this error:
bad mount point `/mnt/mycephfs/': Transport endpoint is not connected
then run thissudo fusermount -uz /mnt/mycephfs
and re-mount the fs.
Summary
Great project and inexpensive way to get to learn about cluster computing on a real hardware. If you get your pi cluster running well you can of course expand it with full size computers.


eka
gz